FSN Series • User’s Guide • Rev 01 301
6. System Setup
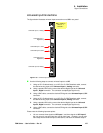
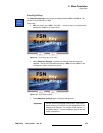
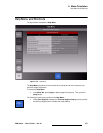
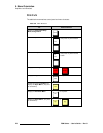
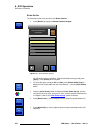
Multiviewer Setup
jìäíáîáÉïÉê=pÉíìé
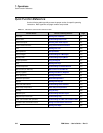
FSN Series system setup: Step 14
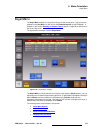
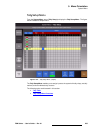
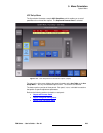
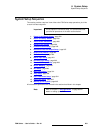
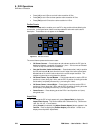
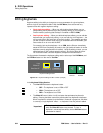
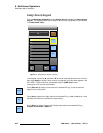
This procedure enables you to set up all aspects of the Multiviewer.
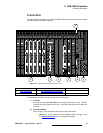
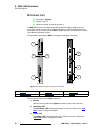
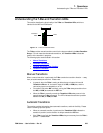
S Prerequisites —
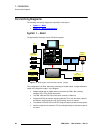
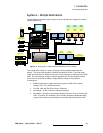
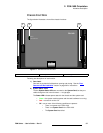
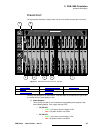
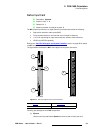
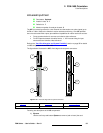
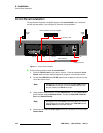
~ Ensure that the Multiviewer is properly connected. In Chapter 4, refer to
the “
Multiviewer Connections” section on page 129.
~ Ensure that you are familiar with all Multiviewer menus and features.
Refer to Chapter 9, “
Multiviewer Operations” on page 411 for details.
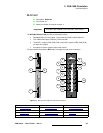
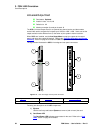
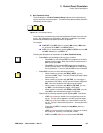
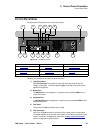
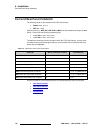
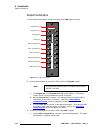
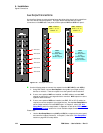
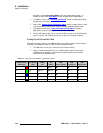
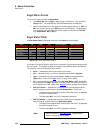
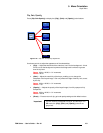
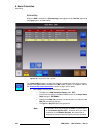
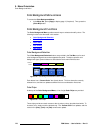
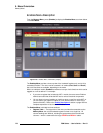
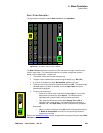
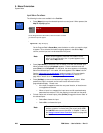
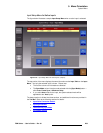
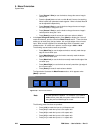
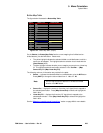
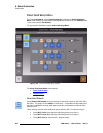
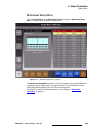
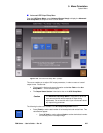
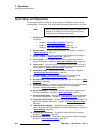
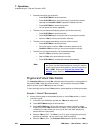
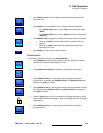
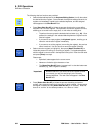
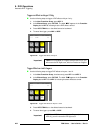
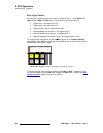
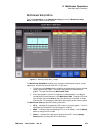
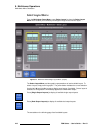
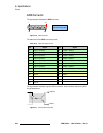
Output Setup — Use the following steps to set up the Multiviewer’s output:
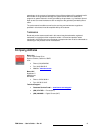
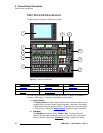
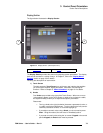
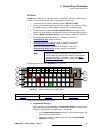
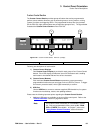
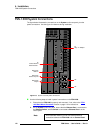
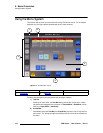
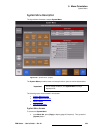
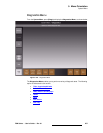
1. In the Menu Bar, press {System} to access the System Menu.
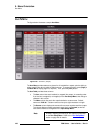
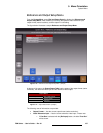
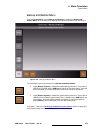
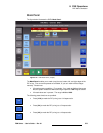
2. Press {Multiviewer Setup} to display the Multiviewer Setup Menu.
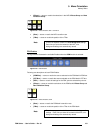
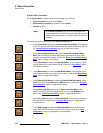
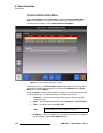
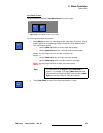
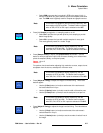
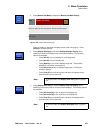
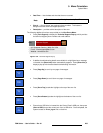
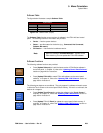
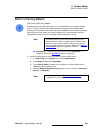
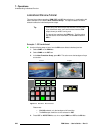
3. Press {Output Setup} to display the Multiviewer Output Setup Menu.
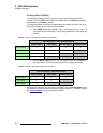
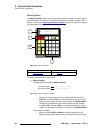
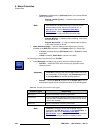
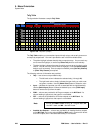
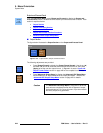
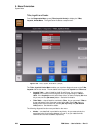
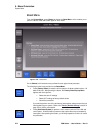
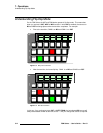
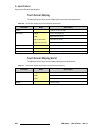
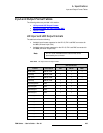
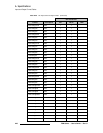
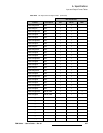
4. Press {Output Format} to display the Multiviewer Output Format Keypad.
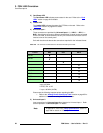
Select the format supported by the monitor(s) connected to the Multiviewer’s rear
panel. Press
{Apply} to accept, then press {Close} to close the pop-up.
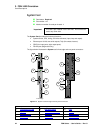
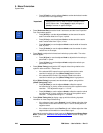
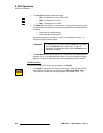
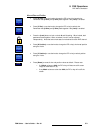
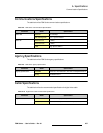
5. If you are using the Multiviewer card’s DVI output connector(s), press {DVI Sync}
and select the desired sync mode.
6. Press {Back} to return to the Multiviewer Setup Menu.
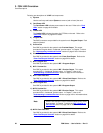
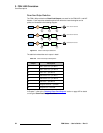
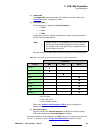
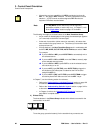
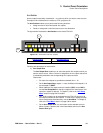
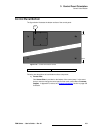
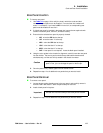
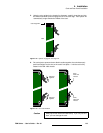
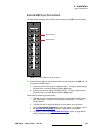
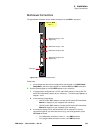
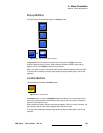
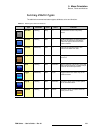
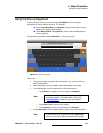
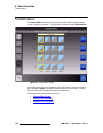
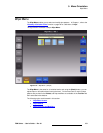
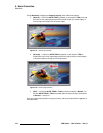
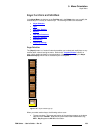
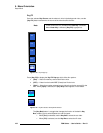
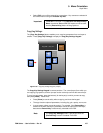
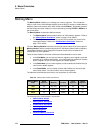
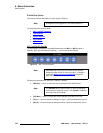
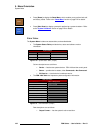
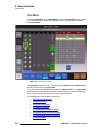
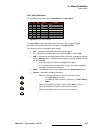
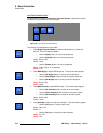
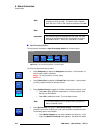
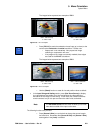
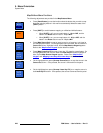
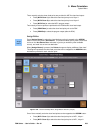
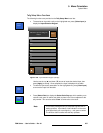
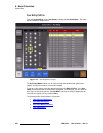
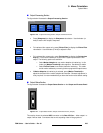
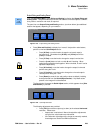
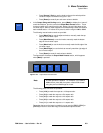
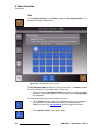
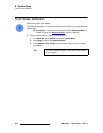
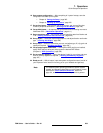
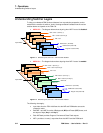
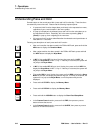
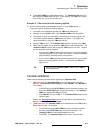
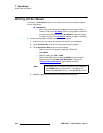
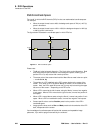
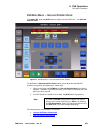
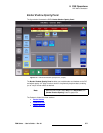
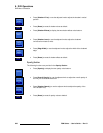
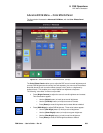
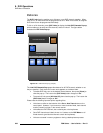
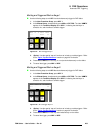
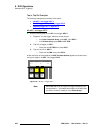
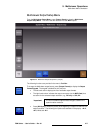
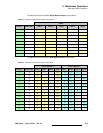
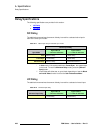
Layout — Use the following steps to select the Multiviewer’s layout:
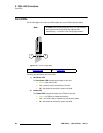
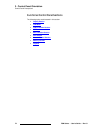
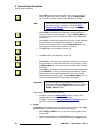
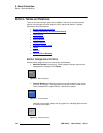
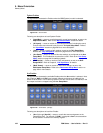
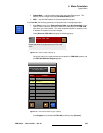
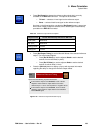
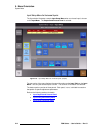
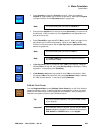
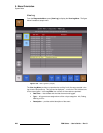
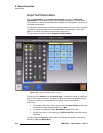
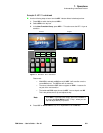
1. On the Multiviewer Setup Menu, press {Select Layout} to display the Select
Layout Menu
.
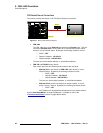
2. Press {Single Output Layouts} or {Dual Output Layouts} as required.
3. Select one of the pre-configured single or dual screen layouts from the menu.
4. Press {Back} to return to the Multiviewer Setup Menu.
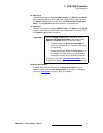
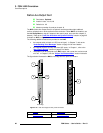
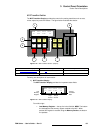
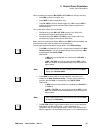
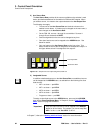
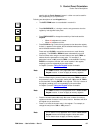
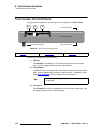
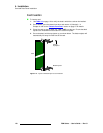
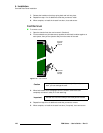
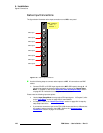
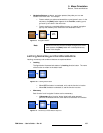
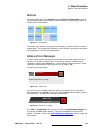
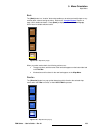
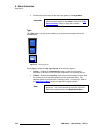
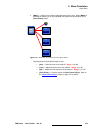
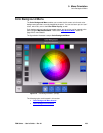
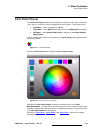
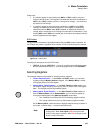
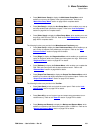
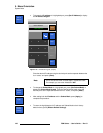
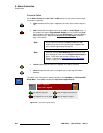
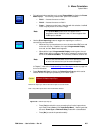
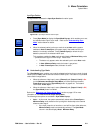
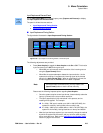
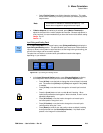
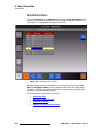
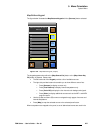
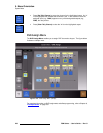
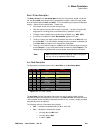
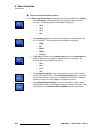
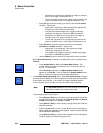
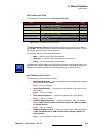
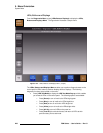
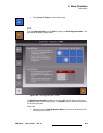
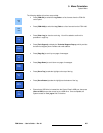
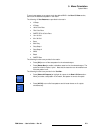
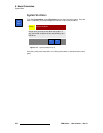
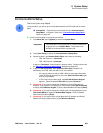
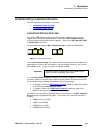
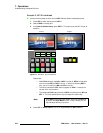
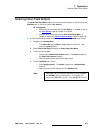
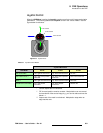
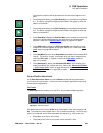
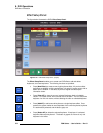
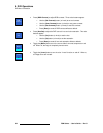
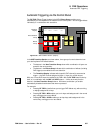
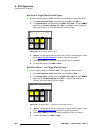
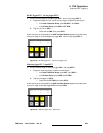
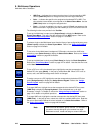
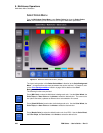
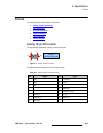
Color Setup — Use the following steps to configure the Multiviewer’s color scheme:
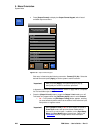
1. On the Multiviewer Setup Menu, press {Select Colors}.
2. Press {BG Color} to change the Multiviewer’s background color. Use the Knobs
or the
Color Picker to select the desired color.
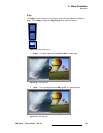
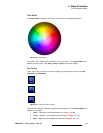
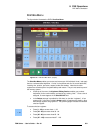
3. Press {Clock BG Color} to change the background color of the clock (if enabled
on your selected layout). Use the Knobs or the
Color Picker to select the color.
4. Press {Border Color} to change the border color for all PIPs. Use the Knobs or
the
Color Picker to select the color.
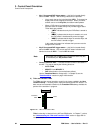
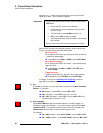
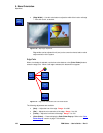
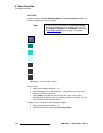
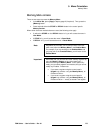
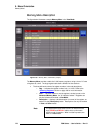
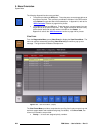
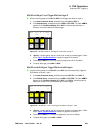
5. Press {UMD Color 1} to change the UMD 1 color selection. Use the Knobs or the
Color Picker to select. Note that this unique color can be applied to one or more
UMDs, using the
UMD Color Pop-up. Repeat this step for all four UMD colors.
6. Press {Back} to return to the Multiviewer Setup Menu.
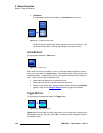
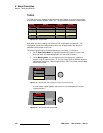
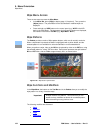
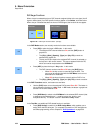
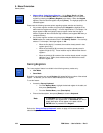
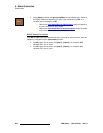
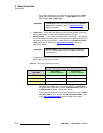
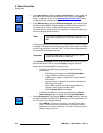
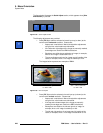
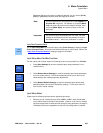
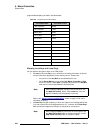
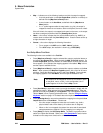
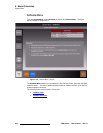
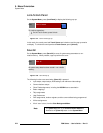
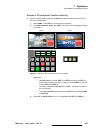
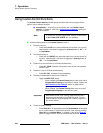
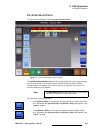
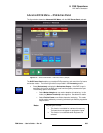
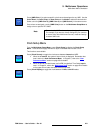
Clock Setup — Use the following steps to set up the clock:
1. If a clock is configured in your selected layout, press {Clock Setup}.
2. Press {Clock Source} and choose the clock’s source, either internal or LTC.
3. Press {Clock Display} and choose the display mode, either 12 or 24 hour.
14