288 FSN Series • User’s Guide • Rev 01
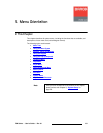
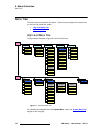
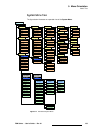
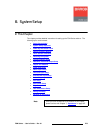
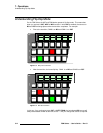
6. System Setup
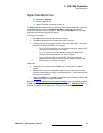
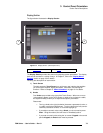
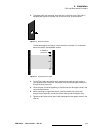
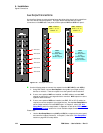
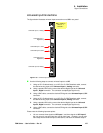
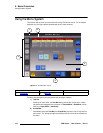
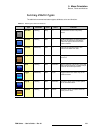
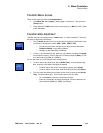
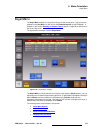
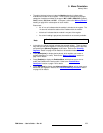
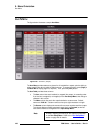
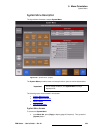
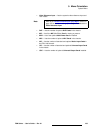
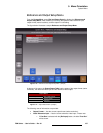
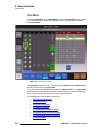
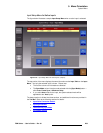
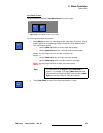
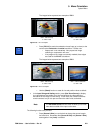
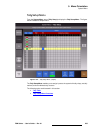
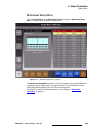
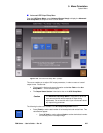
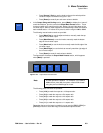
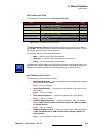
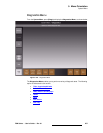
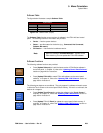
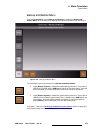
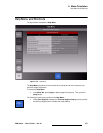
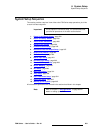
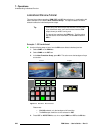
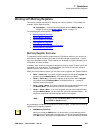
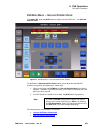
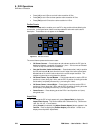
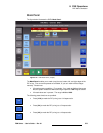
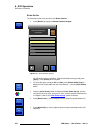
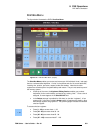
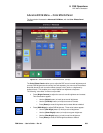
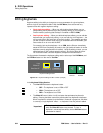
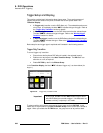
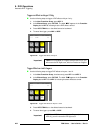
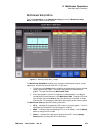
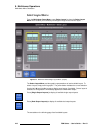
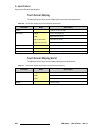
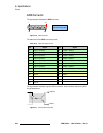
Reference Video and Output Setup
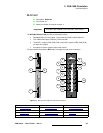
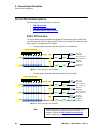
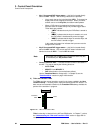
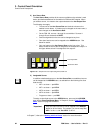
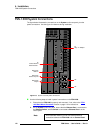
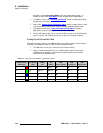
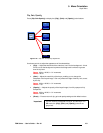
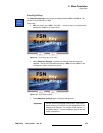
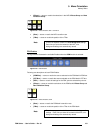
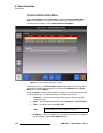
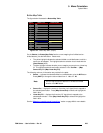
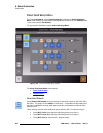
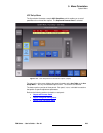
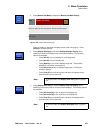
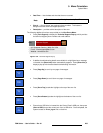
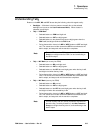
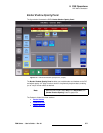
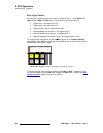
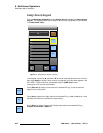
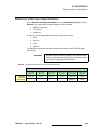
Set up V-Lock and Timing — Use the following steps to set the output V-Lock mode
and SDI output timing, if desired.
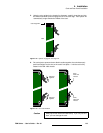
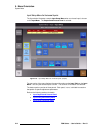
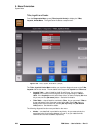
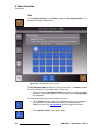
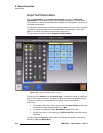
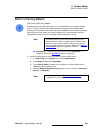
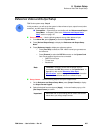
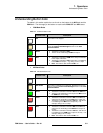
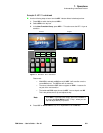
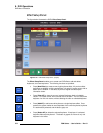
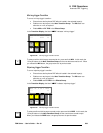
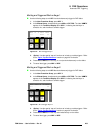
1. Press the {Output V-Lock} button to toggle the Output V-Lock mode on or off.
~ When On, the {SDI Output Timing} button appears. All native inputs
are forced to
Frame Sync mode, and one frame of delay will be incurred
on all native inputs. In addition, on the
Input Setup Menu, the {Sync
Mode} button is grayed out.
~ When Off, you can not set H and V offsets, and the {Sync Mode} button
is active on the
Input Setup Menu. This mode provides the least
amount of delay through the switcher.
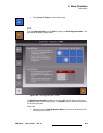
2. If {Output V-Lock} is On, press {SDI Output Timing} to set SDI H and V offsets.
Use the
{SDI H Offset} and {SDI V Offset} controls to set the offsets as desired.
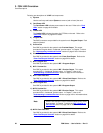
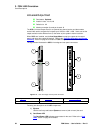
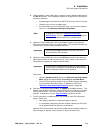
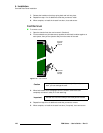
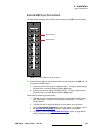
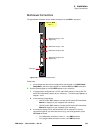
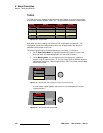
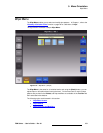
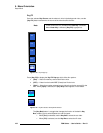
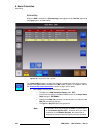
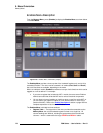
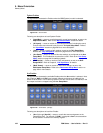
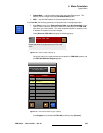
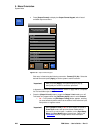
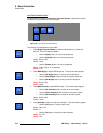
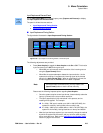
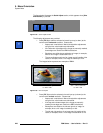
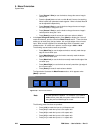
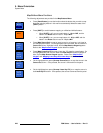
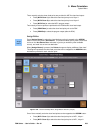
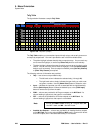
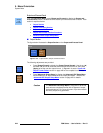
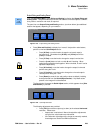
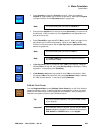
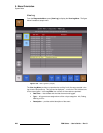
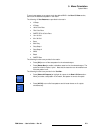
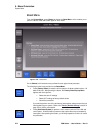
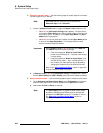
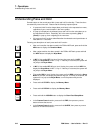
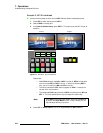
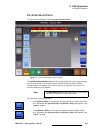
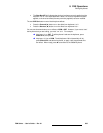
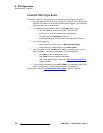
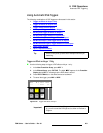
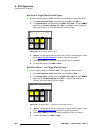
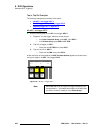
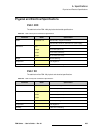
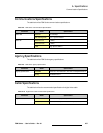
Set up reference output — Use the following steps to set the reference video output:
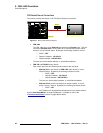
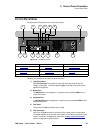
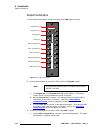
1. On the Reference and Output Setup Menu, press {Ref Output} to change the
reference video signal that is currently available on the
REF OUT connector.
2. Select either Tri-level or Burst, as required.
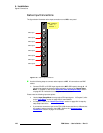
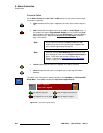
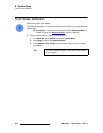
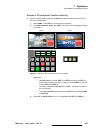
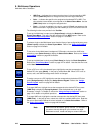
Note
Remember that this mode can only be set when the
Reference Input is set to External.
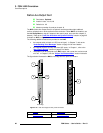
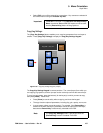
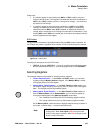
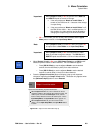
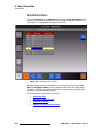
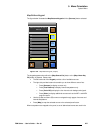
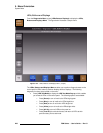
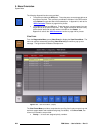
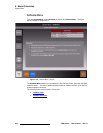
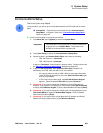
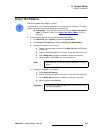
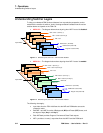
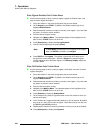
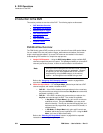
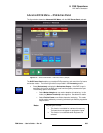
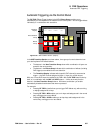
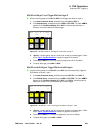
Important
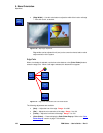
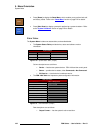
When {Output V-Lock} is On, the position of the DSK Cut
and
DSK Fill inputs on screen will change.
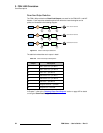
• If the user preference “Black on Invalid Video” is
turned on, the DSK turns off — because of the change
in output timing.
• If the user preference “Black on Invalid Video” is off,
the DSK will be visible — but in a shifted position. In
this condition, the video position can be adjusted by
changing the output timing of the DSK source itself.
Refer to the “
User Preferences Setup” section on page 304
for User Preference Setup instructions.
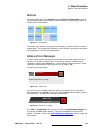
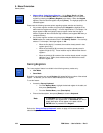
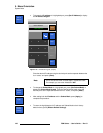
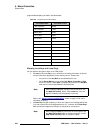
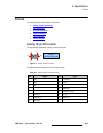
Note
The {Ref Output} button is grayed out when certain output
formats are selected, and a default signal is automatically
provided on the
REF OUT connector. In Chapter 5, refer to
the “
Reference and Output Setup Menu” section on
page 197 for details.