FSN Series • User’s Guide • Rev 01 299
6. System Setup
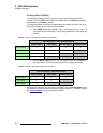
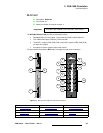
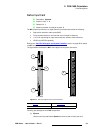
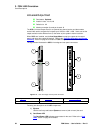
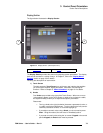
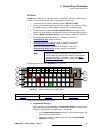
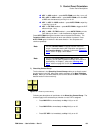
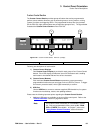
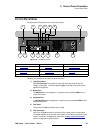
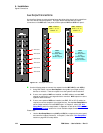
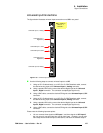
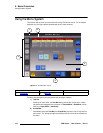
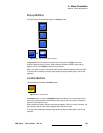
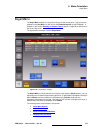
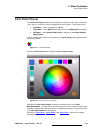
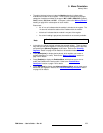
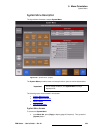
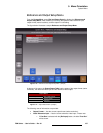
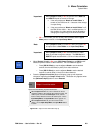
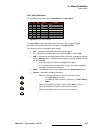
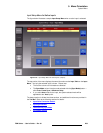
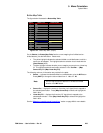
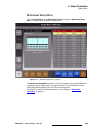
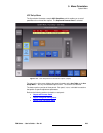
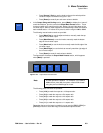
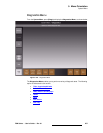
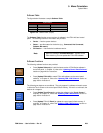
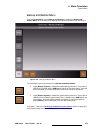
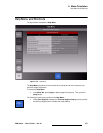
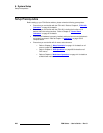
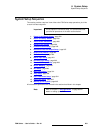
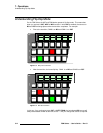
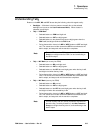
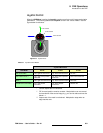
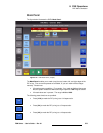
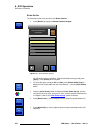
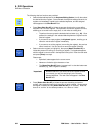
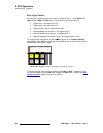
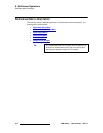
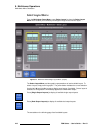
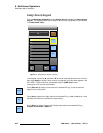
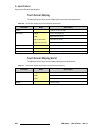
Aux Setup
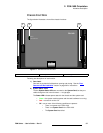
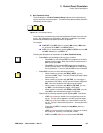
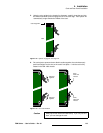
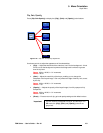
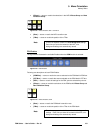
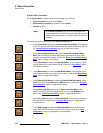
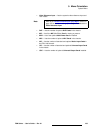
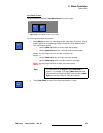
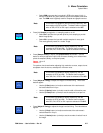
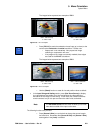
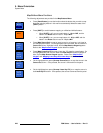
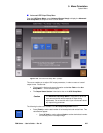
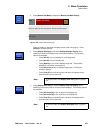
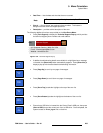
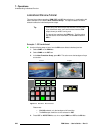
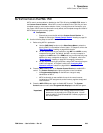
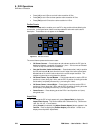
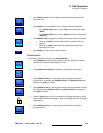
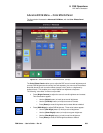
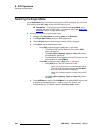
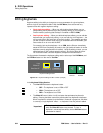
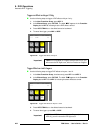
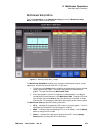
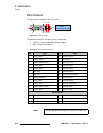
8. For interlaced Aux outputs only, press {De-Interlace} to display the De-Interlace
Pop-up. Select Motion Adaptive or Field to Frame as required.
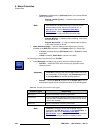
9. If Motion Adaptive is selected, press {Motion Threshold} and use the control to
adjust the threshold of the motion adaptive de-interlacer.
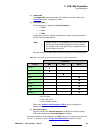
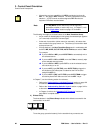
10. Press {DVI Sync}, and select the desired polarity of the digital sync output on the
DVI connector.
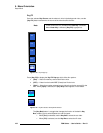
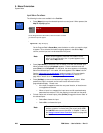
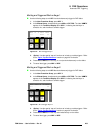
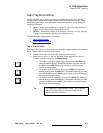
11. Press {Analog Type}, and select the desired type of analog sync output on the
HD-15 connector.
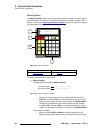
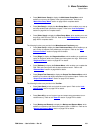
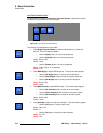
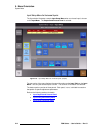
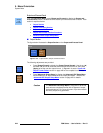
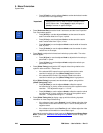
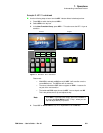
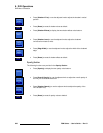
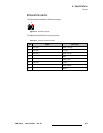
12. If {HV Sync} is selected on the {Analog Type} button, press {Analog Sync} and
select the desired polarity of the analog sync output on the HD-15 connector.
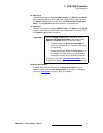
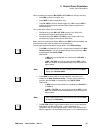
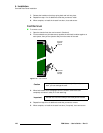
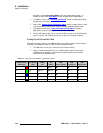
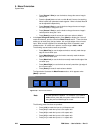
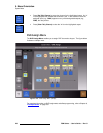
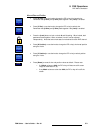
13. If you want to copy settings to another UOC channel, press {Copy All Settings}.
In the
Copy Settings Keypad, select the desired channel, and press {Copy} to
complete the process.
14. If you want to set the channel’s settings to their default value, press {Restore
Default Settings}
.
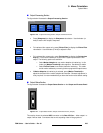
15. Press {Back} to return to the Aux Setup Menu. Repeat from step 1 to set up
additional Aux outputs.
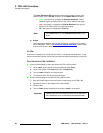
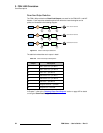
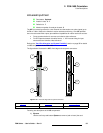
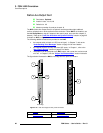
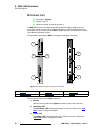
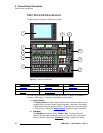
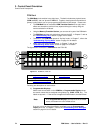
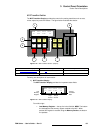
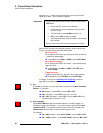
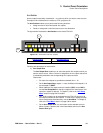
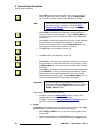
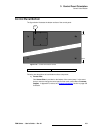
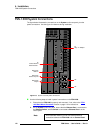
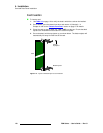
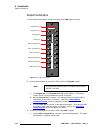
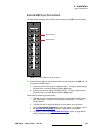
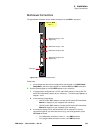
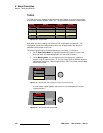
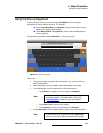
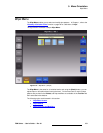
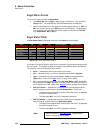
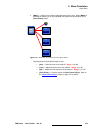
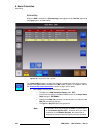
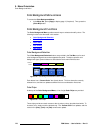
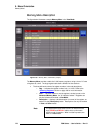
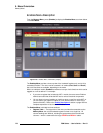
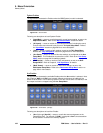
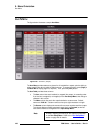
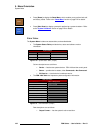
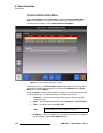
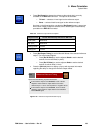
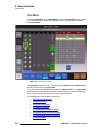
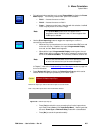
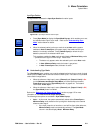
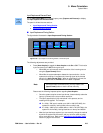
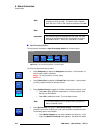
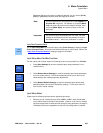
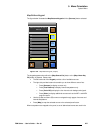
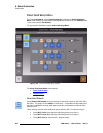
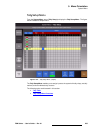
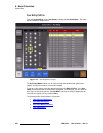
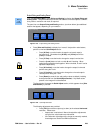
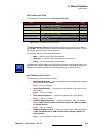
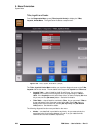
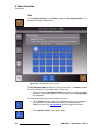
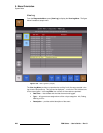
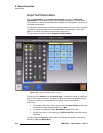
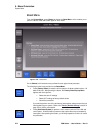
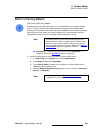
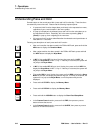
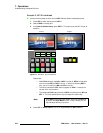
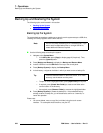
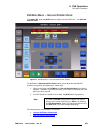
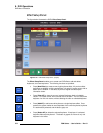
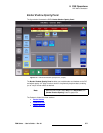
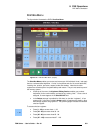
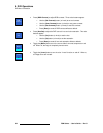
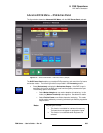
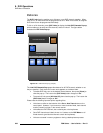
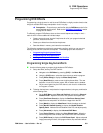
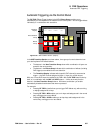
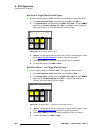
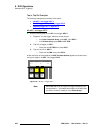
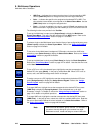
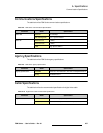
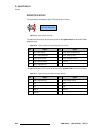
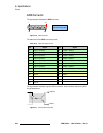
Advanced Setup — Use the following steps to set advanced UOC output parameters:
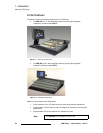
1. On the Output and Process Panel, press {Advanced Output Setup} to display
the
Advanced UOC Setup Menu.
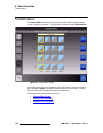
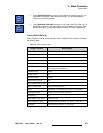
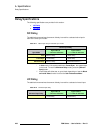
2. On the Advanced UOC Setup Menu, press the UOC Aux connector that you
want to set up.
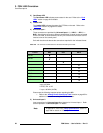
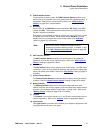
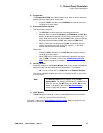
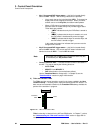
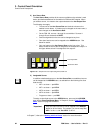
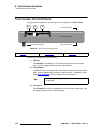
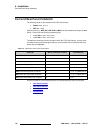
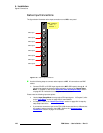
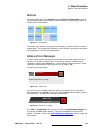
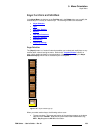
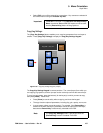
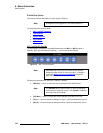
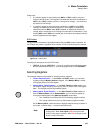
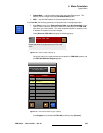
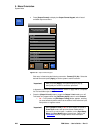
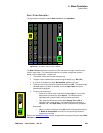
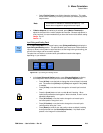
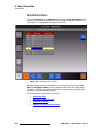
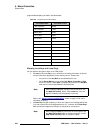
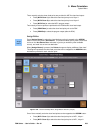
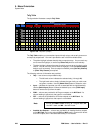
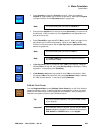
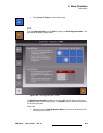
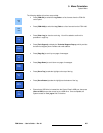
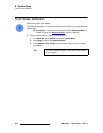
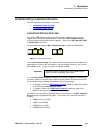
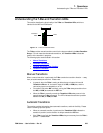
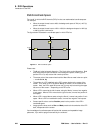
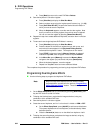
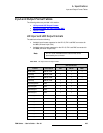
3. Press {Totals}, and use the {H Total} and {V Total} controls to set the total
number of horizontal pixels and vertical lines in the output.
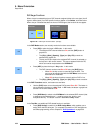
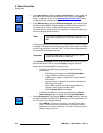
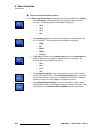
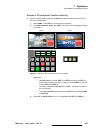
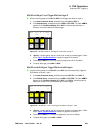
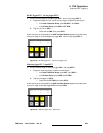
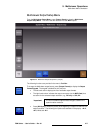
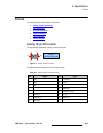
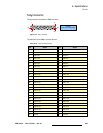
4. Press {Active and Pos}, and use the {H Pos}, {V Pos}, {H Active} and {V
Active}
controls to set the output’s H and V active area, and the H and V position.
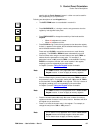
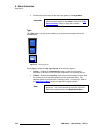
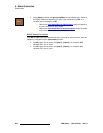
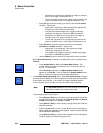
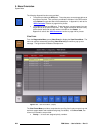
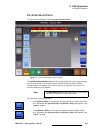
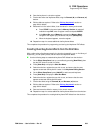
5. Press {Sync}, and use the {H Sync} and {V Sync} controls to adjust the output’s
horizontal and vertical sync pulse width.
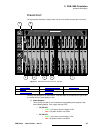
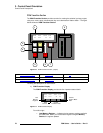
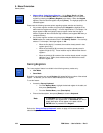
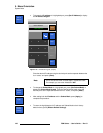
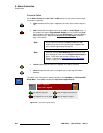
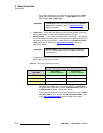
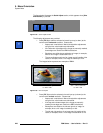
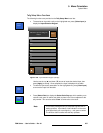
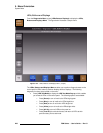
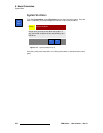
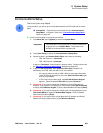
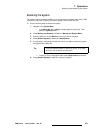
6. If the selected UOC output format is vertically locked to the native resolution’s
vertical sync, press
{Offset Timing}. Use the {H Offset} and {V Offset} controls
to adjust the UOC output’s video timing relative to the system’s native resolution.
7. Press {Back} to return to the Output and Process Panel, then press {Back} to
return to the
Aux Setup Menu.
Caution
The Advanced UOC Setup Menu is designed for advanced
users who are familiar with all aspects of output timing
adjustments. Do not use this menu if you are uncertain about
any output timing parameter.
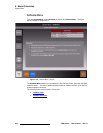
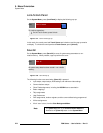
Important
Changing the H and V Totals will cause a disruption to the
UOC’s output video. Press
{Apply} to apply changes, or
{Undo} to reverse un-applied changes.