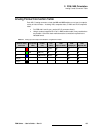
296 FSN Series • User’s Guide • Rev 01
6. System Setup
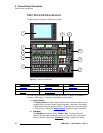
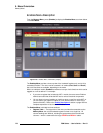
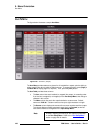
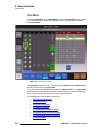
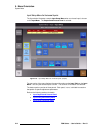
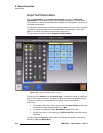
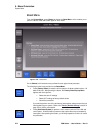
External DSK Input Setup
bñíÉêå~ä=aph=fåéìí=pÉíìé
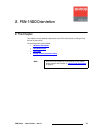
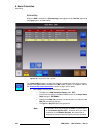
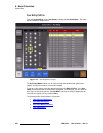
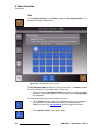
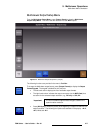
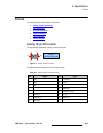
FSN Series system setup: Step 11
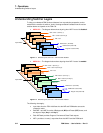
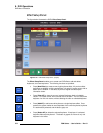
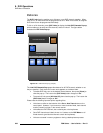
In this procedure, you will set up the external DSK inputs.
S Prerequisite — Ensure that you are familiar with the following menus:
~ External DSK Setup Menu — Chapter 5, “External DSK Setup Menu,”
page 229.
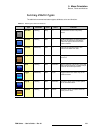
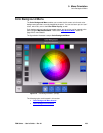
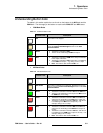
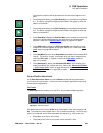
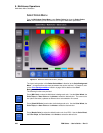
~ Connector Colors — Chapter 5, “Connector Colors,” page 204.
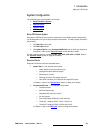
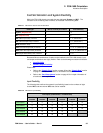
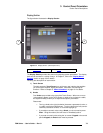
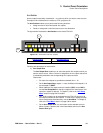
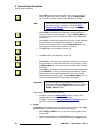
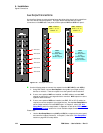
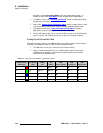
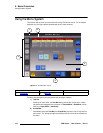
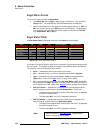
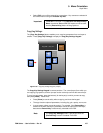
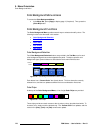
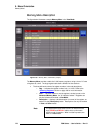
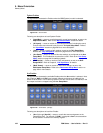
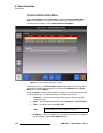
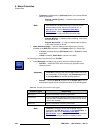
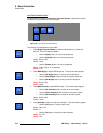
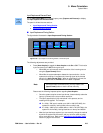
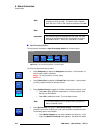
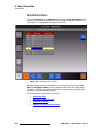
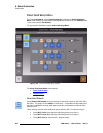
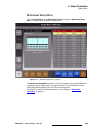
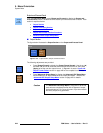
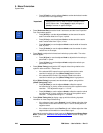
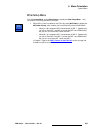
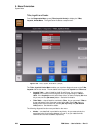
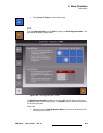
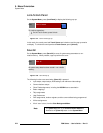
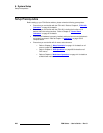
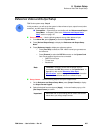
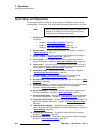
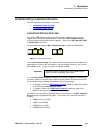
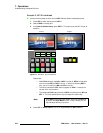
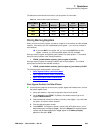
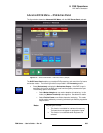
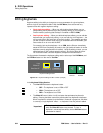
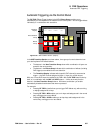
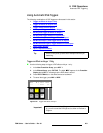
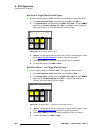
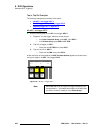
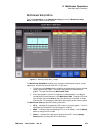
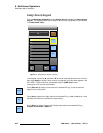
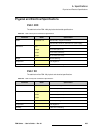
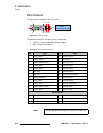
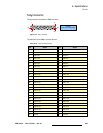
Error Reporting — Use the following steps to set external DSK error reporting:
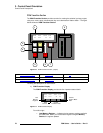
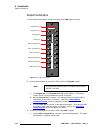
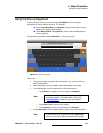
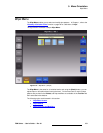
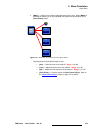
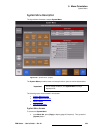
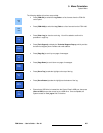
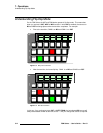
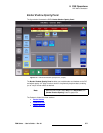
1. In the Menu Bar, press {System} to access the System Menu.
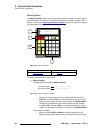
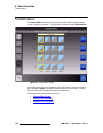
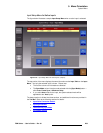
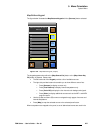
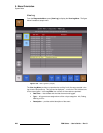
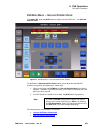
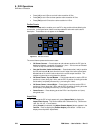
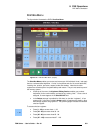
2. Press {External DSK Setup} to display the External DSK Setup Menu.
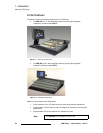
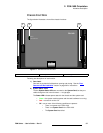
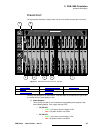
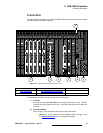
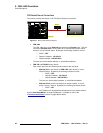
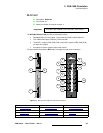
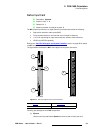
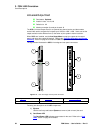
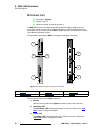
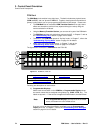
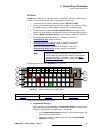
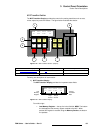
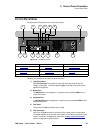
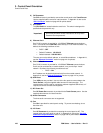
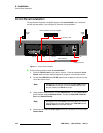
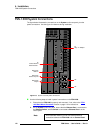
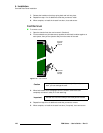
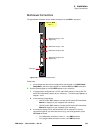
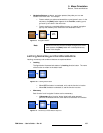
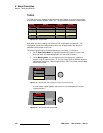
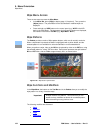
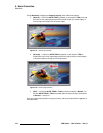
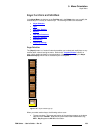
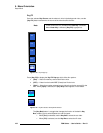
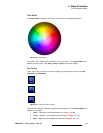
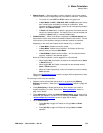
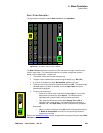
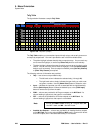
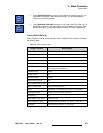
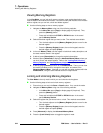
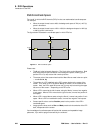
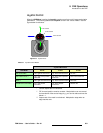
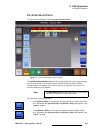
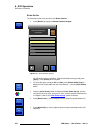
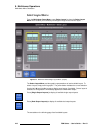
3. In the Rear I/O View, press the DSK Cut connector.
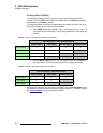
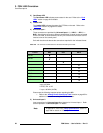
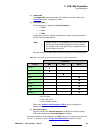
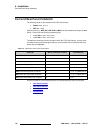
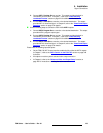
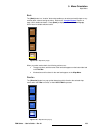
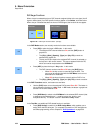
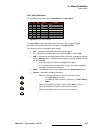
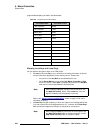
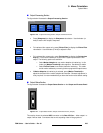
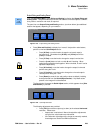
4. Toggle the {Error Reporting} button either On or Off, as desired. The table’s
Error Reporting column indicates your selection.
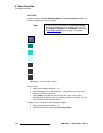
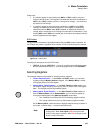
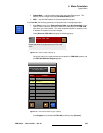
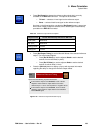
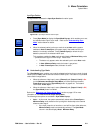
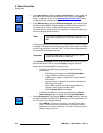
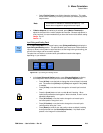
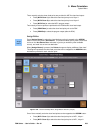
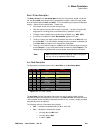
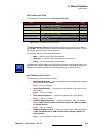
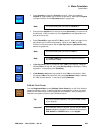
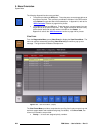
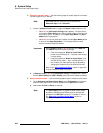
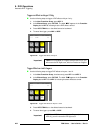
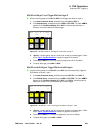
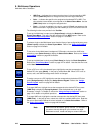
~ If you elect not to use the external DSK input, turn error reporting off to
prevent error messages.
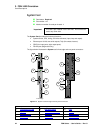
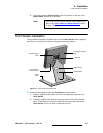
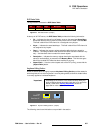
~ If you elect to use the input, ensure that your source is properly
connected to the FSN-1400.
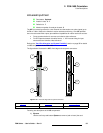
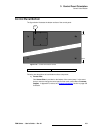
5. Press the DSK FIll connector, and repeat step 4.
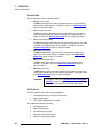
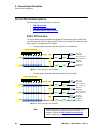
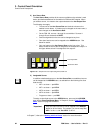
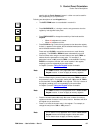
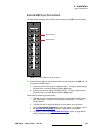
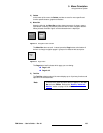
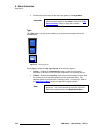
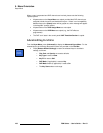
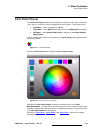
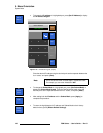
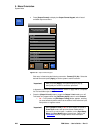
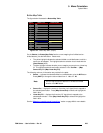
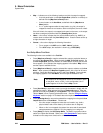
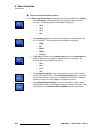
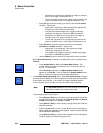
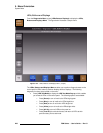
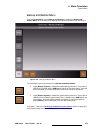
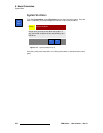
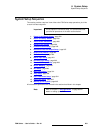
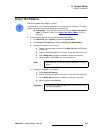
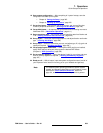
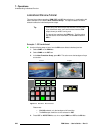
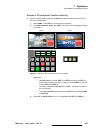
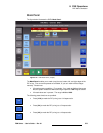
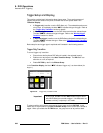
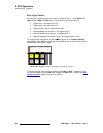
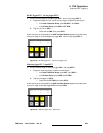
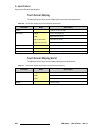
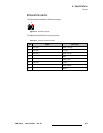
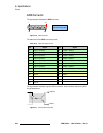
Input Sync — Use the following steps to set up external DSK input sync:
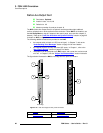
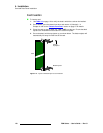
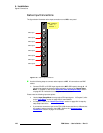
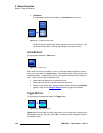
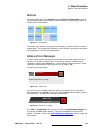
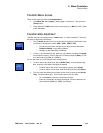
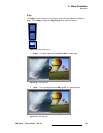
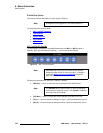
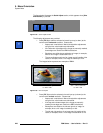
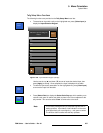
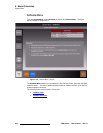
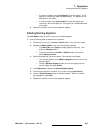
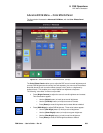
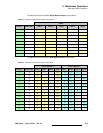
1. In the Rear I/O View, press the DSK Cut connector.
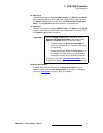
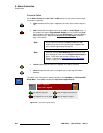
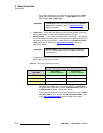
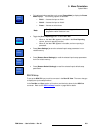
2. Press {Sync Mode}. In the pop-up, select {Auto}, {Minimum Delay} or {Frame
Sync}
. In Chapter 5, see the “Understanding Sync Mode” section for details.
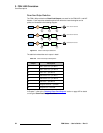
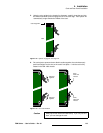
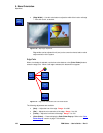
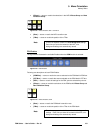
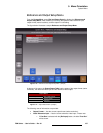
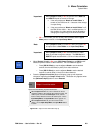
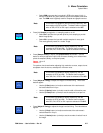
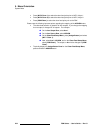
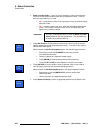
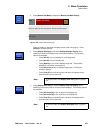
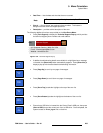
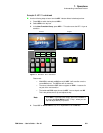
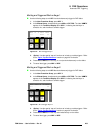
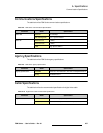
3. If required, press {Refresh Sync}. This function is only required in Auto Sync
mode. If the system switches from
Auto: Minimum Delay to Auto: Frame Sync,
the system will not return to
Auto: Minimum Delay until sync is refreshed.
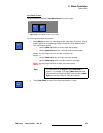
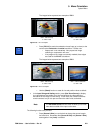
4. Press the DSK FIll connector, and repeat steps 2 and 3.
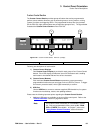
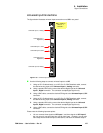
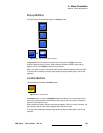
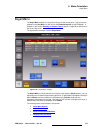
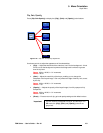
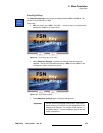
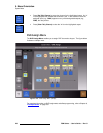
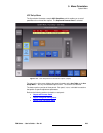
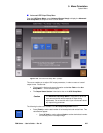
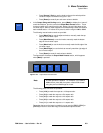
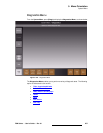
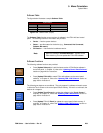
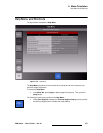
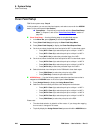
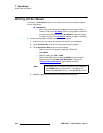
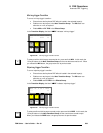
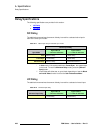
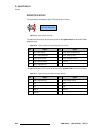
Save Settings — Use the following steps to save DSK input settings:
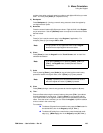
1. Press {Save Settings} to save all DSK input setup parameters.
2. Press {Back} to return to the System Menu.
11