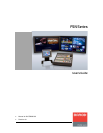
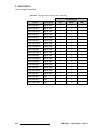
294 FSN Series • User’s Guide • Rev 01
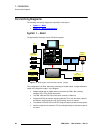
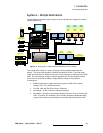
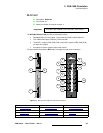
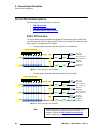
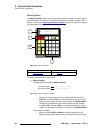
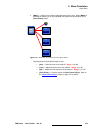
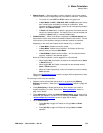
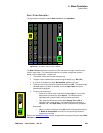
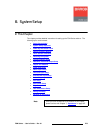
6. System Setup
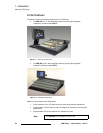
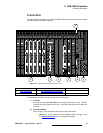
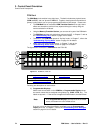
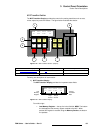
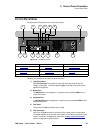
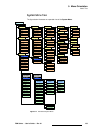
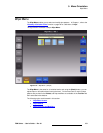
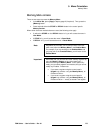
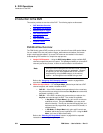
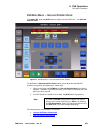
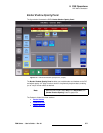
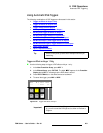
Universal Input Setup
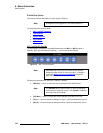
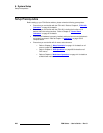
Capture and Timing — Use the following steps to set up universal input capture and
timing parameters:
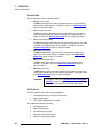
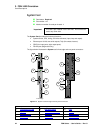
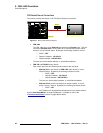
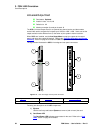
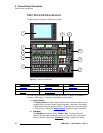
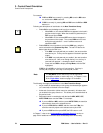
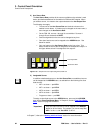
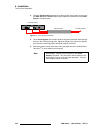
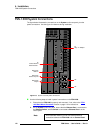
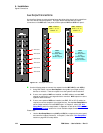
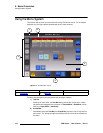
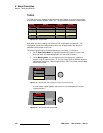
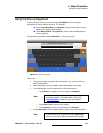
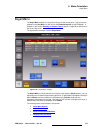
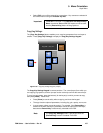
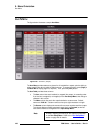
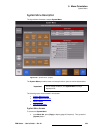
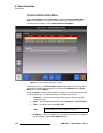
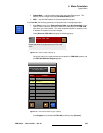
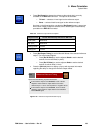
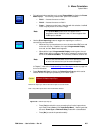
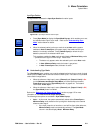
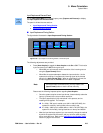
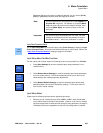
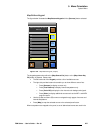
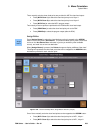
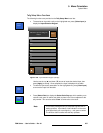
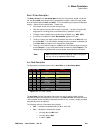
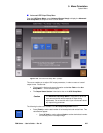
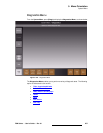
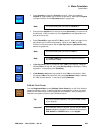
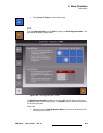
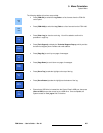
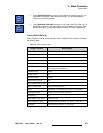
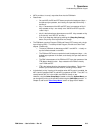
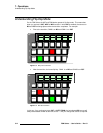
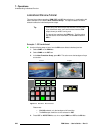
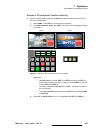
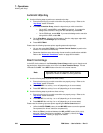
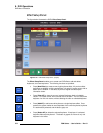
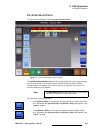
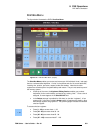
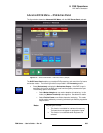
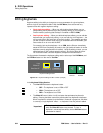
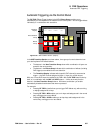
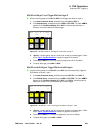
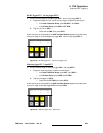
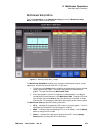
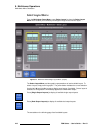
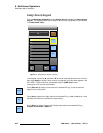
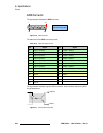
1. Press {Setup} to display the Input Setup Menu for the selected universal input.
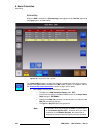
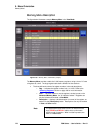
2. Press {Capture and Process} to display the Capture and Process Panel.
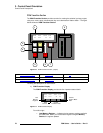
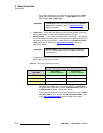
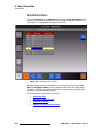
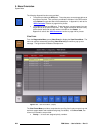
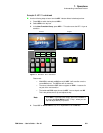
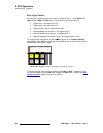
3. Press {Auto Acquire} to toggle the Auto Acquire mode On or Off as required.
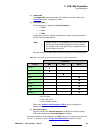
~ When Off, you can set the resolution using the {Input Format} button.
~ When On, the system attempts to detect the resolution. When a match
is found, the format is applied and the
Format field in the table is
updated. Once the system acquires a new format, it automatically scales
the input up (or down) to the current native resolution.
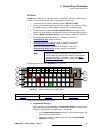
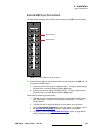
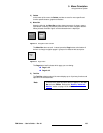
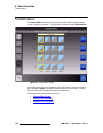
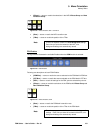
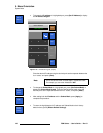
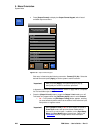
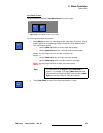
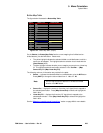
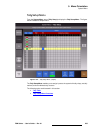
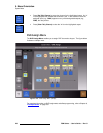
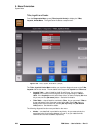
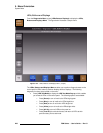
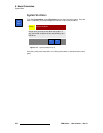
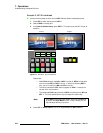
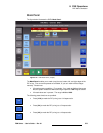
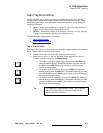
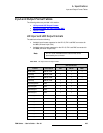
4. If required, press {Input Format} to display the Input Format Keypad. Locate
the desired format and press
{Apply}.
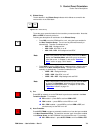
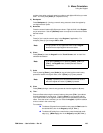
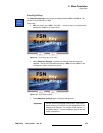
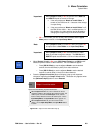
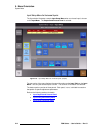
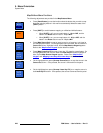
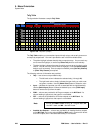
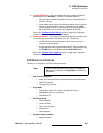
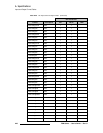
5. Analog and DVI inputs only — Press {EDID Format} to display the EDID
Format Keypad. Locate the EDID format and press {Apply} to program EDID.
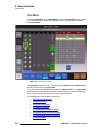
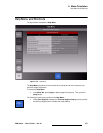
6. Analog and DVI inputs only — Press {Color Space} to toggle between SMPTE
and
RGB processing, as required.
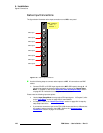
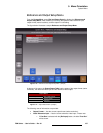
7. Analog inputs only — Press {1:1 Sampling} to toggle the 1:1 sampling mode on
or off, as required.
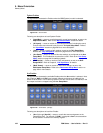
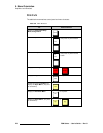
8. Analog inputs only — Press {Sample Phase}, and use the Sample Phase
control to adjust the input’s A/D converter. For optimum visual results when
adjusting high-resolution sources, output a burst test pattern from the source, and
adjust for minimum noise.
9. Analog inputs only — Press {Adjust H Timing} to adjust the image’s horizontal
timing. Use the
{H Pos}, {H Active} and {H Total} controls as required.
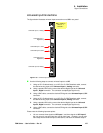
10. Analog inputs only — Press {Adjust V Timing} to adjust the image’s vertical
timing. Use the
{V Pos} and {V Active} controls as required.
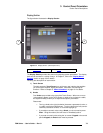
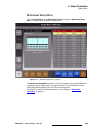
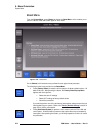
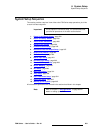
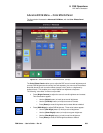
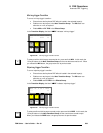
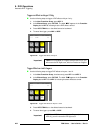
Processing Setup — Use the following steps to set up universal input processing
parameters:
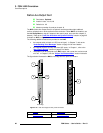
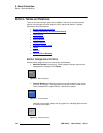
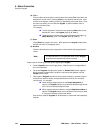
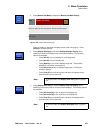
1. Press {Sharpness}, and use the Sharpness control to set the input’s sharpness.
2. Component, S-video and composite inputs only — Press {Pulldown Comp}
to toggle the Pulldown Compensation mode on or off, as required.
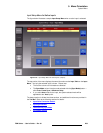
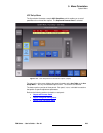
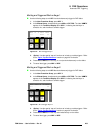
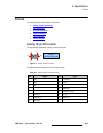
3. Interlaced formats only — Press {De-Interlace} to display the De-Interlace
Pop-up
. Choose either Motion Adaptive or Field to Frame mode.
4. If Motion Adaptive de-interlacing is selected, press {Motion Threshold} and use
the control to adjust the threshold of the motion adaptive de-interlacer, if required.
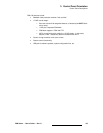
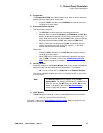
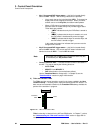
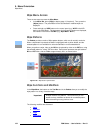
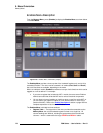
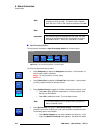
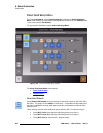
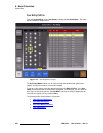
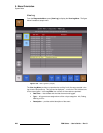
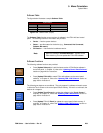
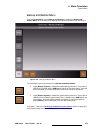
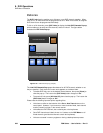
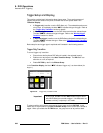
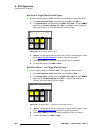
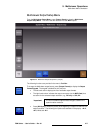
Sizing and Scaling — Use the following steps to set up sizing and scaling:
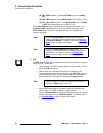
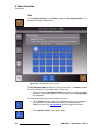
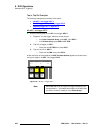
1. Press {Sizing and Scaling} to display the Sizing and Scaling Panel.
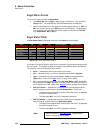
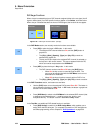
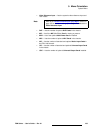
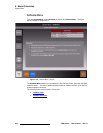
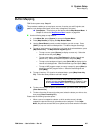
Note
If an exact match cannot be found, you may need to use
{Input Format} button to set the format manually.
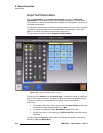
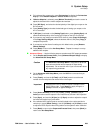
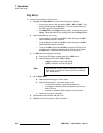
Important
This function is designed for advanced users only. Do not
program the EDID unless it is necessary.