220 FSN Series • User’s Guide • Rev 01
5. Menu Orientation
System Menu
The figure below illustrates the Quick Adjust section, which appears when {Size
and Position} is pressed:
Figure 5-95. Quick Adjust Section
The following adjustments are provided:
~ Press {Fill H} to scale the selected universal input up (or down) to the
current native
horizontal resolution. Please note:
• Aspect ratio is maintained. Manual size/position adjustments
using the four value buttons are maintained.
• If the left and/or right edges of the image are manually masked,
those edges are used for the
Fill H calculations.
• Black bars are visible above and below an image, for example,
when a 16:9 image is scaled down to 4:3.
• The top and bottom portions of an image may fall outside of the
raster, for example, when a 4:3 image is scaled up to 16:9.
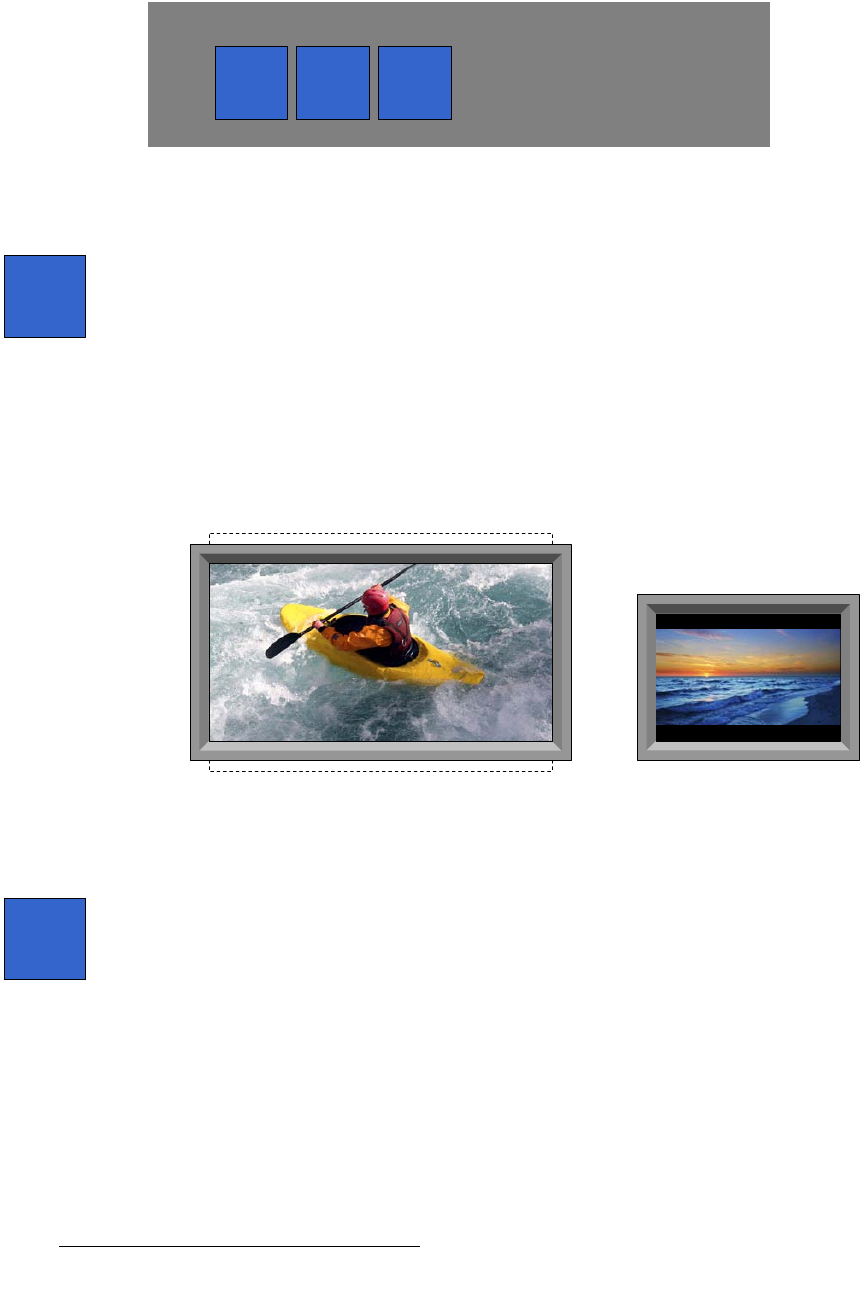
The images below represent two examples of
Fill H.
Figure 5-96. Fill H examples
~ Press {Fill V} to scale the selected universal input up (or down) to the
current native
vertical resolution. Please note:
• Aspect ratio is maintained. Manual size/position adjustments
using the four value buttons are maintained.
• If the top and/or bottom edges of the image are manually
masked, those edges are used for the
Fill V calculations.
• Black pillars are visible to the left and right of an image, for
example, when a 4:3 image is scaled up to 16:9.
• The left and right portions of an image may fall outside of the
raster, for example, when a 16:9 image is scaled down to 4:3.
Fill
V
Fill
H
Fill
H/V
Quick Adjust
Fill
H
1024 x 768 scaled up
to 1920 x 1080
1920 x 1080 scaled down
to 1024 x 768
Fill
V
