292 FSN Series • User’s Guide • Rev 01
6. System Setup
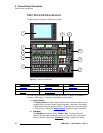
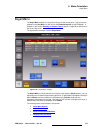
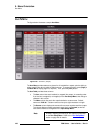
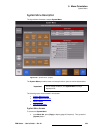
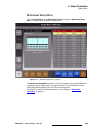
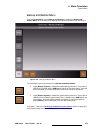
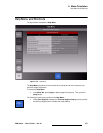
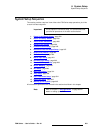
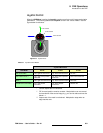
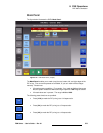
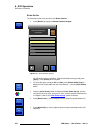
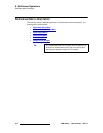
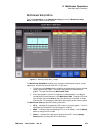
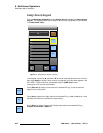
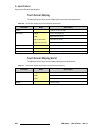
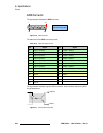
Native Input Setup
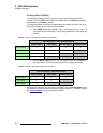
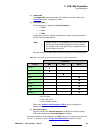
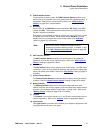
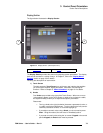
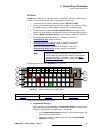
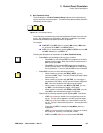
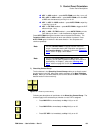
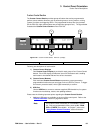
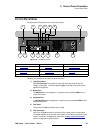
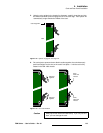
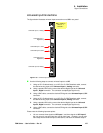
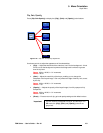
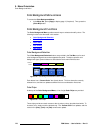
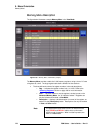
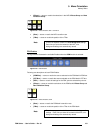
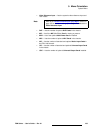
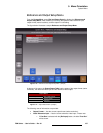
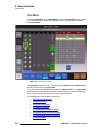
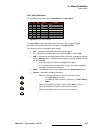
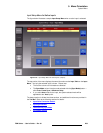
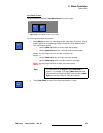
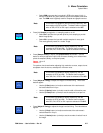
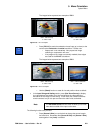
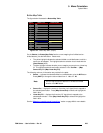
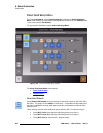
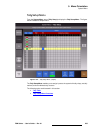
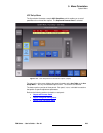
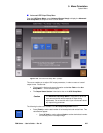
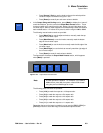
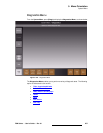
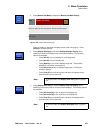
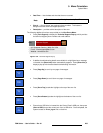
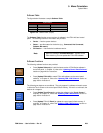
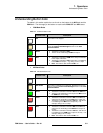
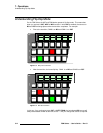
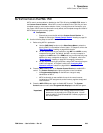
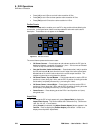
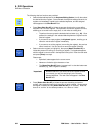
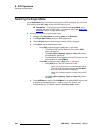
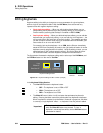
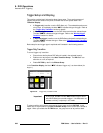
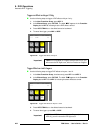
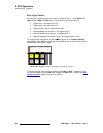
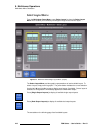
8. After a factory reset, the Sync Mode for all native inputs is set to Auto Sync. In
this mode, the system automatically determines whether to set
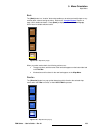
Auto: Minimum
Delay mode or Auto: Frame Sync mode for each input. If Auto: Frame Sync is
set, the system will not return to
Auto: Minimum Delay mode until the sync
processing is refreshed for the input.
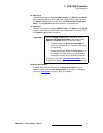
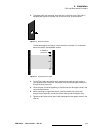
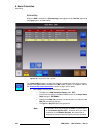
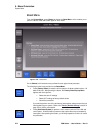
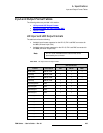
To refresh sync for all inputs, press
{Refresh All Sync}. Next, in the pop-up,
press
{Yes}. Native inputs set to Frame Sync or Minimum Delay modes will not
be affected. Only inputs set to
Auto: Frame Sync mode will be affected.
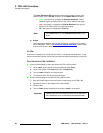
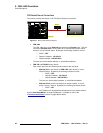
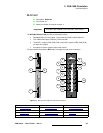
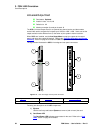
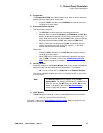
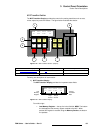
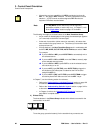
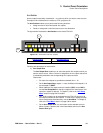
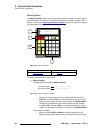
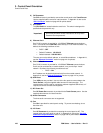
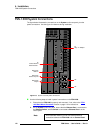
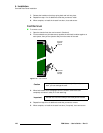
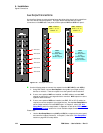
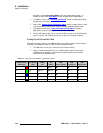
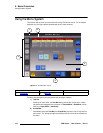
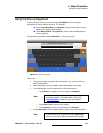
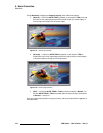
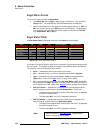
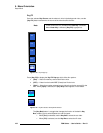
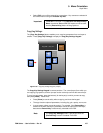
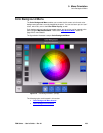
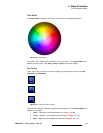
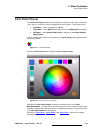
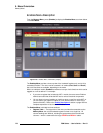
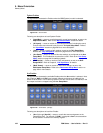
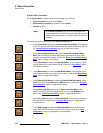
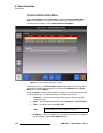
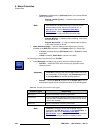
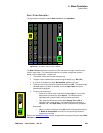
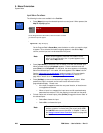
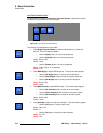
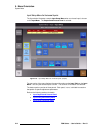
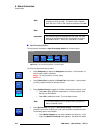
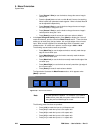
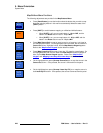
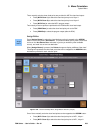
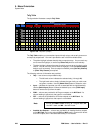
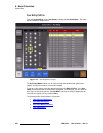
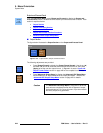
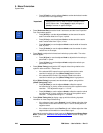
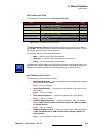
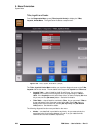
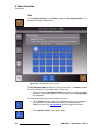
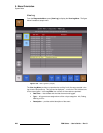
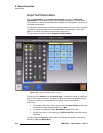
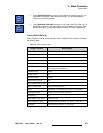
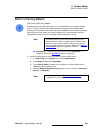
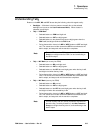
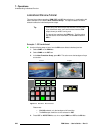
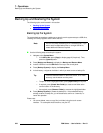
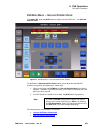
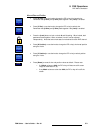
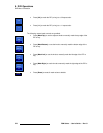
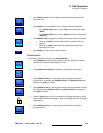
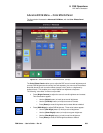
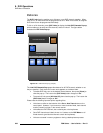
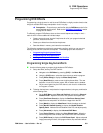
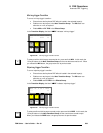
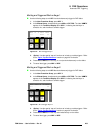
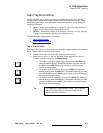
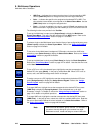
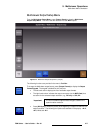
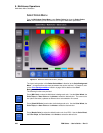
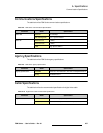
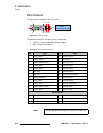
Color Correction — Use the following steps to set up native input color correction:
1. Press {Setup} to display the Input Setup Menu for the selected native input.
2. To adjust the input’s brightness, contrast and gamma, press {Bright Contrast
Gamma}
. Use the {Bright}, {Contrast} and {Gamma} controls as desired.
3. To adjust the input’s RGB brightness, press {RGB Bright}. Use the {Red Bright},
{Green Bright} and {Blue Bright} controls as desired.
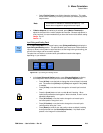
4. To adjust the input’s RGB contrast, press {RGB Contrast}. Use the {Red
Contrast}
, {Green Contrast} and {Blue Contrast} controls as desired.
5. To adjust hue and color saturation, press {Hue Sat} and adjust as desired.
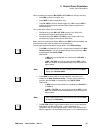
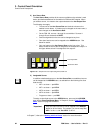
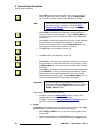
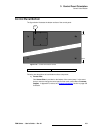
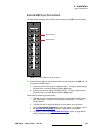
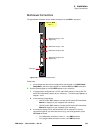
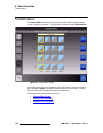
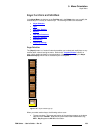
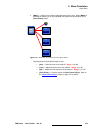
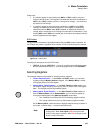
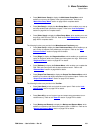
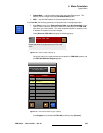
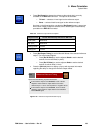
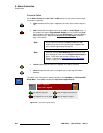
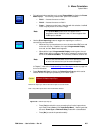
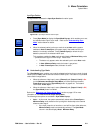
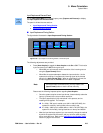
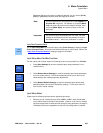
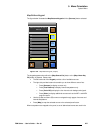
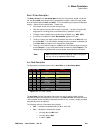
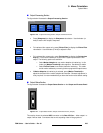
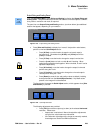
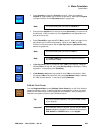
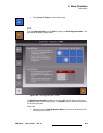
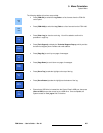
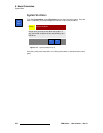
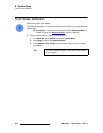
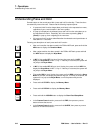
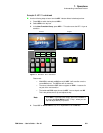
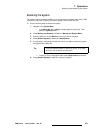
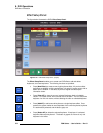
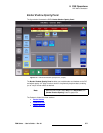
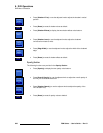
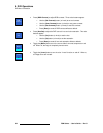
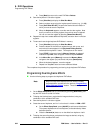
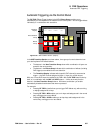
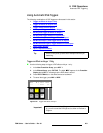
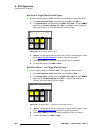
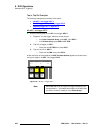
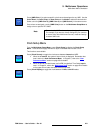
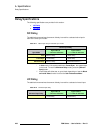
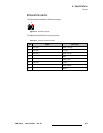
Sync Setup — Use the following steps to set up native input sync:
1. Press {Sync Mode} to set the input’s synchronization mode. In the pop-up, select
{Auto}, {Minimum Delay} or {Frame Sync} mode. In Chapter 5, refer to the
“
Understanding Sync Mode” section on page 211 for complete details.
2. Press {Refresh Sync} to refresh sync for the selected input only. This function is
only required in
Auto Sync mode. If the system switches from Auto: Minimum
Delay
to Auto: Frame Sync, the system will not return to Auto: Minimum Delay
until the sync processing is refreshed.
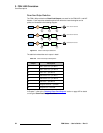
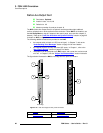
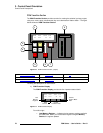
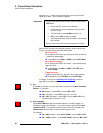
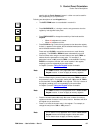
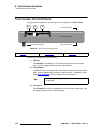
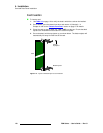
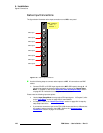
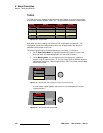
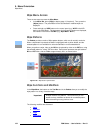
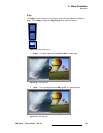
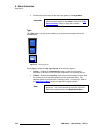
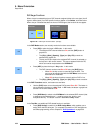
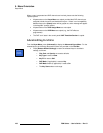
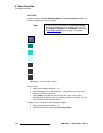
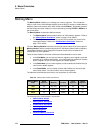
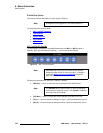
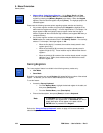
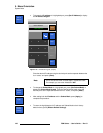
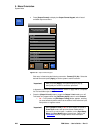
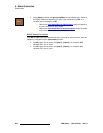
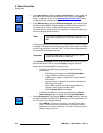
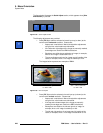
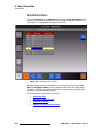
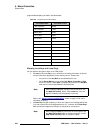
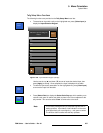
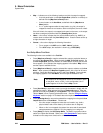
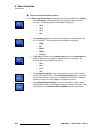
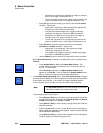
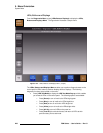
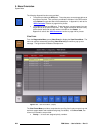
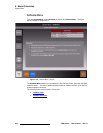
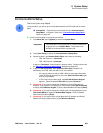
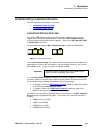
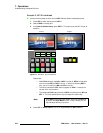
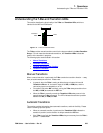
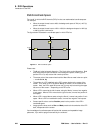
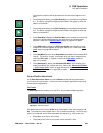
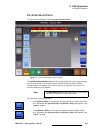
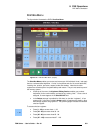
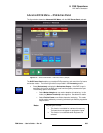
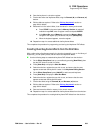
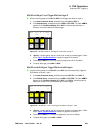
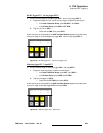
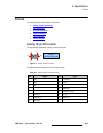
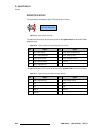
Mask Setup — Use the following steps to set up native input mask:
1. Press {Mask} to mask one or more edges of the video signal, if required. Use the
{Mask Top}, {Mask Bottom}, {Mask Left} and {Mask Right} controls as
required. When a mask is applied on an edge, black is revealed.
2. If required, press {Clear Mask} to clear all four masks to their default settings.
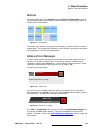
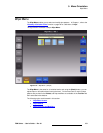
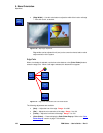
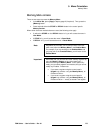
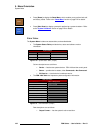
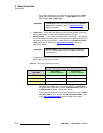
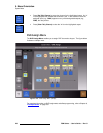
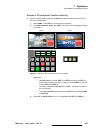
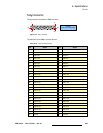
Save Settings — Use the following steps to save input settings:
1. Press {Save Settings} to save the selected input’s setup parameters.
2. Press {Back} to return to the Input Menu.
3. Repeat from step 3 for each additional input that you wish to set up.
Note
If you want to refresh sync for just a selected native input, use
the
{Refresh Sync} button on the Input Setup Menu.
Note
This function does not apply to universal inputs.
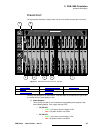
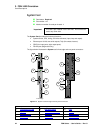
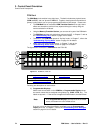
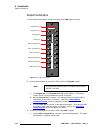
Important
Because you can install either a NIC or a UIC in slots 3 and 4,
If you move or change card assignments in these two slots
during setup, the setup is invalidated, and must be repeated
once the final card configuration is reached.