FSN Series • User’s Guide • Rev 01 297
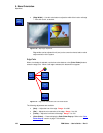
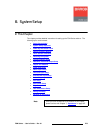
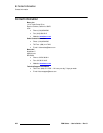
6. System Setup
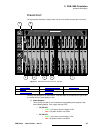
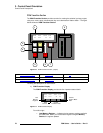
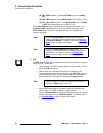
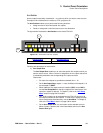
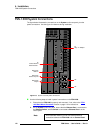
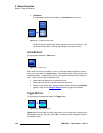
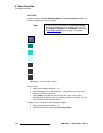
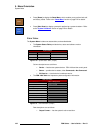
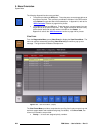
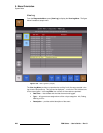
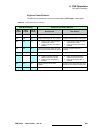
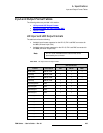
Button Mapping
_ìííçå=j~ééáåÖ
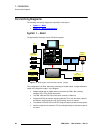
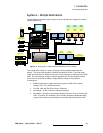
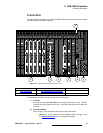
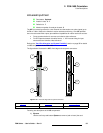
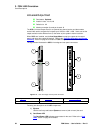
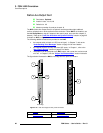
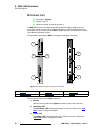
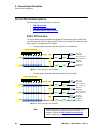
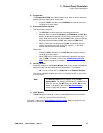
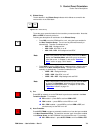
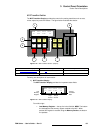
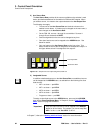
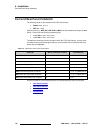
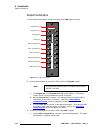
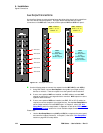
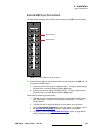
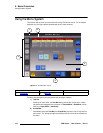
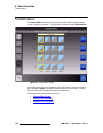
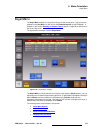
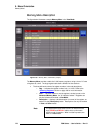
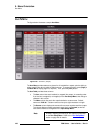
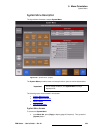
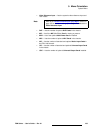
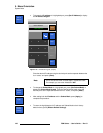
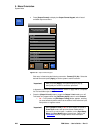
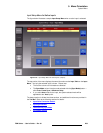
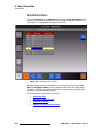
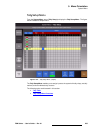
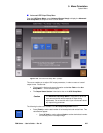
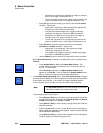
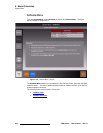
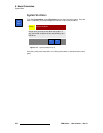
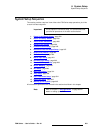
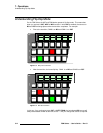
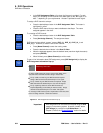
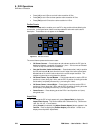
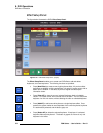
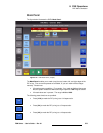
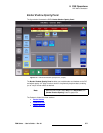
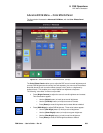
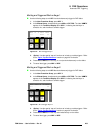
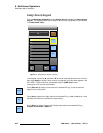
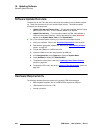
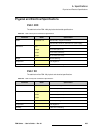
FSN Series system setup: Step 12
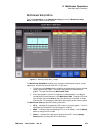
This procedure enables you to map inputs, sources, linear key cut and fill signals, test
patterns, color background signals, and re-entry crosspoints to the panel.
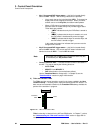
S Prerequisite — Ensure that you are familiar with the Map Buttons Menu. In
Chapter 5, refer to the “
Map Buttons Menu” section on page 224.
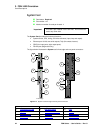
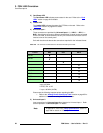
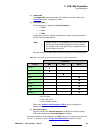
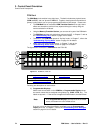
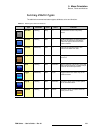
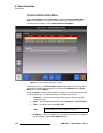
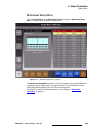
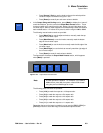
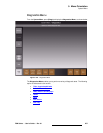
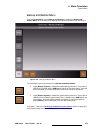
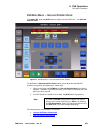
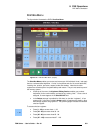
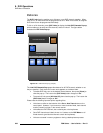
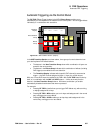
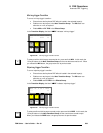
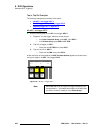
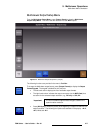
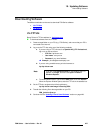
Use the following steps to map buttons:
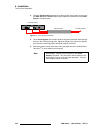
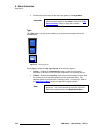
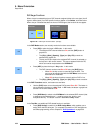
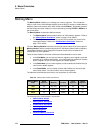
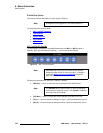
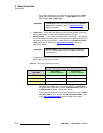
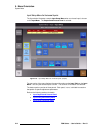
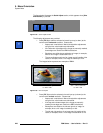
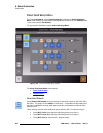
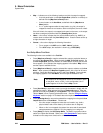
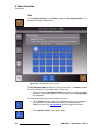
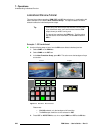
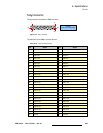
1. In the Menu Bar, press {System} to access the System Menu.
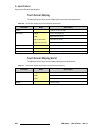
2. Press {Map Buttons} to display the Map Buttons Menu.
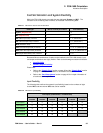
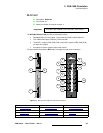
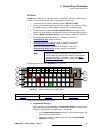
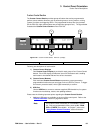
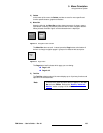
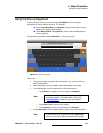
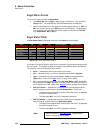
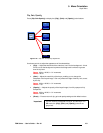
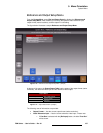
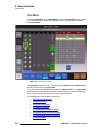
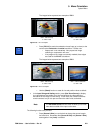
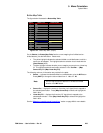
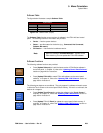
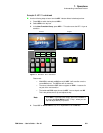
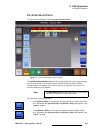
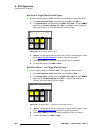
3. Use the {Panel Button} control to select the button you wish to map. Press
{SHIFT} to map the button’s shifted position. The table changes accordingly.
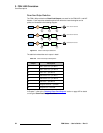
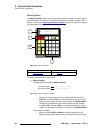
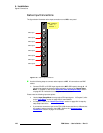
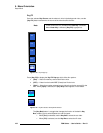
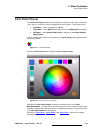
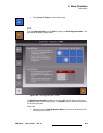
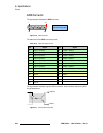
4. To map an input (source) or a linear key “cut” signal to the selected button, press
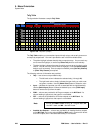
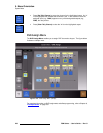
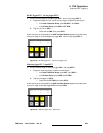
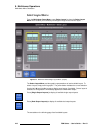
{Map Source/Cut}. The Map Buttons Keypad appears.
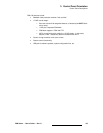
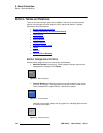
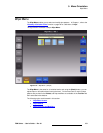
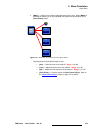
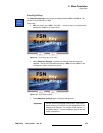
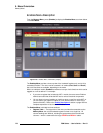
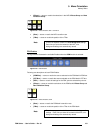
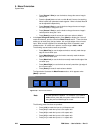
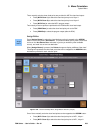
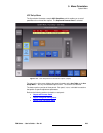
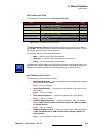
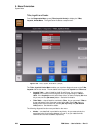
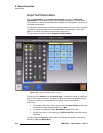
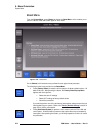
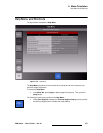
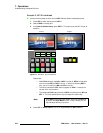
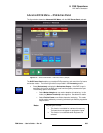
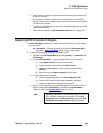
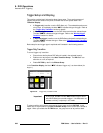
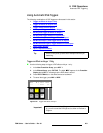
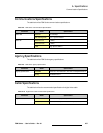
~ To map a source, press {Source} to display sources only. Select the
desired source and press
{Map}.
~ To map a test pattern, press {Test Patterns} to display internal test
patterns only. Select the desired test pattern and press
{Map}.
~ To map a color background signal, press {Color BG} to display the four
internal color backgrounds. Select the desired signal and press
{Map}.
~ To map an M/E program output (a re-entry crosspoint), press {Other} to
display the two M/E program returns. Select the desired signal and
press
{Map}.
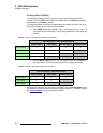
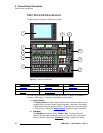
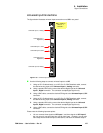
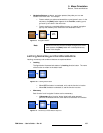
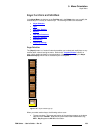
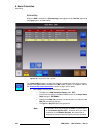
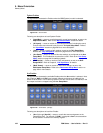
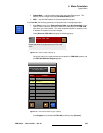
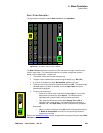
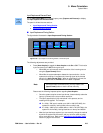
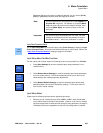
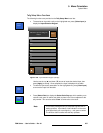
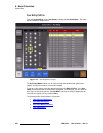
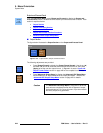
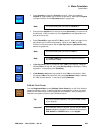
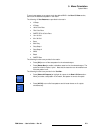
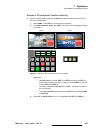
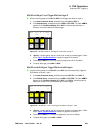
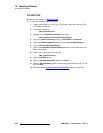
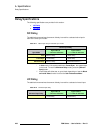
5. To map a linear key “fill” signal to the selected button, press {Map Linear Key
Fill}. Follow the same procedure outlined in step 4.
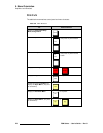
6. To clear a source from the panel, select the button you wish to clear, then press
{Clear Source/Cut}.
7. To clear a linear key fill source from the panel, select the button you wish to clear,
then press
{Clear Linear Key Fill}.
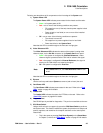
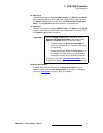
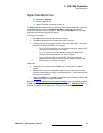
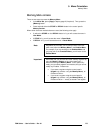
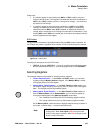
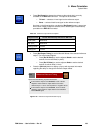
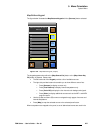
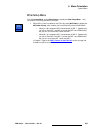
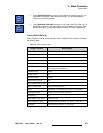
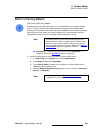
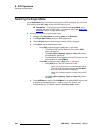
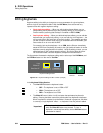
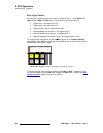
Please note the following important points:
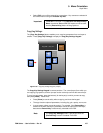
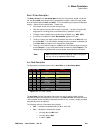
• When a source is mapped to a button on which another source is already
mapped, the previous source is overwritten and un-assigned. On the
Input
Menu
, the previous source's BNC turns yellow, but its name remains in the table.
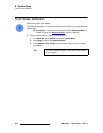
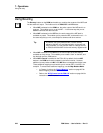
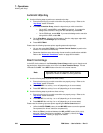
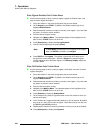
12
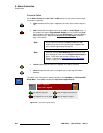
Note
If you elect to use M/E 2, ensure that the M/E order is
properly set using the
Other Setup Menu. In Chapter 5, refer
to the “
Other Setup Menu” section on page 253 for details.