FSN Series • User’s Guide • Rev 01 251
5. Menu Orientation
System Menu
~ Press {Source V Pos} or use the knob to change the vertical position
inside the output’s boundaries along the Y axis.
~ Press {Reset} to reset all pan and zoom values to default.
• In the Output Sizing and Scaling section, press {Mask} to display four “manual”
mask value buttons, plus the convenient
Output Mask Presets section. These
functions enable you to mask (crop) the top, bottom, left, and right edges of the
universal output. When a mask is applied on a selected edge, black is revealed in
each masked section. All values are in percent, and the range is
0.00 to 100.0.
The following manual mask controls are provided:
~ Press {Mask Top} or use the adjacent knob to manually mask the top
edge of the universal output.
~ Press {Mask Bottom} or use the knob to manually mask the bottom
edge of the universal output.
~ Press {Mask Left} or use the knob to manually mask the left edge of the
universal output.
~ Press {Mask Right} or use the knob to manually mask the right edge of
the universal output.
~ Press {Reset} to reset all mask values to default.
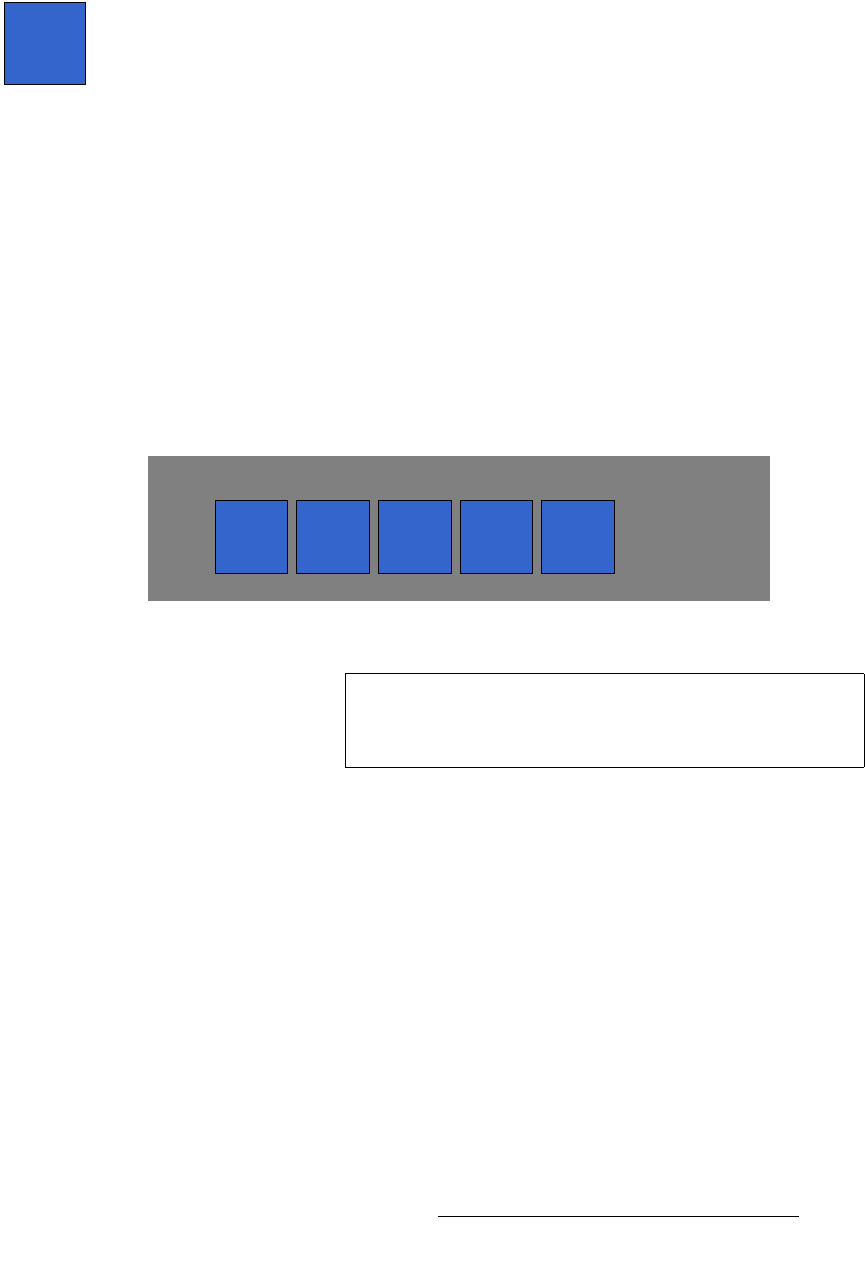
The figure below illustrates the
Output Mask Presets section, which appears
when
{Mask} is pressed:
Figure 5-121. Output Mask Presets Section
The following preset functions are provided:
~ Press {16:9} to mask the output to a 16:9 aspect ratio.
~ Press {5:4} to mask the output to a 5:4 aspect ratio.
~ Press {4:3} to mask the output to a 4:3 aspect ratio.
~ Press {3:2} to mask the output to a 3:2 aspect ratio.
~ Press {1:1} to mask the output to a 1:1 aspect ratio.
Remember that once the image is masked, you can use the
{Fill H}, {Fill V} or
{Fill H/V} functions to scale the image to the selected output resolution.
Mask
5:416:9 4:3
Mask Presets
3:2 1:1
Note
All mask presets are additive. For example, if you mask to
16:9 and then press 4:3, the system creates the 4:3 mask
using the previous
16:9 image as a base.
