


96
8.14 Energy Monitoring Set-up
Follow these steps to set the information for the charge support system connected to this integrated
centralized control software (TG-2000A). If these settings are not correct, the charge function will not
operate correctly.
8.14.1 Setting Procedure and Restrictions
Follow these steps to set the charge information used in calculating the air-conditioning fees in this
integrated centralized control software (TG-2000A).
Set Charge System options.
[Procedure]
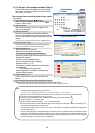
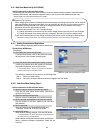
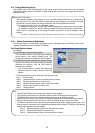
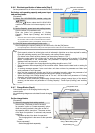
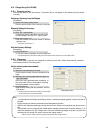
1) Click [Energy monitoring set-up] button.
From the Initial window, click the [Energy monitoring
set-up] button in the System Settings group. The
Energy monitoring set-up preparation screen appears.
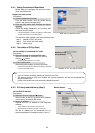
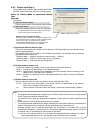
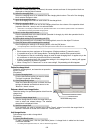
2) Click [OK] button after checking the display contents.
If there is no problem when the contents of the alarm
displayed are checked, click the [OK] button to
proceed to the settings.
* If the [Cancel] button is clicked, the settings are
interrupted and the screen returns to the initial
window.
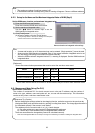
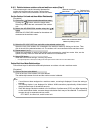
The Energy monitoring set-up are done in the following order.
Step 1 Division mode
Step 2 Relation between outdoor units and watt hour meters
Step 3 Electrical specification of outdoor units
Step 4 Relation between indoor units and watt hour meters
Step 5 Electrical specification of indoor units
Step 6 Charging blocks
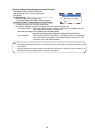
Maintenance Tip (Caution)
• When making changes to the settings, be sure to compile charge information up to the previous
day and print it out or have the results in hand before making changes to the settings. If charge
information is not processed, the charge information will not be apportioned correctly.
The monthly bill consists of a) + b) + standard charge
a) Charge information from the start of the current charge period to the day prior to any changes
b) Charge information from the day after any changes to the end of the current charge period
There may be a discrepancy in the charge information just before or after a change to these
settings.
* For details on setting charge periods, refer to Management manual section “9.3 Air- Conditioning Charge Output”
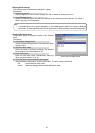
Note:
• The [OK] and [Finish] buttons accept the changes to the settings.
• The [Cancel] button cancels any changes made and exits the Energy monitoring set-up.
• The [Back] button cancels any changes made and returns to the previous window.
• Steps which do not have to be set are not displayed depending on the selected charge method.
• Numeric and character input items can be copied and pasted by right clicking the mouse.
• For Without watt hour meter connection proportionally divided power charge (manual input of the
electric amount) contained in this integrated centralized control software TG-2000A, the following
steps are not displayed, but are skipped.
Step 2 Relation between outdoor units and watt hour meters
Step 3 Electrical specification of outdoor units
Step 4 Relation between indoor units and watt hour meters
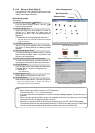
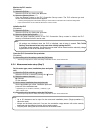
Energy monitoring set-up preparation screen