CHP. 5 NAVIGATING, ZOOMING, AND SELECTING
79
Zero-crossing preference
When using a Snap-Zero command, you can configure Sound Forge to snap to positive slope, negative slope,
or either slope zero-crossings.
1.
From the Options menu, choose Preferences, and click the Editing tab.
2.
From the Snap to zero-crossing slope drop-down list, choose the desired slope and click OK.
Selecting audio during playback
Sound Forge allows you to create selections during playback using the Mark In and Mark Out commands.
These commands place temporary markers in the data window, which are then used to create the selection.
While you can place these markers by choosing
Mark In and Mark Out from the Special menu, the keyboard
equivalents are more useful.
1.
Play the audio file in the current data window.
2.
During playback, press where the selection will begin.
3.
Press where the selection will end. Sound Forge creates a selection using the in and out points you
identified.
Fine-tuning a selection
After creating a selection, you may discover that the start or end point has not been positioned properly. In
cases like this, you can try to reselect the data, but it can be difficult to accurately create selection points. For
this reason, Sound Forge provides a number of tools designed to help you fine-tune selections.
If you find that the selection jumps unexpectedly as you fine-tune it, snapping may be turned on. For more
information, see Understanding snapping on page 80.
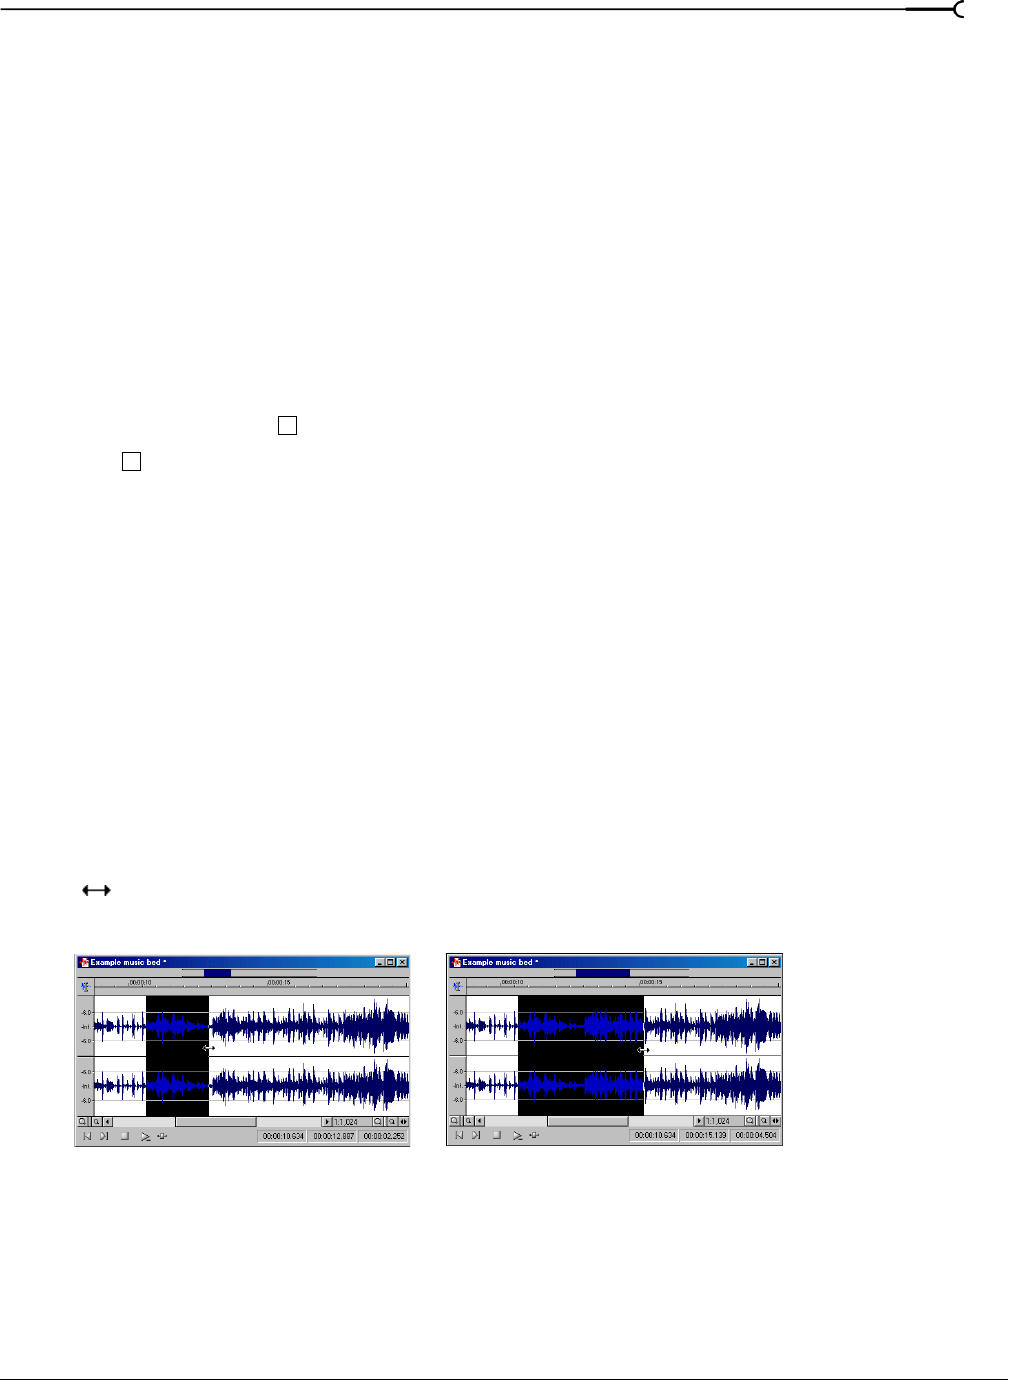
Adjusting a selection with the mouse
You can fine-tune selection start and end points by dragging the edge of the selection to a new location.
1.
Open a file and create a selection in the waveform.
2.
Position the mouse pointer over one of the selection edges. The pointer displays as a bi-directional arrow
().
3.
Drag the selection edge to a new position.
4.
Release the mouse button. The selection updates.
Adjusting a selection with the keyboard
Using the keyboard, you can quickly and accurately select data or update a selection. For more information,
see Selecting data on page 261.
I
O
Drag the edge of the selection to a new position.


