


CHP. 8 RECORDING, EXTRACTING, AND BURNING
129
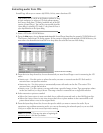
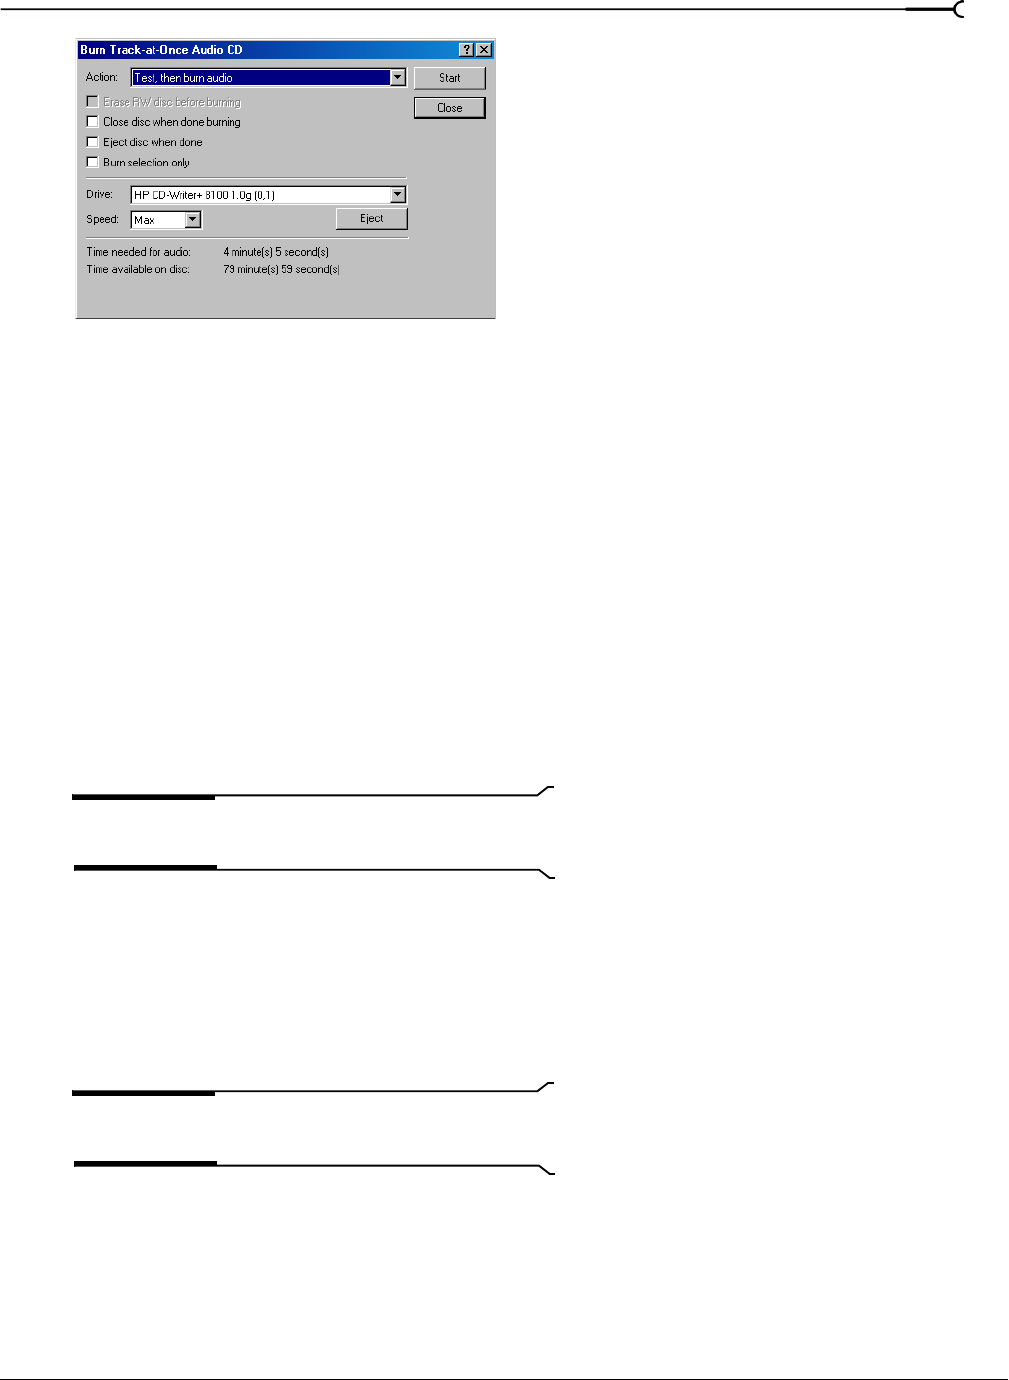
2.
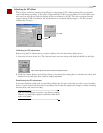
Choose a setting from the Action drop-down list:
•
Burn audio begins recording audio to your CD when you click the Start button. You will need to close the
disc before it can be played in a audio CD player.
•
Test, then burn audio performs a test to determine whether your files can be written to the CD recorder
without encountering buffer underruns. Recording begins after the test if it is successful.
•
Test only performs a test to determine whether your files can be written to the CD without encountering
buffer underruns. No audio is recorded to the CD.
•
Close disc closes your disc without adding any audio when you click the Start button. Closing a disc
allows your files to be played on an audio CD player.
•
Erase RW disc erases your rewritable CD when you click the Start button. You should use this option if
your rewritable CD already has data on it.
3.
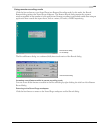
Select your burning options:
•
Erase RW disc before burning: If you’re using a rewritable CD, select this check box to erase the CD before
you begin burning.
•
Close disc when done burning: Select this check box to close the CD after burning. Closing a disc allows
your files to be played on an audio CD player.
Note:
You can close the disc using a separate step later. For
more information, see Closing a CD on page 130.
•
Eject disc when done: Select this check box to eject the CD automatically when burning has completed.
•
Burn selection only: Select this check box to burn only the audio within the loop region.
4.
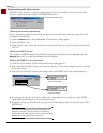
From the Drive drop-down list, choose the CD-R/RW drive that you want to use to burn your CD.
5.
From the Speed drop-down list, choose the speed at which you want to burn. Max will use your drive’s
fastest possible speed; decrease the setting if you have difficulty burning.
6.
Click the Start button.
Important:
Clicking Cancel after Sound Forge begins
writing to CD renders the CD unusable.
After Sound Forge writes the audio to CD, the CD Operation dialog indicates whether the writing was
successful.
7.
Click OK to clear the message.
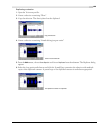
Burn Track-at-Once Audio CD dialog