102
USING MARKERS, REGIONS, AND THE PLAYLIST/CUTLIST CHP. 7
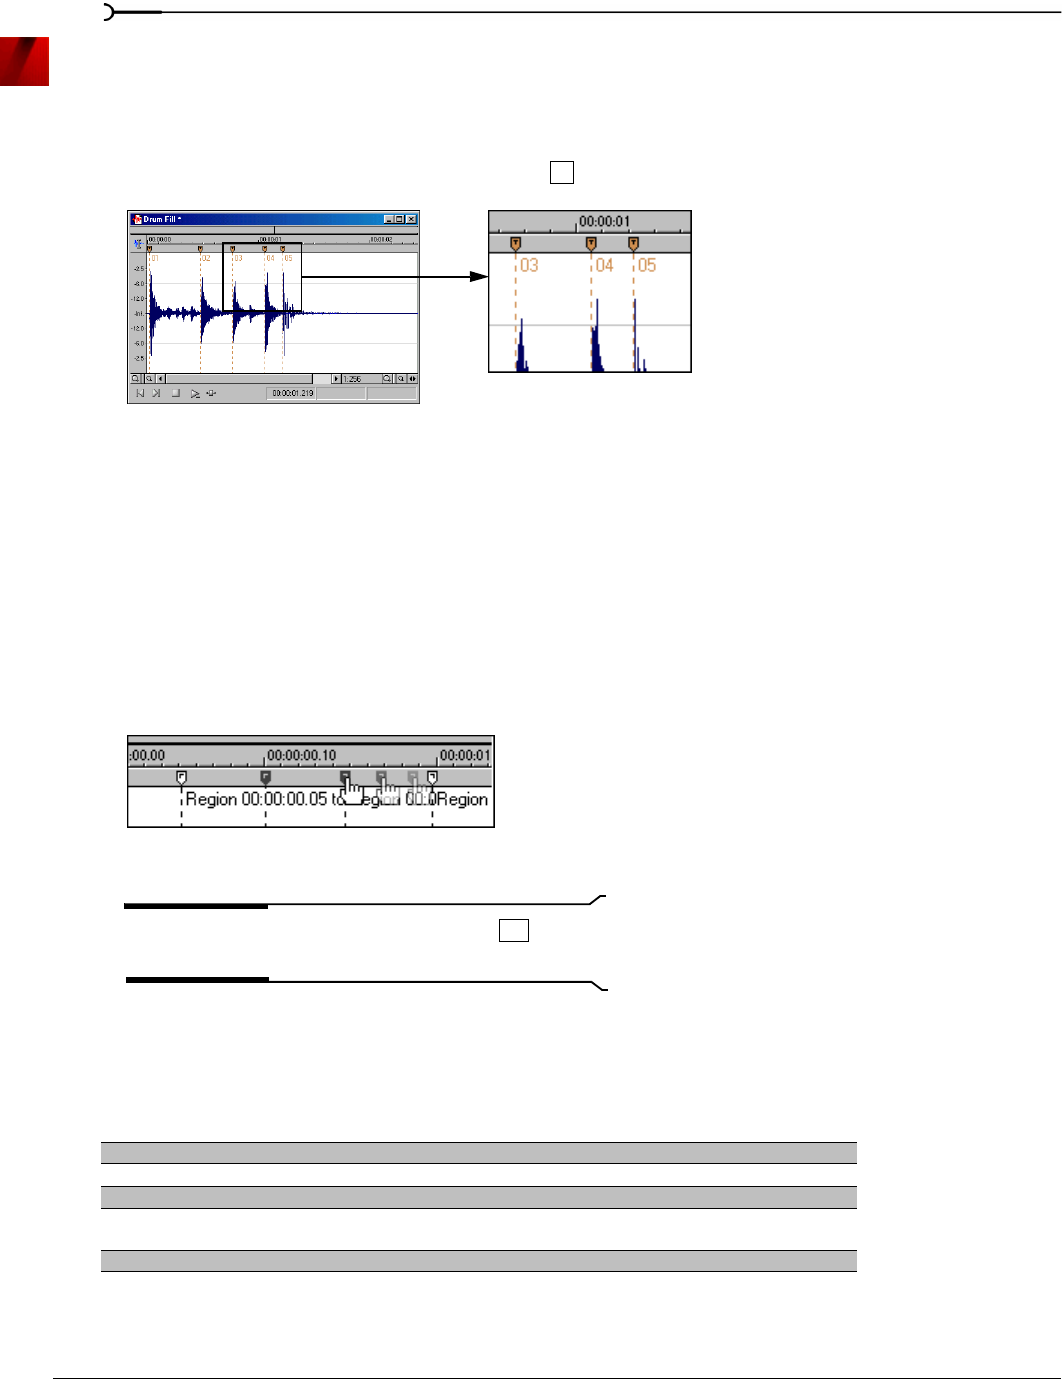
Inserting regions based on marker positions
Sound Forge can automatically insert regions by using all markers in the audio file as region boundaries.
Regions created this way are added to the Regions List, but not to the playlist.
1.
Open the Fill.pca file.
2.
Play the file and drop several markers using the key.
3.
From the Special menu, choose Regions List, and choose Markers to Regions from the submenu. Sound
Forge prompts you to verify whether the markers should be used to create regions.
4.
Click Ye s . Sound Forge creates regions and adds them to the Regions List.
Editing regions
You can edit regions from the data window or the Regions List.
Editing regions in the data window
1.
Drag the desired region tag to a new position. Both associated region tags are highlighted and the name of
the region appears in the lower-left corner of the status bar.
2.
Release the mouse button. The region’s values update in the Regions List.
Tip:
To move both region tags at once, press while
dragging.
Editing regions using the shortcut menu
Right-clicking a region tag displays a shortcut menu that provides you with the following commands: Select,
Delete, Edit, Split, Update.
Command Description
Select Selects the entire region.
Delete Deletes the region, but leaves the audio data intact.
Edit Displays the Edit Marker/Region dialog.
Split With the cursor placed within a region, this command splits the region into two new
regions at the cursor and updates the Regions List.
Update Moves the region tags to the current waveform selection.
M
Markers created in
data window
Drag the region tag to a new position
Alt


