


CHP. 8 RECORDING, EXTRACTING, AND BURNING
119
8.
Click the Record button ( ) in the Record dialog.
9.
Click the Stop button ( ) to stop recording.
10.
Click the Close button to close the Record dialog.
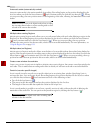
Arming to record
When you click the Record button ( ) in the Record dialog, recording does not begin immediately. Sound
Forge must perform a number of important functions prior to recording the input signal. The
Arm button
( ) gives Sound Forge the time to prepare, allowing it to begin recording the instant you click the
Record
button. When you click the Arm button, Sound Forge opens the recording device and loads all recording
buffers. This ensures that the time lapse between clicking the
Record button and actual recording is
minimized.
Tip:
This feature is recommended when recording punch-ins.
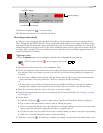
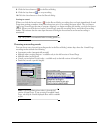
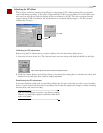
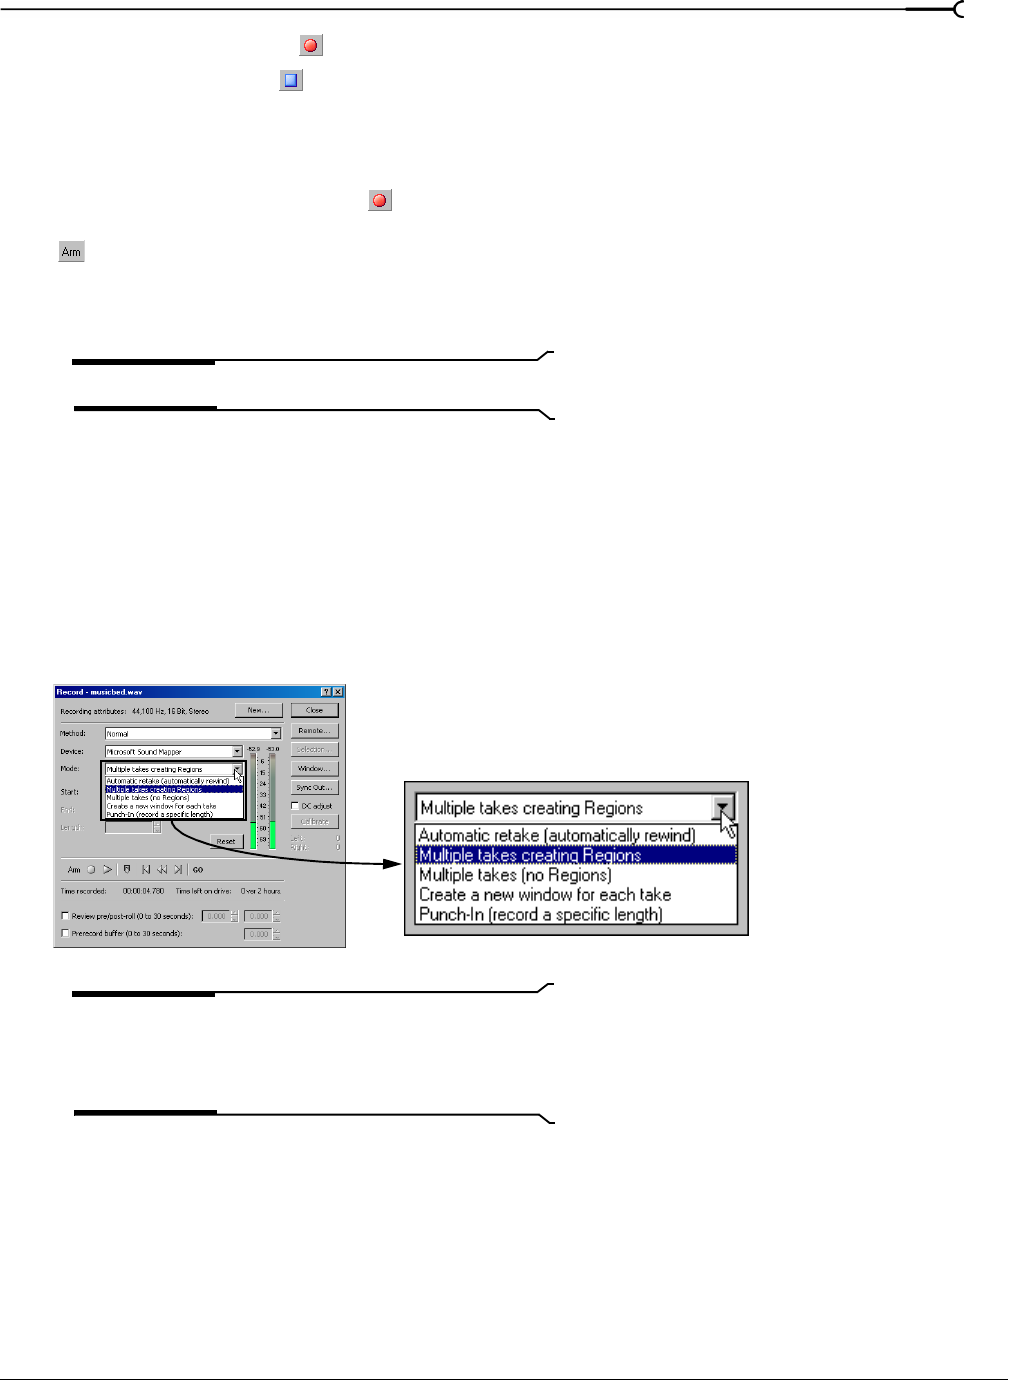
Choosing a recording mode
You can choose any of several recording modes in the Record dialog’s Mode drop-down list. Sound Forge
recording modes include the following:
• Automatic retake (automatically rewind)
• Multiple takes creating Regions - available only in the full version of Sound Forge
• Multiple takes (no Regions)
• Create a new window for each take - available only in the full version of Sound Forge
• Punch-In (record a specific length)
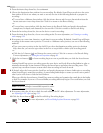
Note:
The Record dialog shown above is from the full
version of Sound Forge. If you are using Screenblast Sound
Forge, not all of the controls displayed above will be available
to you.
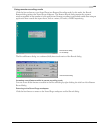
Select a recording mode