


126
RECORDING, EXTRACTING, AND BURNING CHP. 8
Configuring gap detection
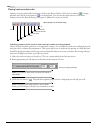
During recording, Sound Forge continually listens for gaps (or drop-outs) that occasionally occur when
working with digital audio. Depending upon the gap detection mode, Sound Forge ignores the gap and
continues recording, marks the gap and continues recording, or stops recording.
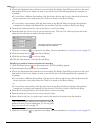
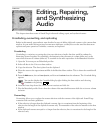
To configure gap detection, right-click the Record dialog, choose
Gap Detection from the shortcut menu, and
choose the desired gap detection mode (
Ignore, Mark, or Stop) from the submenu.
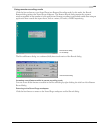
Automatically labeling windows and regions
Sound Forge can automatically name files and regions for you as you record. This automatic labeling feature
is particularly useful when recording in
Multiple takes creating Regions mode or Create a new window for each
take
mode. For more information, see Choosing a recording mode on page 119.
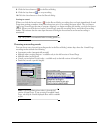
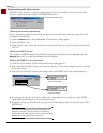
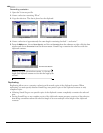
Right-click the Record dialog and choose
Automatic Labeling from the shortcut menu to access the
Automatic Labeling dialog. For more information, see Customizing automatic labeling on page 93.
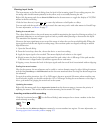
Changing blinking status
The Recording and Pre-Roll messages located to the right of the mini-transport bar in the Record dialog can
display within a flashing or solid red frame.
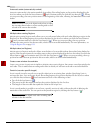
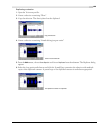
To toggle between the blinking status settings, right-click the Record dialog and choose
Blinking Status from
the shortcut menu. A check mark displays adjacent to the command to indicate that the frame is configured
to flash.