


74
NAVIGATING, ZOOMING, AND SELECTING CHP. 5
Changing the zoom ratio
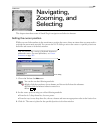
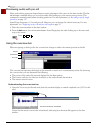
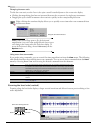
To edit the zoom ratio, use the Zoom In/Out spin control located adjacent to the zoom ratio display.
• Clicking the magnifying glass buttons increases/decreases the zoom ratio by single-step increments.
• Dragging the spin control increments the zoom ratio quickly in the corresponding direction.
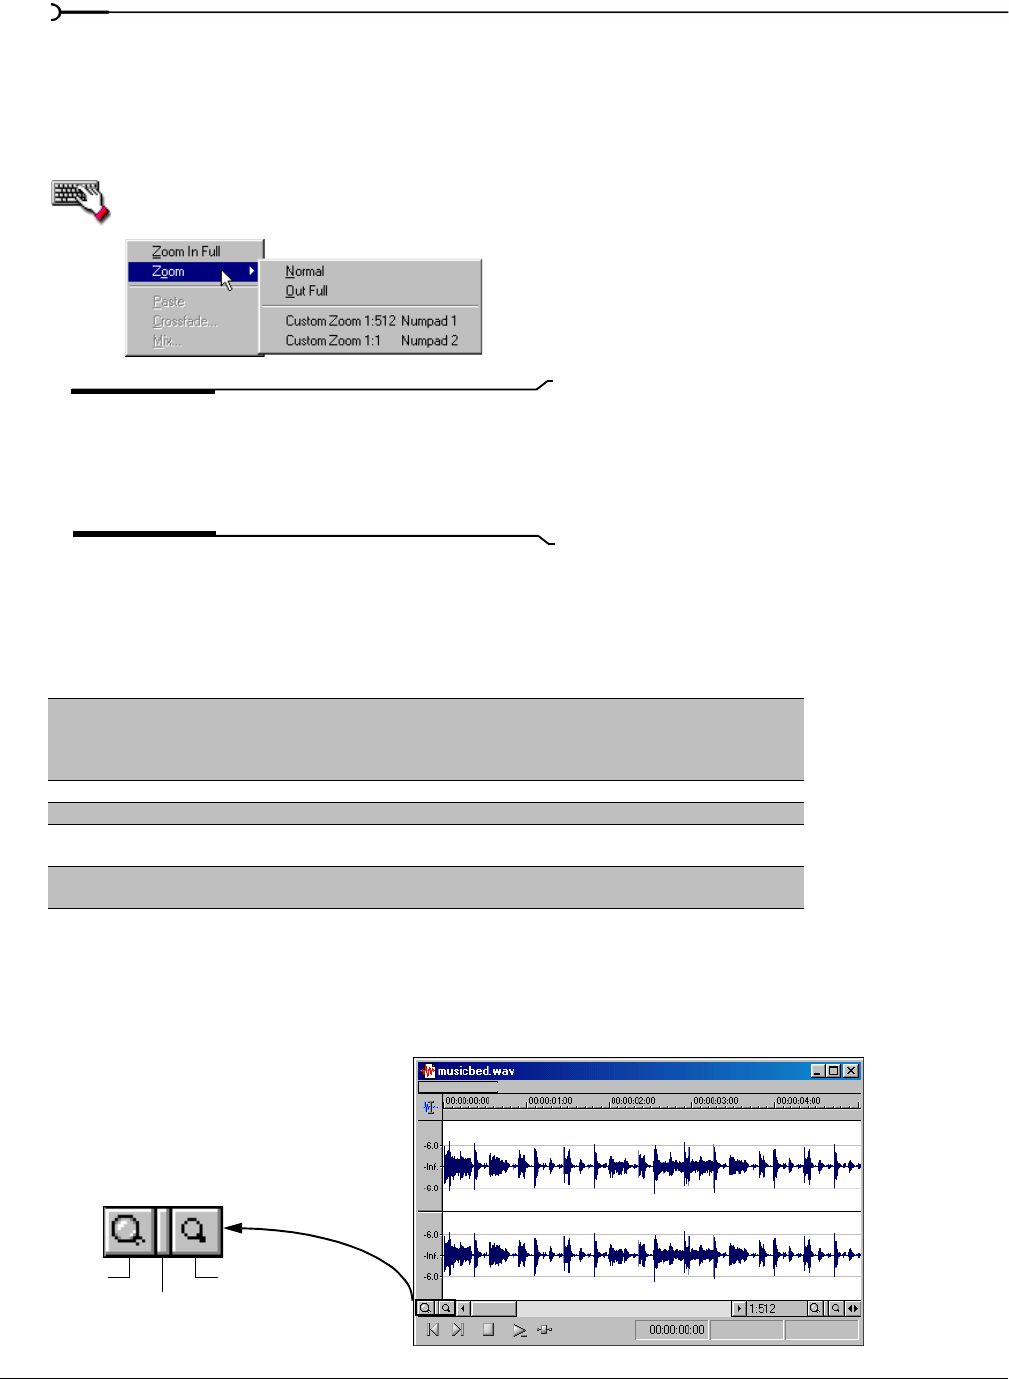
Right-clicking the waveform display allows you to quickly access time ruler zoom commands from
the shortcut menu.
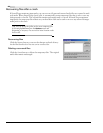
Note:
When Sound Forge opens a file, the horizontal
magnification is set to the value specified by the
Normal zoom
ratio
setting in the Display tab in the Preferences dialog. To
access the Preferences dialog, choose
Preferences from the
Options menu.
Using zoom time commands
If you prefer using commands, you can control the time magnification from the View menu. The following
table briefly describes the available time zoom commands. You can access these commands from the
View
menu by choosing
Zoom Time and choosing the desired command from the submenu.
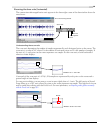
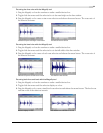
Zooming the level ruler (vertical)
Zooming along the level ruler displays a larger vertical waveform and allows for more precise editing at low
audio amplitudes.
In Full If you are using the full version of Sound Forge, this command increases the zoom ratio
to represent each audio sample with 24 screen pixels (24:1 zoom ratio). If you are using
Screenblast Sound Forge, this command increases the zoom ratio to represent each audio
sample with 1 screen pixel (1:1 zoom ratio).
Normal Returns the file to its default zoom ratio.
Out Full Changes the zoom ratio to display the entire file within the data window.
Selection Changes the zoom ratio to maximize the display and center the selection within the data
window.
Custom Zoom X:Y Sets the zoom ratio to a custom setting. For more information, see Using custom zoom
settings on page 75.
Using the time zoom shortcut
Zoom In
Zoom Spin Control
Zoom Out
Level ruler zooming controls