


4-12
Cisco Intrusion Prevention System CLI Sensor Configuration Guide for IPS 7.1
OL-19892-01
Chapter 4 Setting Up the Sensor
Changing Network Settings
-----------------------------------------------
dns-tertiary-server
-----------------------------------------------
disabled
-----------------------------------------------
-----------------------------------------------
-----------------------------------------------
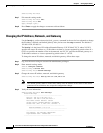
http-proxy
-----------------------------------------------
proxy-server
-----------------------------------------------
address: 10.10.10.1
port: 65
-----------------------------------------------
-----------------------------------------------
-----------------------------------------------
sensor(config-hos-net)#
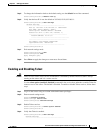
Step 5 Exit network settings mode.
sensor(config-hos-net)# exit
sensor(config-hos)# exit
Apply Changes:?[yes]:
Step 6 Press Enter to apply the changes or enter no to discard them.
For More Information
For more information on global correlation features, see Chapter 10, “Configuring Global Correlation.”
Enabling SSHv1 Fallback
Note The IPS supports a management connection through both SSHv1 and SSHv2 (SSHv2 is supported in
IPS 7.1(8)E4). In 7.1(8)E4 and later, support for both SSHv1 and SSHv2 is enabled by default.
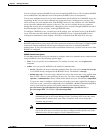
Use the sshv1-fallback {enabled | disabled} command in the service host submode to enable/disable
the sensor to fall back to SSH protocol version 1. Fallback to SSHv1 is provided in case the peer
client/server does not support SSHv2.
To enable or disable SSHv1 fallback, follow these steps:
Step 1 Log in to the sensor using an account with administrator privileges.
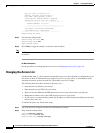
Step 2 Enter network settings mode.
sensor# configure terminal
sensor(config)# service host
sensor(config-hos)# network-settings
Step 3 Enable SSHv1fallback.
sensor(config-hos-net)# sshv1-fallback enabled
sensor(config-hos-net)#
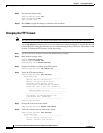
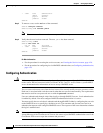
Step 4 Verify that SSHv1 fallback is enabled.
sensor(config-hos-net)# show settings