


14-20
Cisco Intrusion Prevention System CLI Sensor Configuration Guide for IPS 7.1
OL-19892-01
Chapter 14 Configuring Attack Response Controller for Blocking and Rate Limiting
Configuring User Profiles
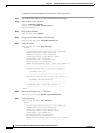
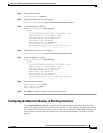
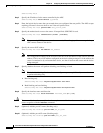
block-max-entries: 100 default: 250
max-interfaces: 250 <defaulted>
master-blocking-sensors (min: 0, max: 100, current: 0)
-----------------------------------------------
-----------------------------------------------
never-block-hosts (min: 0, max: 250, current: 2)
-----------------------------------------------
ip-address: 192.0.2.1
-----------------------------------------------
-----------------------------------------------
never-block-networks (min: 0, max: 250, current: 2)
-----------------------------------------------
ip-address: 209.165.200.224/27
--MORE--
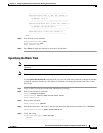
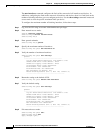
Step 6 Exit network access submode.
sensor(config-net-gen)# exit
sensor(config-net)# exit
Apply Changes:?[yes]:
Step 7 Press Enter to apply the changes or enter no to discard them.
For More Information
For the procedure for configuring event action filters, see Configuring Event Action Filters, page 7-21.
Configuring User Profiles
Note If the username or password is not needed to log in to the device, do not set a value for it.
Note You MUST create a user profile before configuring the blocking device.
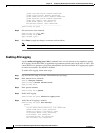
Use the user-profiles profile_name command in the service network access submode to set up user
profiles for the other devices that the senor will manage. The user profiles contain userid, password, and
enable password information. For example, routers that all share the same passwords and usernames can
be under one user profile.
To set up user profiles, follow these steps:
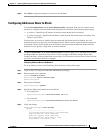
Step 1 Log in to the CLI using an account with administrator privileges.
Step 2 Enter network access mode.
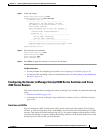
sensor# configure terminal
sensor(config)# service network-access
sensor(config-net)#
Step 3 Create the user profile name.
sensor(config-net)# user-profiles PROFILE1