14-31
Cisco Intrusion Prevention System CLI Sensor Configuration Guide for IPS 7.1
OL-19892-01
Chapter 14 Configuring Attack Response Controller for Blocking and Rate Limiting
Configuring Host Blocking
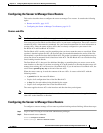
Note If you set the value to true, you need to use the command tls trusted-host ip-address
master_blocking_sensor_ip_address.
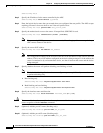
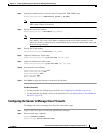
Step 12 Exit network access submode.
sensor(config-net-gen-mas)# exit
sensor(config-net-gen)# exit
sensor(config-net)# exit
sensor(config)# exit
Apply Changes:?[yes]:
Step 13 Press Enter to apply the changes or enter no to discard them.
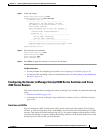
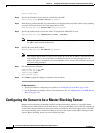
Step 14 On the master blocking sensor, add the block forwarding sensor IP address to the access list.
For More Information
For the procedure for adding the blocking forward sensor IP address to the access list, see Changing the
Access List, page 4-6.
Configuring Host Blocking
Note Connection blocks and network blocks are not supported on adaptive security appliances. Adaptive
security appliances only support host blocks with additional connection information.
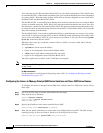
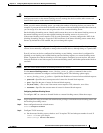
Use the block host ip-address [timeout minutes] command in privileged EXEC mode to block a host.
Use the no form of the command to remove a block on a host. You must have blocking configured before
you can set up host blocks. You can also view a list of hosts that are being blocked. If you do not
configure the amount of time for the host block, it is permanent.
The following options apply:
• ip-address—Specifies the IP address of the host to be blocked.
• minutes—(Optional) Specifies the duration of the host block in minutes. The valid range is 0 to
70560 minutes.
Blocking a Host
To block a host, follow these steps:
Step 1 Log in to the CLI using an account with administrator or operator privileges.
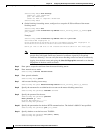
Step 2 Configure the host block for 15 minutes, for example. The host block ends in 15 minutes.
sensor# block host 192.0.2.1 timeout 15
Step 3 Start a host block. The host block lasts until you remove it.
sensor# block host 192.0.2.1


