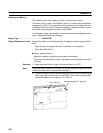
Section 7-3
3.
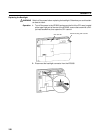
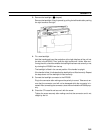
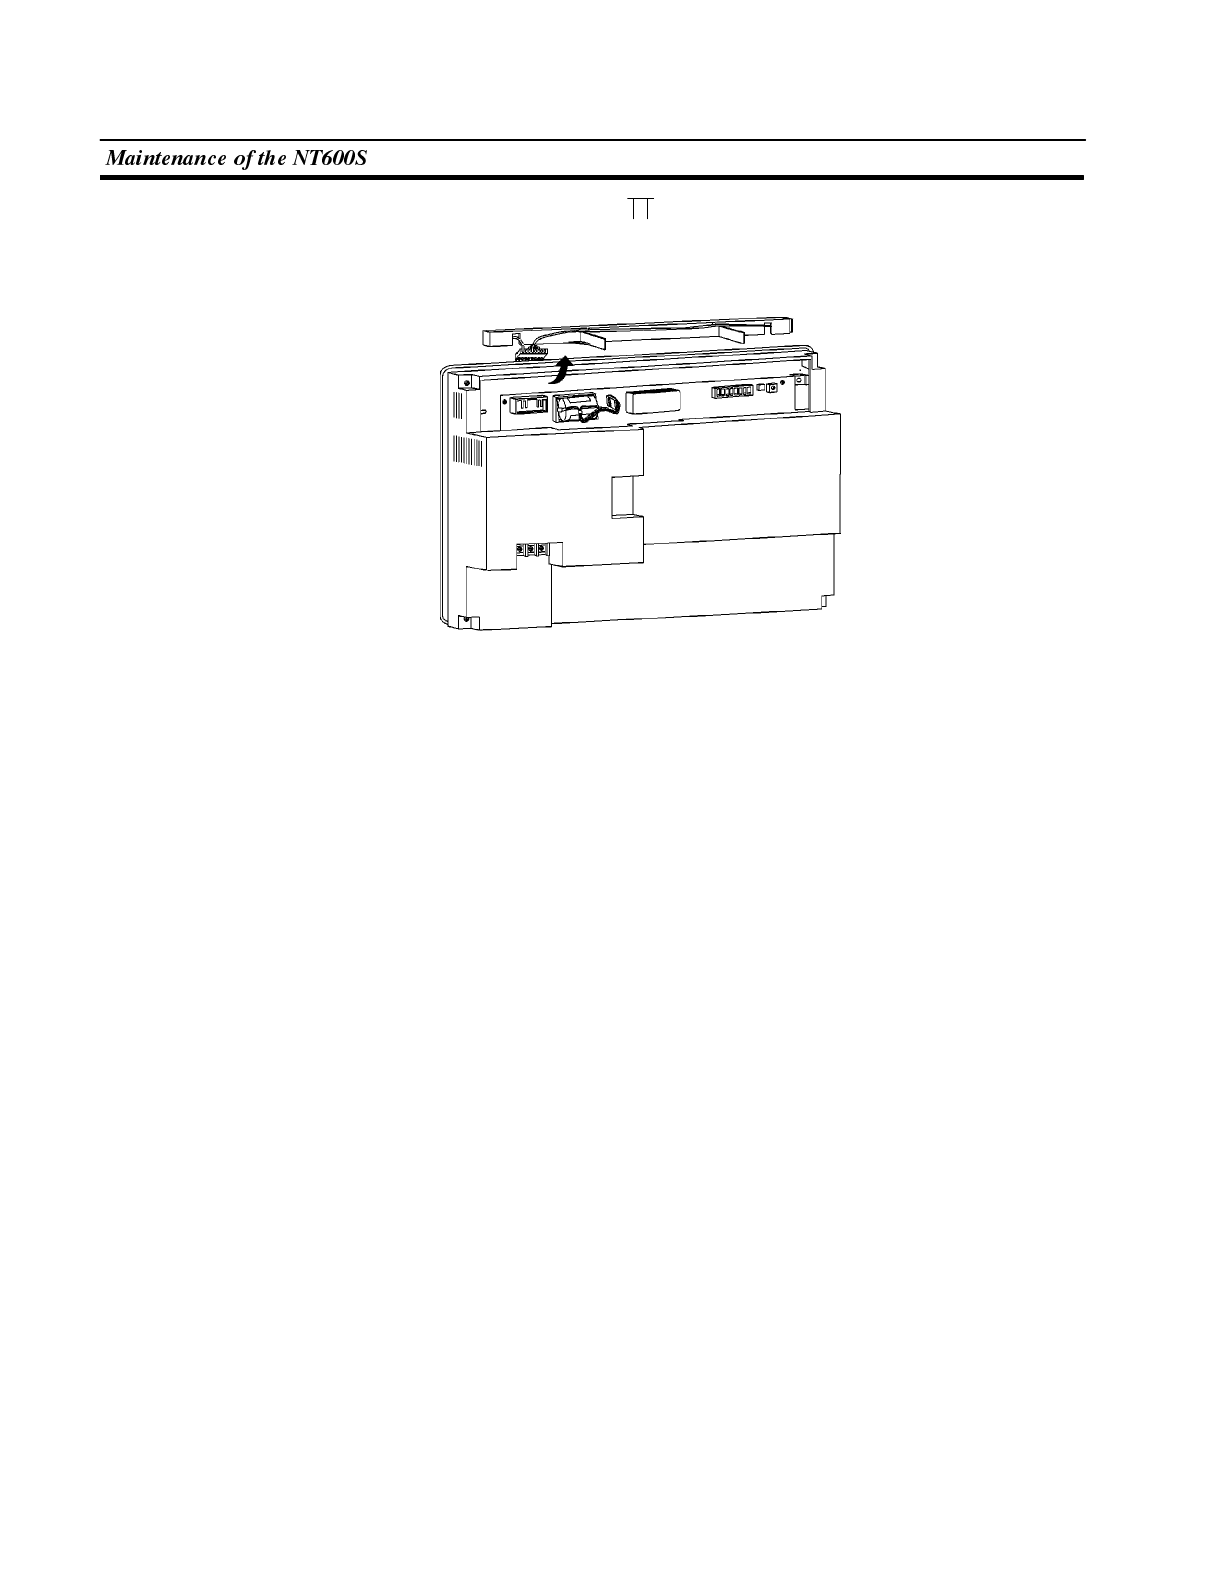
Remove the backlight ( -shaped).
Remove the backlight, lifting it upward, by pulling the left handle after pushing
the right handle to the right.
4.
Fit a new backlight.
Hold the handle and insert the projection at the right side face of the unit into
the hole in the NT600S. Then, push the right handle until it clicks. After con-
firming the click, check the whether the backlight has been set correctly or not
by viewing the NT600S from the top.
- The backlight is fitted in the correct position if the handle is upright.
- If the handle is tilted, it indicates that the backlight is not fitted correctly. Repeat
the step above until the backlight is fitted correctly.
5.
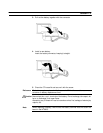
Connect the backlight connector to the NT600S.
Plug in the connector after making sure the polarity is correct. Take care to en-
sure that the connector cord will not be damaged while the connector is in-
serted. After connecting the connector,store the cord inside the NT600S prop-
erly.
6.
Close the CFL case lid and secure it with the screw.
Tighten the screw securely after making sure that the connector cord is not
caught by the lid.


