8. Getting started
Image 8-130
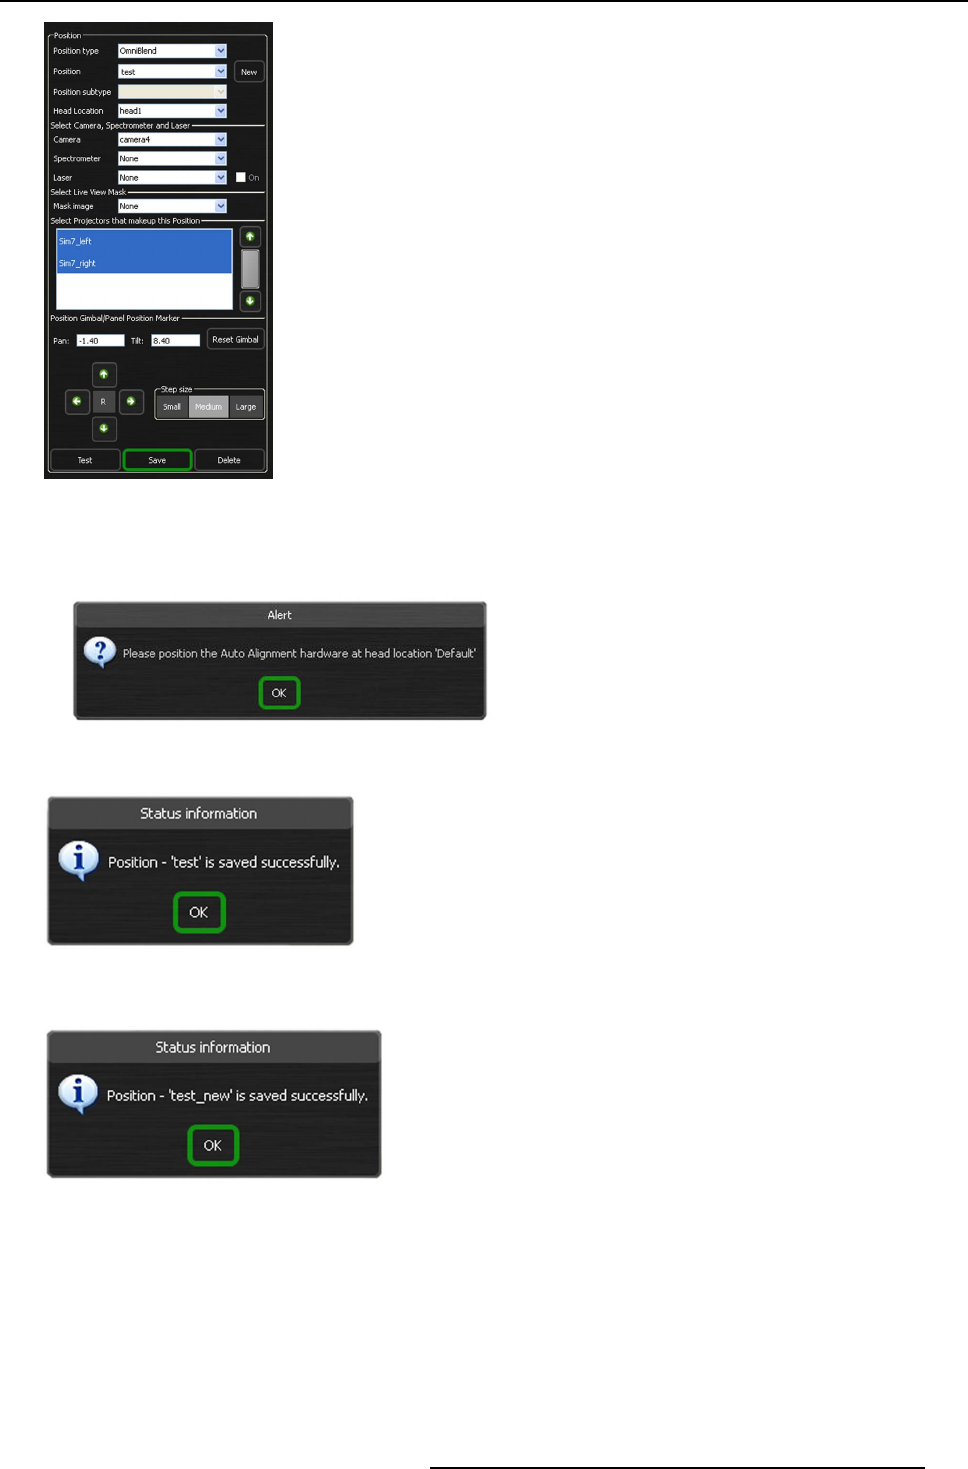
Saving OmniBlend position
Note: If a different AutoAlignment Head location is s elected, then you will be prompted to phy sically position the AutoAlign-
ment Head at the location as indicated in the Alert dialog (mu
ltiple AutoAlignm ent Head locations of Om niBlend are only
supported from XDS RACU software version 3.5 onwards).
Image 8-131
10.In the appearing Status Information dialog press OK to save this position or to modify the selected position.
Image 8-132
Saving OmniBlend position named test
11.Repeat steps 4 to 9 to create additional positions until all blend regions are captured from at least one position.
Image 8-133
Saving OmniBlend position named test_new
8.6.5.3 Creating Mask image
Introduction
While defining the OmniBlend positions sometimes specular reflections or light hotspots appears inside the blend regions and/or
non-blend regions and become visible in the Camera Live view of that position. Those artifacts in the blend regions must be hidden
as it might introduce problem in the blend result. This requires the user to create a mask using any design program: e.g. MS Paint,
Adobe Photoshop, Gimp, Paint.NET.
R59770509 AUTOALIGNMENT HEAD GEN II 26/11/2013
103
