66
SONICWALL SONICOS STANDARD 3.0 ADMINISTRATOR’S GUIDE
C
HAPTER
9:
Configuring Network Settings
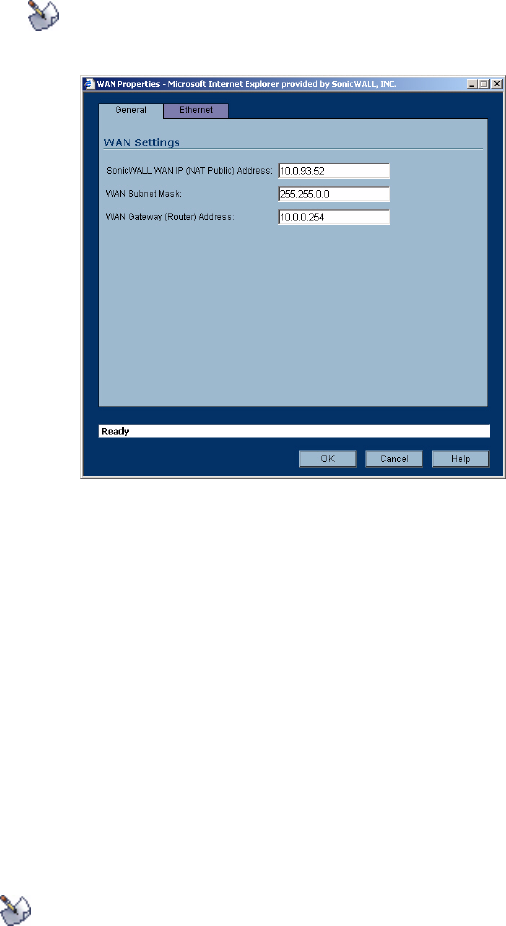
Configuring NAT Enabled
If your ISP provides a static IP address for your Internet connection, use the NAT Enabled.
1
Select NAT Enabled from the drop-down menu in the Mode column of the Interfaces table.
2
Click on the edit icon in the Configure column of the WAN interface. The WAN Properties
window is displayed.
3
In the WAN Settings section, enter a valid public IP address in the SonicWALL WAN IP (NAT
Public) Address field.
4
Enter the subnet mask in the WAN Subnet Mask field.
5
Enter the IP address of the router in the WAN Gateway (Router) Address field.
6
Click OK.
Configuring NAT with DHCP Client
If your ISP did not provide you with a public IP address, the SonicWALL security appliance can obtain
an IP address from a DHCP server at the ISP. NAT with DHCP Client is typically used with cable and
DSL connections. To configure NAT with DHCP Client, log into the SonicWALL security appliance
and click Network.
1
Select NAT with DHCP Client from the drop-down menu in the Mode column of the Interfaces
table.
2
Click the edit icon in the WAN entry of the Interfaces table. The WAN Properties window is
displayed.
3
Enter the host name assigned to you by your ISP in the Host Name field. (Optional)
4
Click Renew to obtain new IP address settings for the SonicWALL security appliance.
5
Click Release to remove the IP address settings from the SonicWALL security appliance. Click
Refresh to reload the current settings into the SonicWALL security appliance.
6
Click OK.
Note: DNS Settings are obtained automatically when the SonicWALL security appliance receives its
IP address information from the DHCP Server.


