


SONICWALL SONICOS STANDARD 3.0 ADMINISTRATOR’S GUIDE
13
Using the SonicWALL Setup Wizard
4
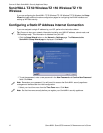
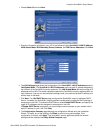
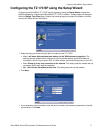
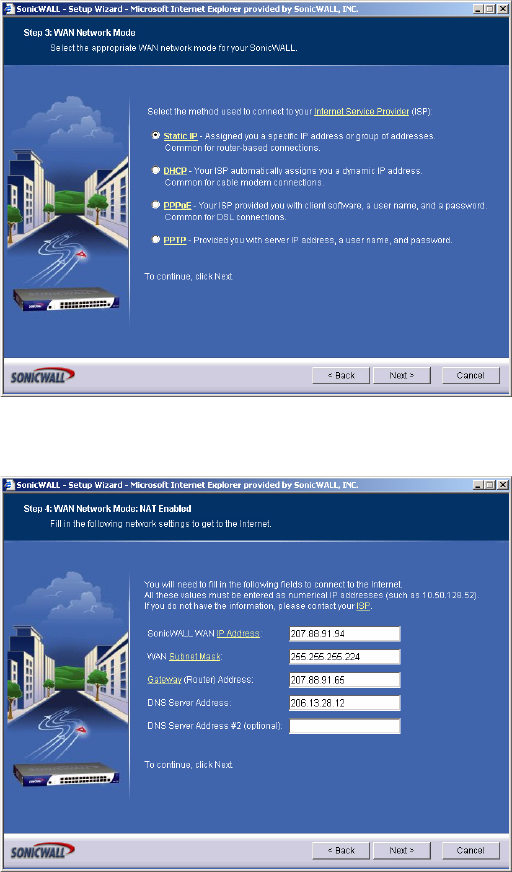
Choose Static IP and click Next.
5
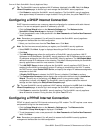
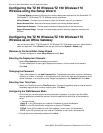
Enter the information provided by your ISP in the following fields: SonicWALL WAN IP Address,
WAN Subnet Mask, WAN Gateway (Router) Address, and DNS Server Addresses. Click Next.
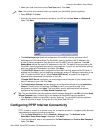
6
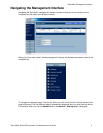
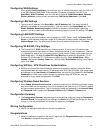
The LAN Settings page allows the configuration of the SonicWALL LAN IP Addresses and the
LAN Subnet Mask. The SonicWALL LAN IP Addresses are the private IP address assigned to
the LAN port of the SonicWALL security appliance. The LAN Subnet Mask defines the range of IP
addresses on the LAN. The default values provided by the SonicWALL security appliance work for
most networks. If you do not use the default settings, enter your preferred private IP address and
subnet mask in the fields.
7
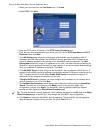
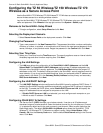
Click Next. The LAN DHCP Server page configures the SonicWALL security appliance DHCP
Server. If enabled, the SonicWALL security appliance automatically configures the IP settings of
computers on the LAN. To enable the DHCP server, select Enable DHCP Server, and specify the
range of IP addresses that are assigned to computers on the LAN.
If Disable DHCP Server is selected, you must configure each computer on your network with a
static IP address on your LAN. Click Next.
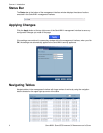
8
The Configuration Summary page displays the configuration defined using the Installation
Wizard. To modify any of the settings, click Back to return to any previous page. If the
configuration is correct, click Apply. The SonicWALL security appliance stores the network
settings and then displays the Setup Wizard Complete page.