


91
Quick Start
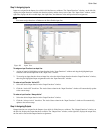
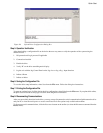
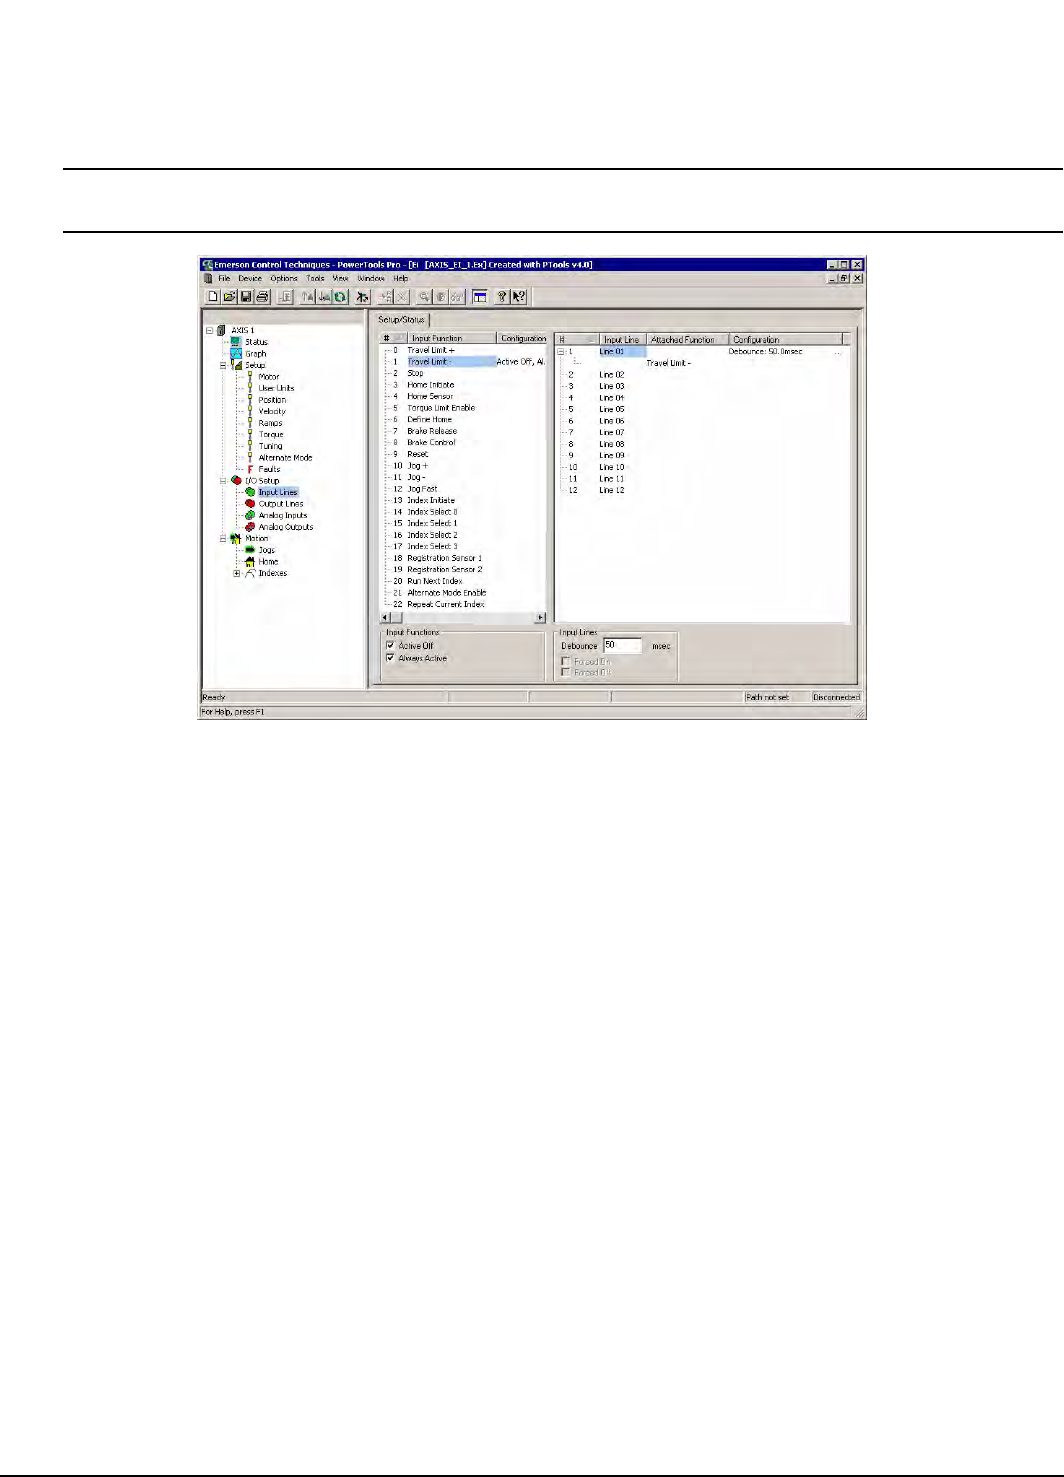
Step 3: Assigning Inputs
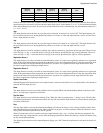
Inputs are assigned in the Inputs view which is divided into two windows. The “Input Functions” window, on the left side,
displays the input functions available, the function polarity and the always active state. The “Input Lines” window, on the
right side, displays the drive enable input, four input lines, the debounce value and input function assignments.
Note
You cannot assign functions or Debounce the Drive Enable input line.
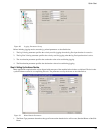
Figure 88: Inputs View
To assign an Input Function to an Input line:
1. Assign an input by highlighting an input function in the “Input Functions” window and drag the highlighted input
function to the desired input line in the “Input Lines” window.
2. To unassign an input function from an input line, select the desired input function from the “Input Functions” window,
then drag the highlighted input assignment back to the “Input Functions” window.
To make an Input Function “Active Off”:
1. Select the desired input function in the “Input Functions” window.
2. Click the “Active Off” check box. The Active State column in the “Input Functions” window will automatically update
to the current setup.
To make an input function “Always Active”:
1. Select the desired input function in the “Input Functions” window.
2. Click the “Always Active” check box. The Active State column in the “Input Functions” window will automatically
update to the current setup.
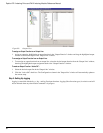
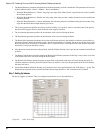
Step 4: Assigning Outputs
Output functions are assigned in the Outputs view which is divided into two windows. The “Output Functions” window, on
the left side, displays the output functions available. The “Output Lines” window, on the right side, displays the output lines,
the line active state and the output function assignments.