


92
Automatically Converting an Image to an Embroidery Pattern (Layout & Editing/Image to Stitch Wizard)
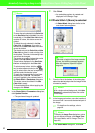
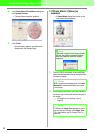
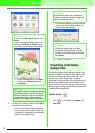
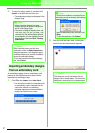
2. Click Next.
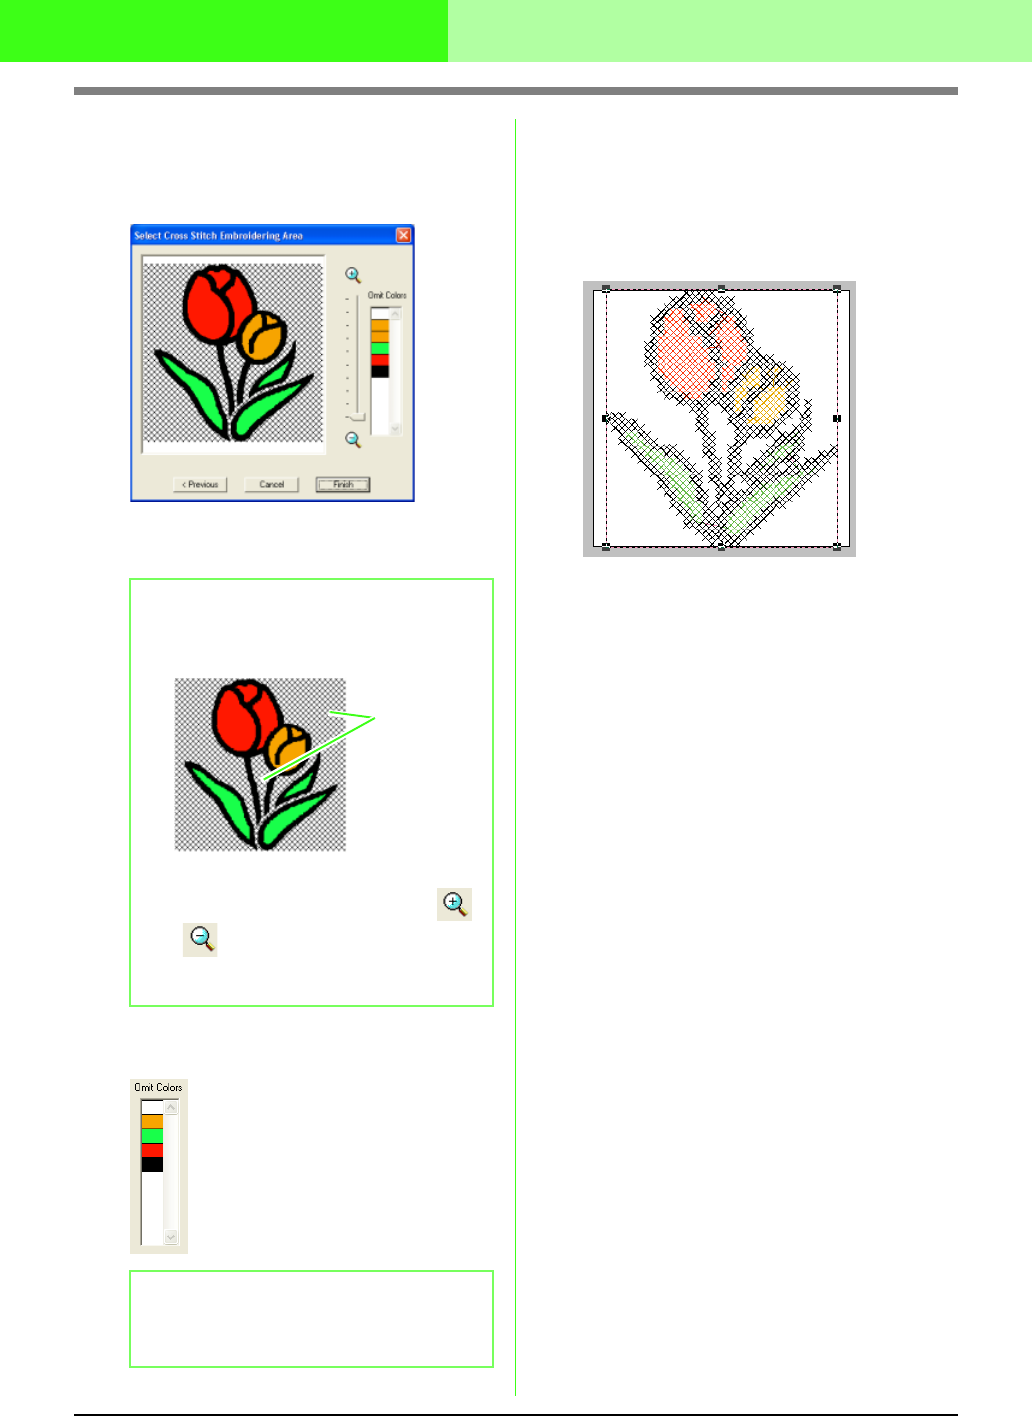
→ A Select Cross Stitch Embroidery Area
dialog box similar to the one shown below
appears.
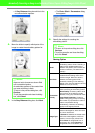
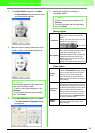
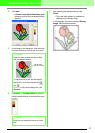
3. In the image in the dialog box, click the areas
to select whether or not they are to be sewn.
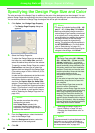
4.
If necessary, in the
Omit Colors
list, click the
colors to select whether or not they will be sewn.
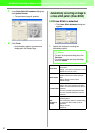
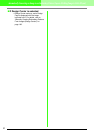
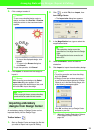
5. After selecting the desired settings, click
Finish.
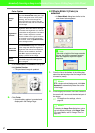
→ The cross stitch pattern is created and
displayed in the Design Page.
In this example, the menu command Display
Image - Off has been selected.
b Memo:
• Areas not set to be sewn are shown filled
with a crosshatch pattern.
• To adjust the zoom ratio that the image is
displayed in, move the slider between
and .
• To return to the previous dialog box, click
Previous
.
b Memo:
Colors that are crossed out are set to not be
sewn.
These areas
will not be sewn.
!!scr146.bmp!!