


255
Creating Custom Fonts (Font Creator)
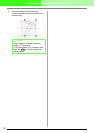
3. Drag the handle to adjust the selected
background image to the desired size.
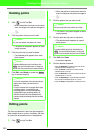
■ Moving the background image
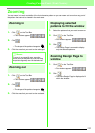
1. Click Display, then Modify Template.
→ The background image is selected.
2. Move the pointer over a selected background
image.
→ The shape of the pointer changes to .
3. Drag the background image to the desired
location.
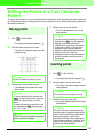
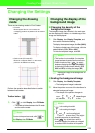
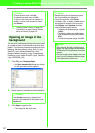
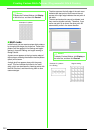
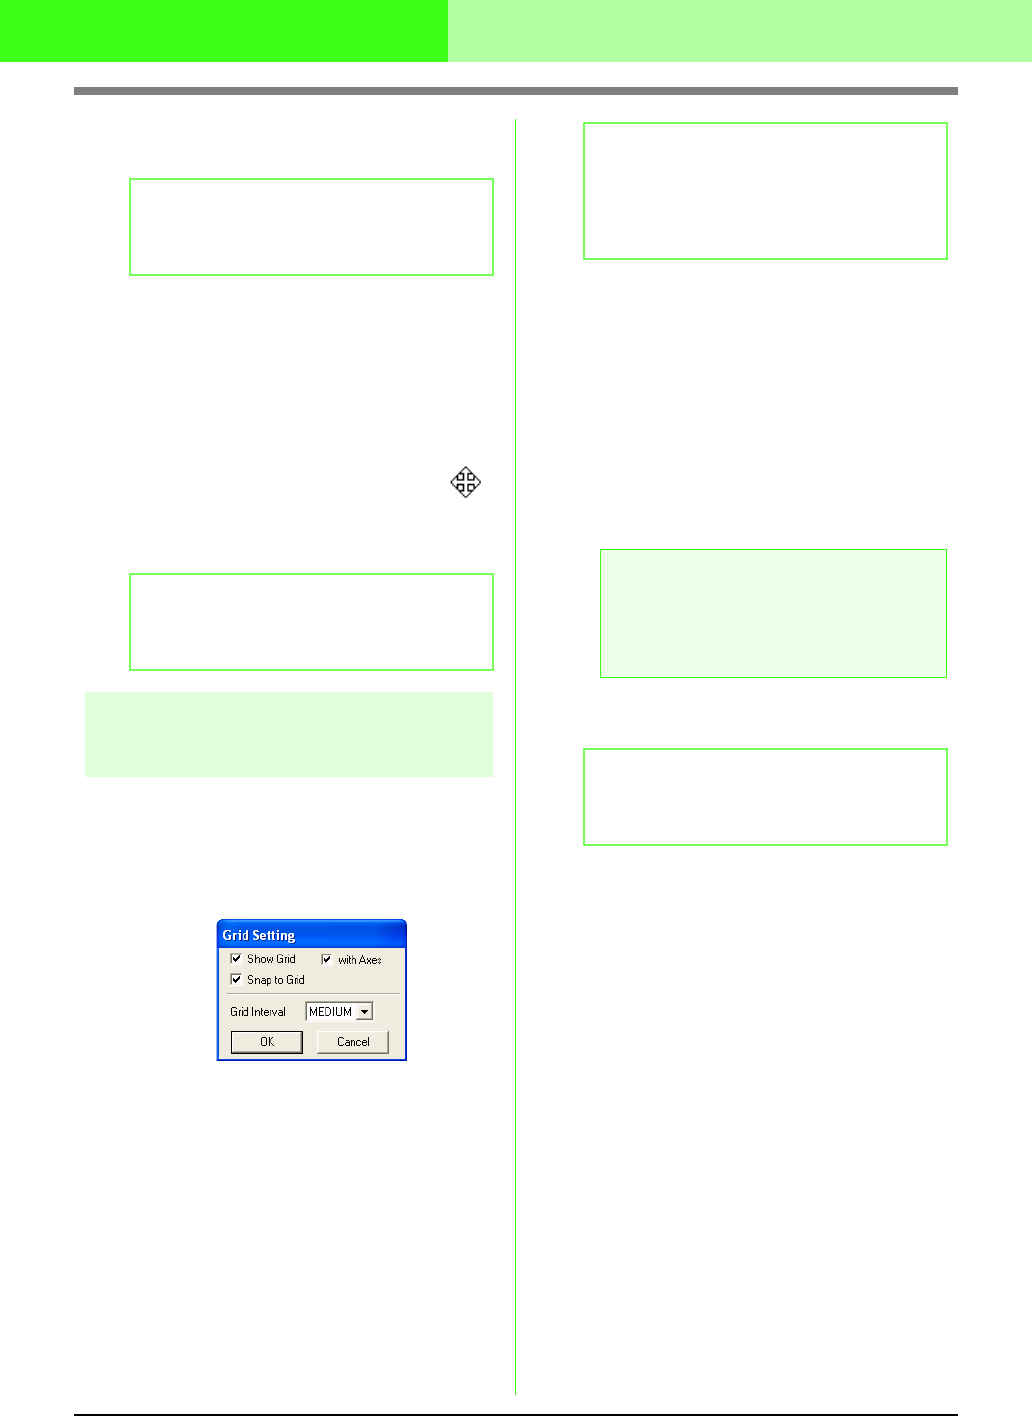
Changing the grid settings
The line spacing in the grid displayed in the work
area can be adjusted.
1. Click Display, then Grid Setup.
→ The Grid Setting dialog box appears.
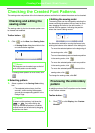
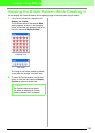
2. To display the grid, select the Show Grid
check box.
To hide the grid, clear the Show Grid check
box.
3. To input the font in a uniform thickness or
match vertical and horizontal positions, select
the Snap to Grid check box.
4. In the Grid Interval box, select the grid
spacing.
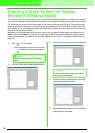
To select a grid interval of 1/15 of a work
area’s edge, click Wide.
To select a grid interval of 1/30 of a work
area’s edge, click Medium.
To select a grid interval of 1/90 of a work
area’s edge, click Narrow.
5. To display the grid as solid lines, select the
with Axes check box.
6. Click OK to apply the changes and to close the
dialog box.
b Memo:
This function is not available if no template
image has been imported into the work area.
b Memo:
This function is not available if no template
image has been imported into the work area.
b Memo:
The pointer will move by the amount set in
Grid interval
.
The snap feature works whether or not the
grid is displayed.
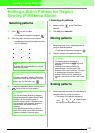
a Note:
When the
Show grid
check box is selected
and the
with Axes
check box is cleared,
only the intersecting points of the grid will be
displayed.
b Memo:
To close the dialog box without applying the
changes to the grid, click
Cancel
.