


55
Tutorial
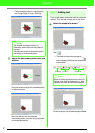
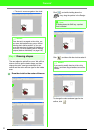
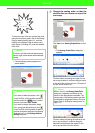
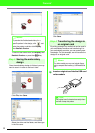
To draw the rays of the sun around the circle
using the circle as a guide, click in the Design
Page to select the start point (1), continue
clicking in the Design Page to select every
other corner (2 through 21), and then double-
click at 22.
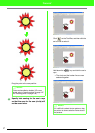
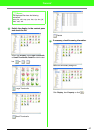
→ The embroidery pattern appears as
shown below.
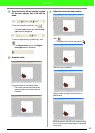
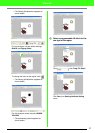
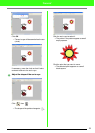
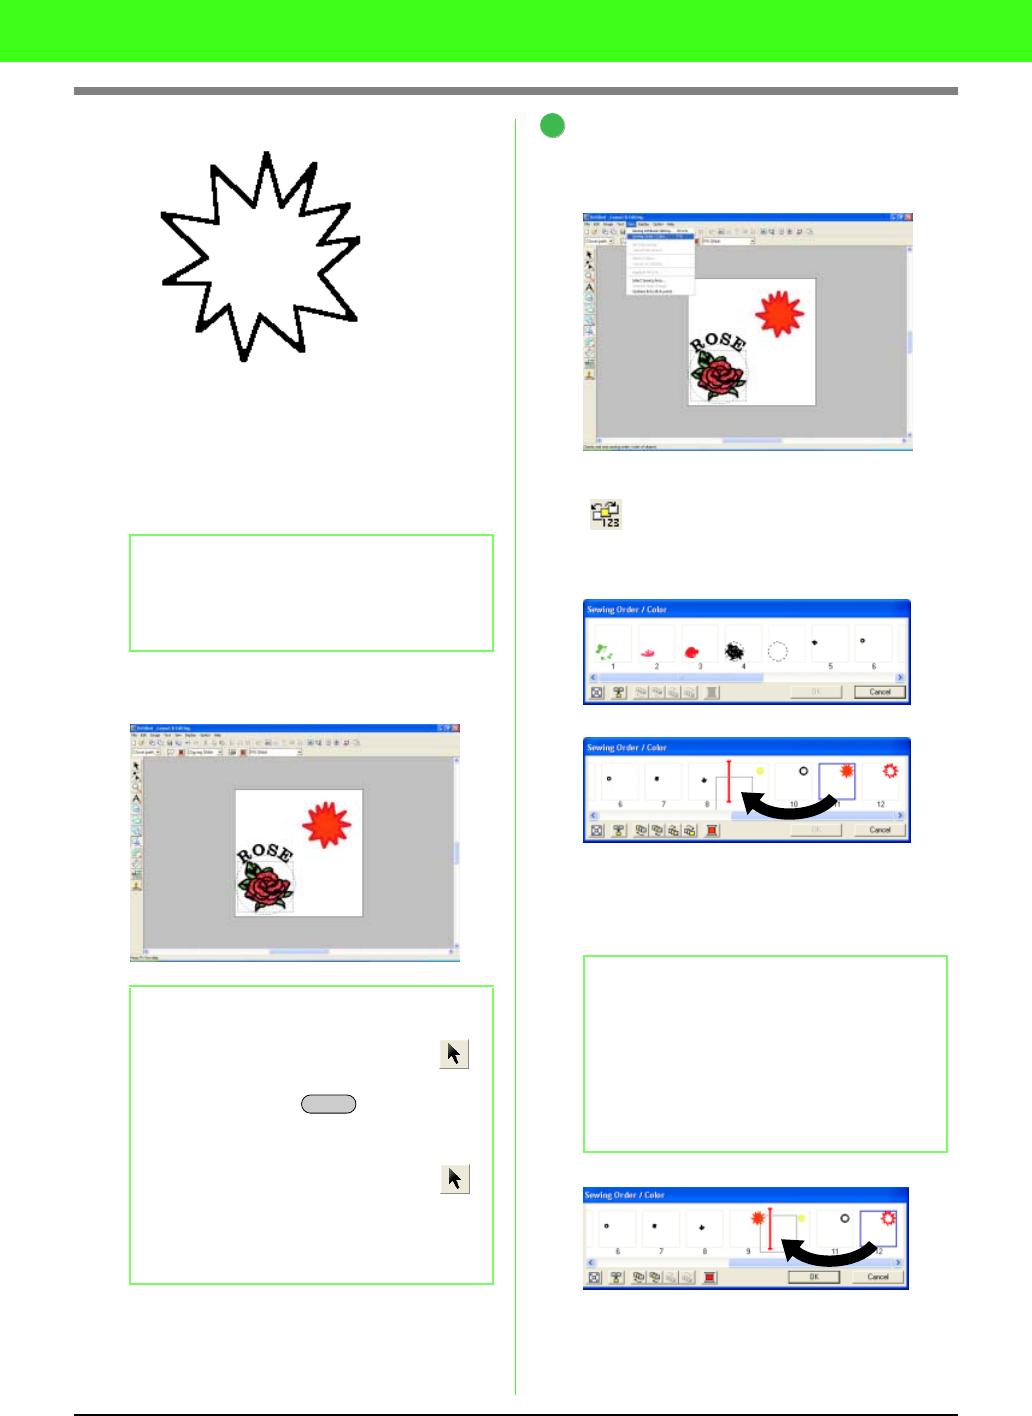
Change the sewing order so that the
circle for the sun is sewn on top of the
sun's rays.
Click Sew, then Sewing Order/Color or click
.
→ The Sewing Order/Color dialog box
appears.
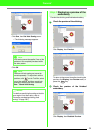
Click the frame containing the region for the
sun's rays to select it, and then drag the frame
to the left of the circle for the sun. (This part of
the sun will be sewn first.)
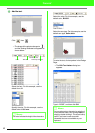
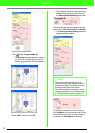
Click the frame containing the outline for the
sun's rays to select it, and then drag the
selected frame between the region for the
sun's rays and the circle for the sun.
b Memo:
To remove the last point that was entered,
click the right mouse button before double-
clicking.
b Memo:
• If you want to delete the pattern, click
on the Tool Box, click the pattern to select it,
and then press the key or select
the menu command
Edit - Delete
.
• If you want to change the pattern shape,
color, or sew type after drawing it, click
on the Tool Box, click the pattern to select it,
and then change the settings on the Sewing
Attributes bar or in the
Sewing Attribute
Setting
dialog box.
1
2
3
4
5
6
7
8
9
10
11
12
13
14
15
16
17
18
19
20
21
22
Delete
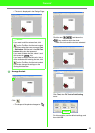
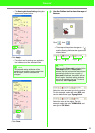
b Memo:
When a frame in the
Sewing Order/Color
dialog box is selected, the buttons at the
bottom of the dialog become available. The
sewing order of the selected pattern can also
be changed by using these buttons. (For more
details, refer to “Editing the sewing order” on
page 171.)
4