188
Arranging Embroidery Designs (Layout & Editing)
Notes on embroidering using the multi-
position hoop
• Before embroidering your design, sew a trial
sample of the design on a scrap piece of
fabric from your design, making sure to use
the same needle and thread.
• Be sure to affix stabilizer material to the back
of the fabric and tightly stretch the fabric
within the hoop. When embroidering on thin
or stretch fabrics, use two layers of stabilizer
material. If no stabilizer material is used, the
fabric may become over-stretched or
wrinkled or the embroidery may not be sewn
correctly.
• For more ways to stabilize large designs,
refer to “Attaching stabilizer to the fabric” on
page 189
• Use the zigzag stitch for sewing the outlines
in order to prevent embroidering outside the
outlines.
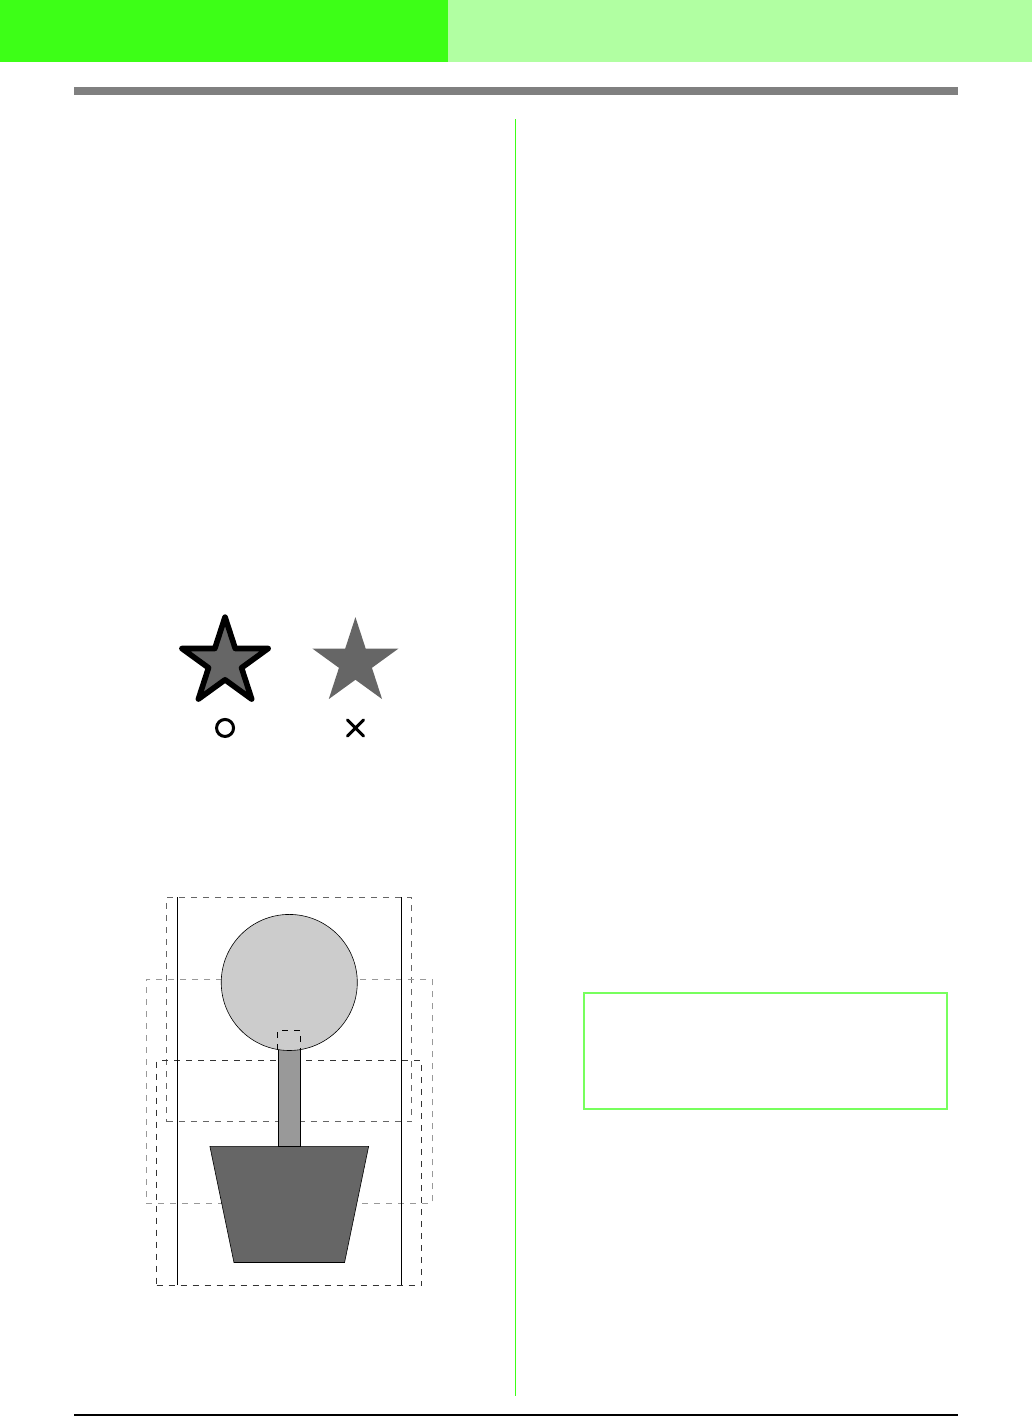
• For patterns that require the hoop to be
installed at different installation positions,
design the embroidery pattern so that the
various parts of the pattern overlap in order
to prevent misalignment while embroidering.
■ Printing a Design Page for a multi-
position hoop
If a Design Page for a multi-position hoop is
selected, a complete image of the Design Page is
printed on the first page, followed by an image of
each design section and its sewing information
(dimensions of the embroidery, the hoop position,
the sewing color order and the stitch count), so the
number of pages depends on your design.
• If a 130 × 300 mm Design Page is selected,
the pattern is divided into sections of 130 ×
180 mm with each section printed on a
separate page.
• If a 100 × 172 mm Design Page is selected,
the pattern is divided into sections of 100 ×
100 mm with each section printed on a
separate page.
The Design Page is printed as described below.
When Actual Size is selected:
On the first page, the entire Design Page is
printed at actual size. (However, for a 130 × 300
mm Design Page, a reduced image of the
Design Page is printed.) Afterwards, the pattern
in each section of the Design Page is printed,
starting with that sewn with the first hoop
installation position, and is followed by the
sewing information for that pattern on separate
pages.
When Reduced Size is selected:
On the first page, the entire Design Page is
printed at actual size. (However, for a 130 × 300
mm Design Page, a reduced image of the
Design Page is printed.) Afterwards, the pattern
in each section of the Design Page is printed,
starting with that sewn with the first hoop
installation position, on the same page as the
sewing information for that pattern.
b Memo:
When the menu command
File
–
Print
Preview
is selected, each section of the
design is displayed as described above.


