


106
Arranging Embroidery Designs (Layout & Editing)
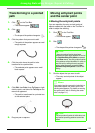
Reshaping Embroidery Patterns
Selecting points
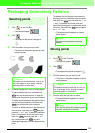
1. Click on the Tool Box.
→ Two buttons appear: .
2. Click .
→ The shape of the pointer changes to
.
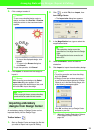
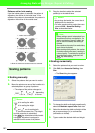
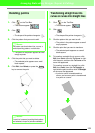
3. Click the pattern that you want to edit.
→ The points in the pattern appear as small
empty squares.
4. To select a single point, click an empty square.
To select additional points, hold down the
key and click each point, or drag the
pointer over the points that you want to select.
To select all points between the selected point
and the next point selected, hold down the
key while clicking the next point.
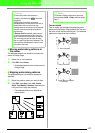
To select an additional point in the direction of
the end point, hold down the key and
press the → or ↓ key. To select an additional
point in the direction of the start point, hold
down the key and press the ← or ↑
key. Holding down the key and
pressing the opposite arrow key deselects the
point.
To deselect the current point and select the
following point in the direction of the end point,
hold down the key and press the → or
↓ key. To deselect the current point and
select the following point in the direction of the
start point, hold down the key and press
the ← or ↑ key.
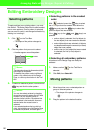
→ The selected point appears as a small
black square.
Moving points
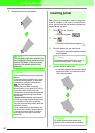
1. Click on the Tool Box.
→ Two buttons appear: .
2. Click .
→ The shape of the pointer changes to .
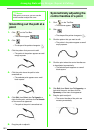
3. Click the pattern that you want to edit.
→ The points in the pattern appear as small
empty squares.
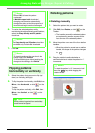
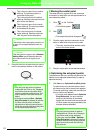
4. Click the point that you want to move.
→ The selected point appears as a small
black square.
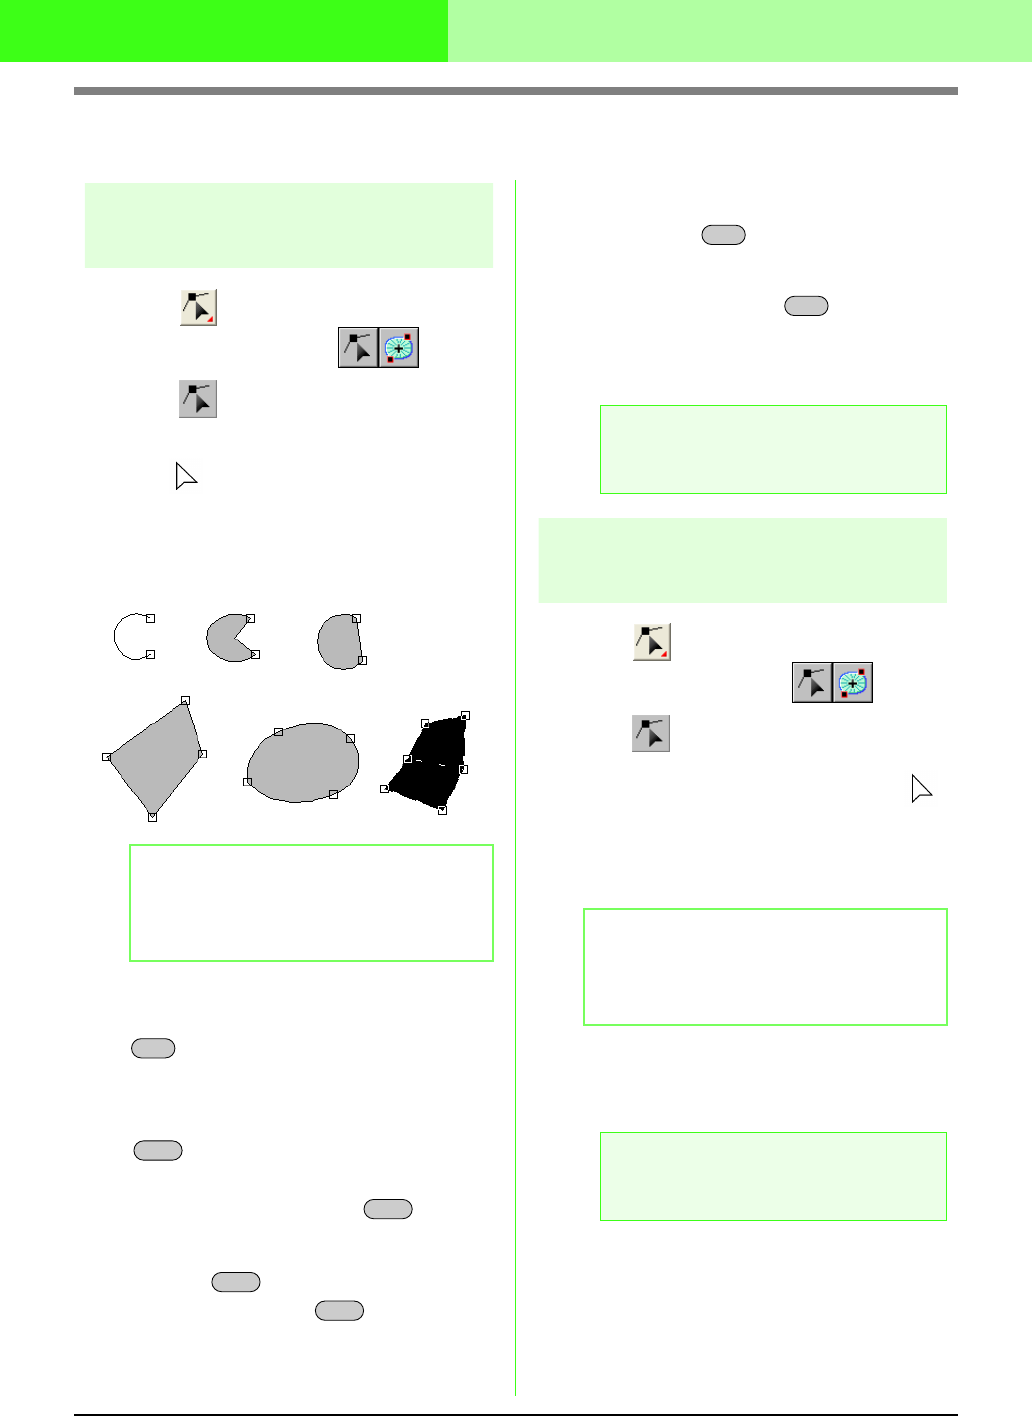
b Memo:
The pattern can be a broken line, a curve, an
arc, a fan shape, an arc & string, a manual
punching pattern, or stitch data.
Ctrl
Shift
Shift
Shift
Shift
a Note:
The points of some patterns cannot be
selected.
b Memo:
The pattern can be a broken line, a curve, an
arc, a fan shape, an arc & string, a manual
punching pattern, or stitch data.
a Note:
If you click the outline of the pattern instead
of a point, a new point is inserted.
Ctrl
Ctrl