113
Arranging Embroidery Designs (Layout & Editing)
Editing a Stitch Pattern
Converting objects to a
stitch pattern
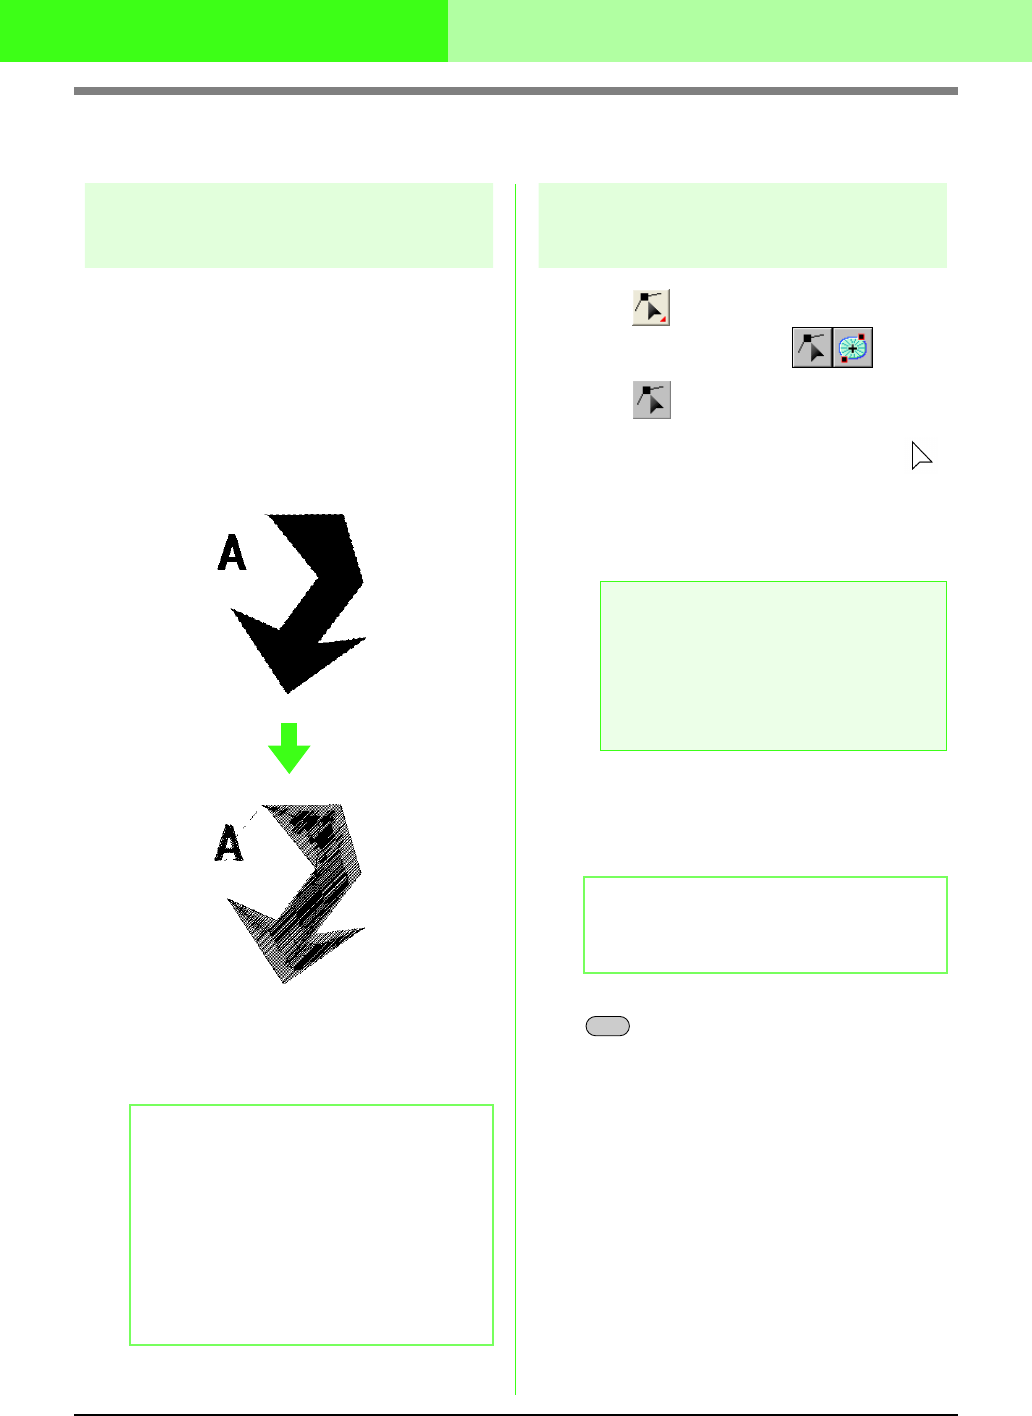
Objects drawn with the tools in Layout & Editing can
be converted into a stitch pattern, allowing you to
make detailed changes by modifying the position of
individual stitches.
1. Select the object that you want to convert.
2. Click Sew, then Convert to Stitches.
The selected object is converted to stitch
pattern.
→ The dotted line around the converted
pattern indicates that it is a stitch pattern.
Each stitch of the converted pattern can
be edited with the Edit Point tool.
Editing stitch points of
stitch pattern
1. Click on the Tool Box.
→ Two buttons appear: .
2. Click .
→ The shape of the pointer changes to .
3. Click the object that you want to edit.
→ The stitch points in the stitch pattern
appear as small empty squares.
4. To select a single stitch point, click an empty
square.
→ The selected stitch point appears as a
small black square.
To select multiple stitch points, hold down the
key and click each of the other points
that you want to select, or drag the pointer
over the stitch points that you want to select.
b Memo:
• Grouped objects, objects set for hole sewing,
and text arranged on shapes and their
shapes will each be converted to stitch
pattern.
• Patterns that do not have sewing attributes
applied are deleted when the object is
converted to stitch pattern.
• Object means patterns created with Shape
tools or Text tools or Manual Punch tools.
a Note:
Stitch pattern are surrounded with a dotted
line.
If the object is not surrounded by a dotted
line, it cannot be edited. Select the menu
command
Sew
–
Convert to Stitch
to
convert the object to stitch pattern.
b Memo:
If you click a feed, the points at both ends are
selected.
Ctrl


