91
Automatically Converting an Image to an Embroidery Pattern (Layout & Editing/Image to Stitch Wizard)
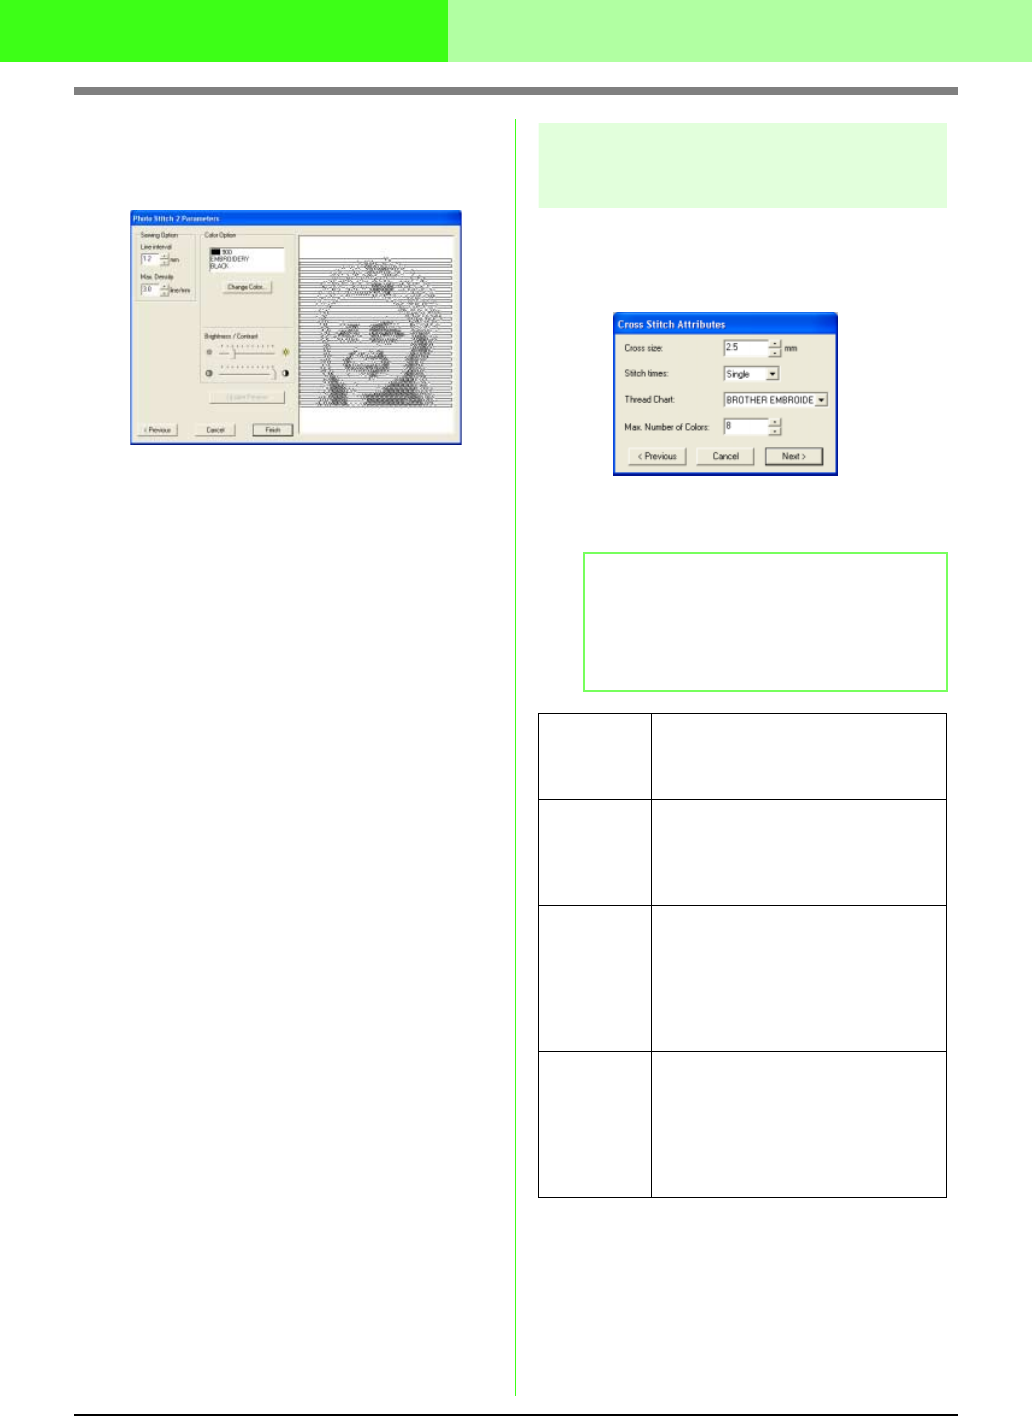
7. In the Photo Stitch 2 Parameters dialog box,
click Update Preview.
→ The previewed image is updated.
8. Click Finish.
→ An embroidery pattern is created and
displayed in the Design Page.
Automatically converting an image to
a cross stitch pattern (Cross Stitch)
■ If Cross Stitch is selected
→ The Cross Stitch Attributes dialog box
appears.
1. Specify the settings for creating the
embroidery pattern.
b Memo:
• To return to the previous dialog box, click
Previous
.
• To quit the operation and close the dialog
box, click
Cancel
.
Cross size
Sets the horizontal and vertical size of
the pattern.
Range: 1.5 to 5.0 mm (0.06 to 0.20 inch)
Default: 2.5 mm (0.1 inch)
Stitch times
Sets the number of times that the
pattern will be sewn. Sews twice per
time.
Range: Single, Double, Triple
Default: Single
Thread Chart
You can select the brand of thread you
want to use in the created cross stitch
pattern. A user thread chart can also be
selected.
The best corresponding thread colors
from the selected thread chart will be
selected.
Max.
Number of
Colors
Sets the number of colors used in the
created pattern.
The embroidery pattern is created using
no more than the number of colors
specified.
Range: 2 to 50
Default: 8


