


197
Manually Creating Embroidery Patterns From Images (Design Center)
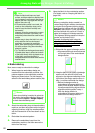
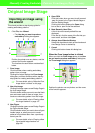
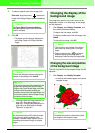
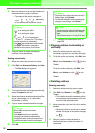
2. Click the outline color(s) that you want to
convert into black outlines.
→ When the pointer is moved over the
image, the shape of the pointer changes
to .
→ The selected color appears in a box on
the right side, and appears in the
check box to show that the color is
selected.
To extract the color boundaries, click Detect
Outlines check box.
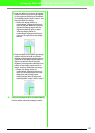
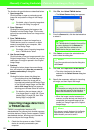
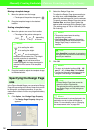
3. Click Preview to preview the line image in the
Design Page.
4. Click OK.
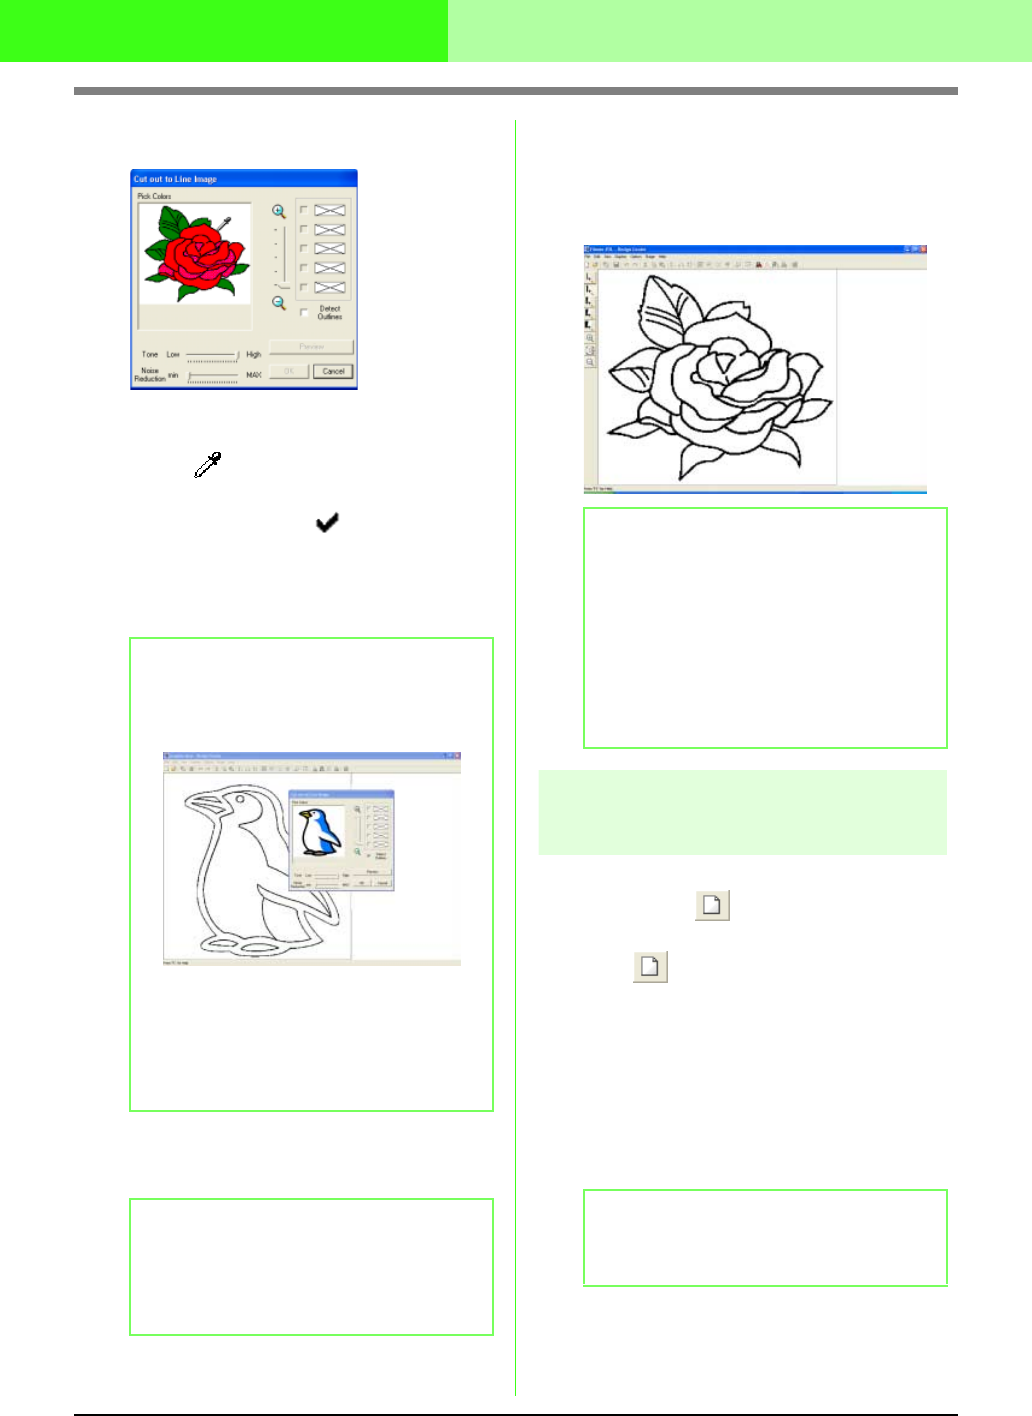
→ All of the selected colors are converted to
a black outline (line image), which is
displayed in the Design Page of the Line
Image Stage.
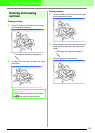
Drawing a New line image
freehand
Toolbar button:
1. Click , or click File, then New Line
Image.
→ If the current Design Page has already
been saved or has not been edited, a new
Design Page immediately appears in the
Line Image Stage.
→ If the current Design Page has not been
saved, you will be asked whether you
want to save the changes.
c
“Saving embroidery patterns” on
page 234, and “Drawing a New figure
handle image freehand” on page 202
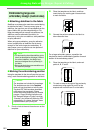
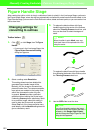
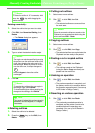
b Memo:
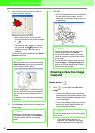
• When the extracting color boundaries using
Detect Outlines
, the colors are converted
to line image as shown below.
• You can repeat step
2.
to select up to five
colors. If more than five colors are selected,
only the last five colors selected remain in
the list.
• To deselect a color, clear the corresponding
check box.
b Memo:
If necessary, the settings can be changed.
After changing the settings, click
Preview
to
preview the outline with the new settings
applied.
b Memo:
• To quit the operation and go back to the
Original Image Stage, click
Cancel
.
• It is recommended to select just as many
colors as necessary to create a clear outline
of the image.
• If you do not like the result, select the menu
command
Stage
–
To Original Image
to go
back to the Original Image Stage, and then
create the line image again.
b Memo:
In the Line Image Stage, the file will be saved
as a .pel file.