169
Arranging Embroidery Designs (Layout & Editing)
Checking Embroidery Patterns
Measuring the distance
between two points
1. Click on the Tool Box.
→ The shape of the pointer changes to
.
2. Move the pointer to the beginning of the part of
the object that you want to measure, and then
hold down the mouse button.
→ A small circle appears, indicating the start
point of the measurement.
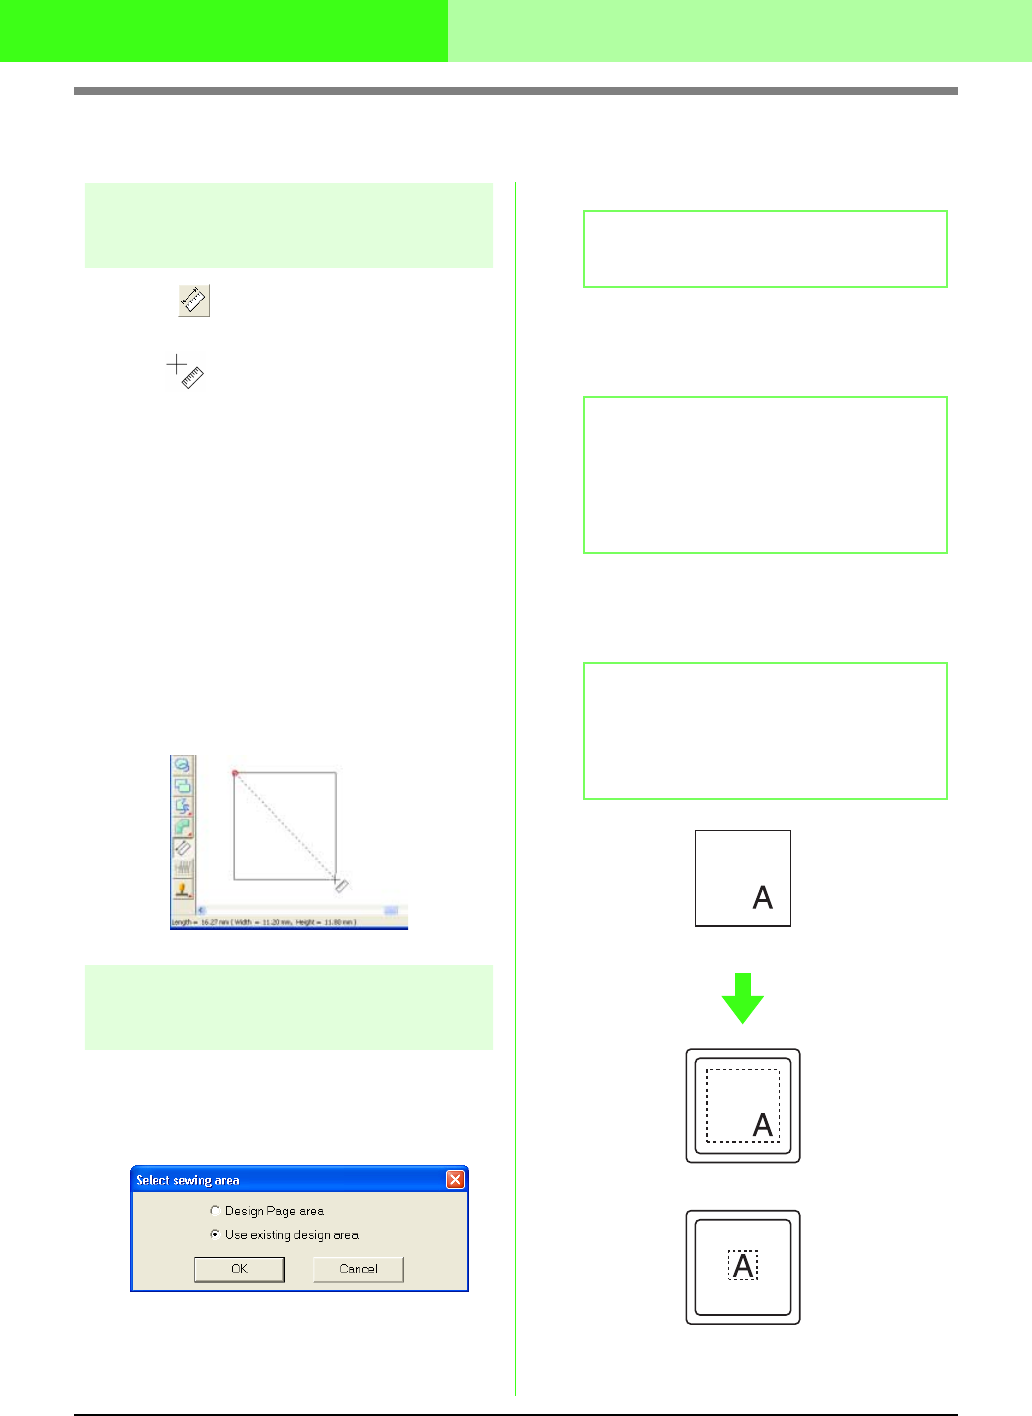
3. Drag the pointer to view the measurement in
the status bar. The value beside Length
shows the length along a straight line between
the start point and the end point. The value
beside Width shows the horizontal distance
between the start point and the end point. The
value beside Height shows the vertical
distance between the start point and the end
point.
Specifying the sewing area
The sewing area can be specified.
1. Click Sew, then Select Sewing Area.
→ The following dialog box appears.
2. Select the desired sewing area (Design Page
area or Use existing design area).
3. Click OK.
→ If Design Page area was selected, the
patterns will be sewn so that the needle
position when you start sewing is aligned
with the center of your Design Page.
→ If Use existing design area was selected,
the patterns will be sewn so that the needle
position when you start sewing is aligned
with the center of the actual patterns.
b Memo:
To quit the operation, click
Cancel
.
b Memo:
When
Design Page area
is selected, the
dimension of the pattern matches the size of
the Design Page, therefore reducing the
ability to move a pattern around the layout
screen of your embroidering machine.
b Memo:
When
Use existing design area
is selected,
the actual pattern size is maintained, therefore
allowing greater mobility when using the layout
functions of your embroidering machine.
Design Page (on your screen)
Sewing area = Design Page area
Sewing area = Use existing design area


