


82
Automatically Converting an Image to an Embroidery Pattern (Layout & Editing/Image to Stitch Wizard)
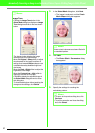
Automatically converting a photo to an
embroidery pattern (Photo Stitch 1/Photo Stitch 2)
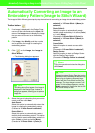
■ If Photo Stitch 1 (Color) is
selected
→ A Select Mask dialog box similar to the
one shown below appears.
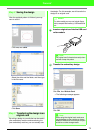
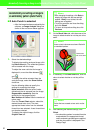
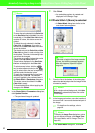
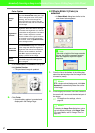
1. From the list at the bottom of the dialog box,
select the desired shape that the image will be
trimmed to (mask).
2. In the image preview box, move the handles of
the mask until it surrounds the desired part of
the image.
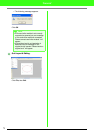
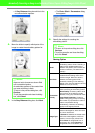
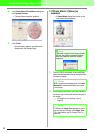
Pattern edited with the round mask
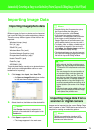
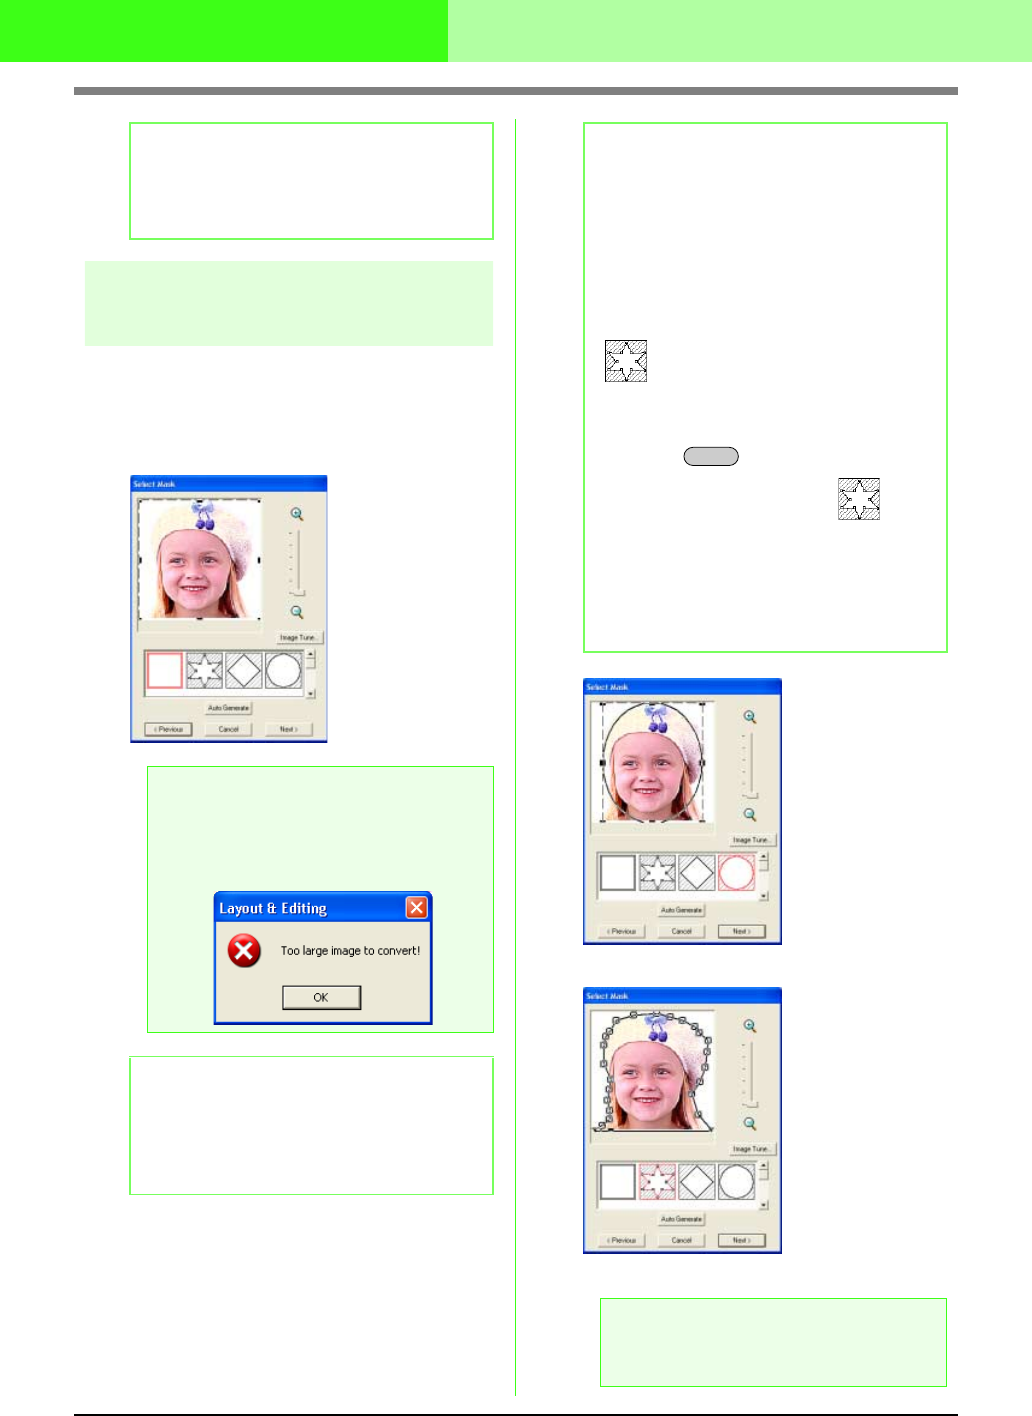
Pattern edited with the adjustable mask
b Memo:
The sew type settings of the created
embroidery pattern can later be changed in the
same way as the settings for other patterns.
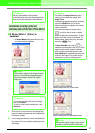
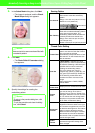
a Note:
If the width or height of the image exceeds
500 mm, the following message appears.
When this happens, adjust the original
image size.
b Memo:
• To quit the operation and close the dialog
box, click
Cancel
.
• To return to the previous dialog box, click
Previous
.
b Memo:
• To display the
Image Tune
dialog box,
where you can adjust the image, click
Image Tune
.
• To display the image enlarged (or reduced),
move the
ZOOM
slider up (or down).
• When the dialog box appears, the square
mask is selected.
•
To create any shape of mask, select
, and then move, enter or delete
points to adjust the mask shape. To add
points, click the outline of the mask. To
delete points, select the point, and the
n
press the key
.
• If
Auto Generate
was clicked, is
selected, and the points in the outline of the
mask can be moved, added or deleted.
• With a single-colored background, click
Auto Generate
to automatically detect the
outline of the image. The outline can be
adjusted by moving or deleting points.
a Note:
With a small original image, it may not be
possible to reduce the size of the mask.
Delete