


85
Automatically Converting an Image to an Embroidery Pattern (Layout & Editing/Image to Stitch Wizard)
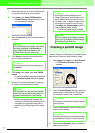
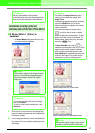
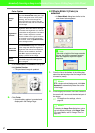
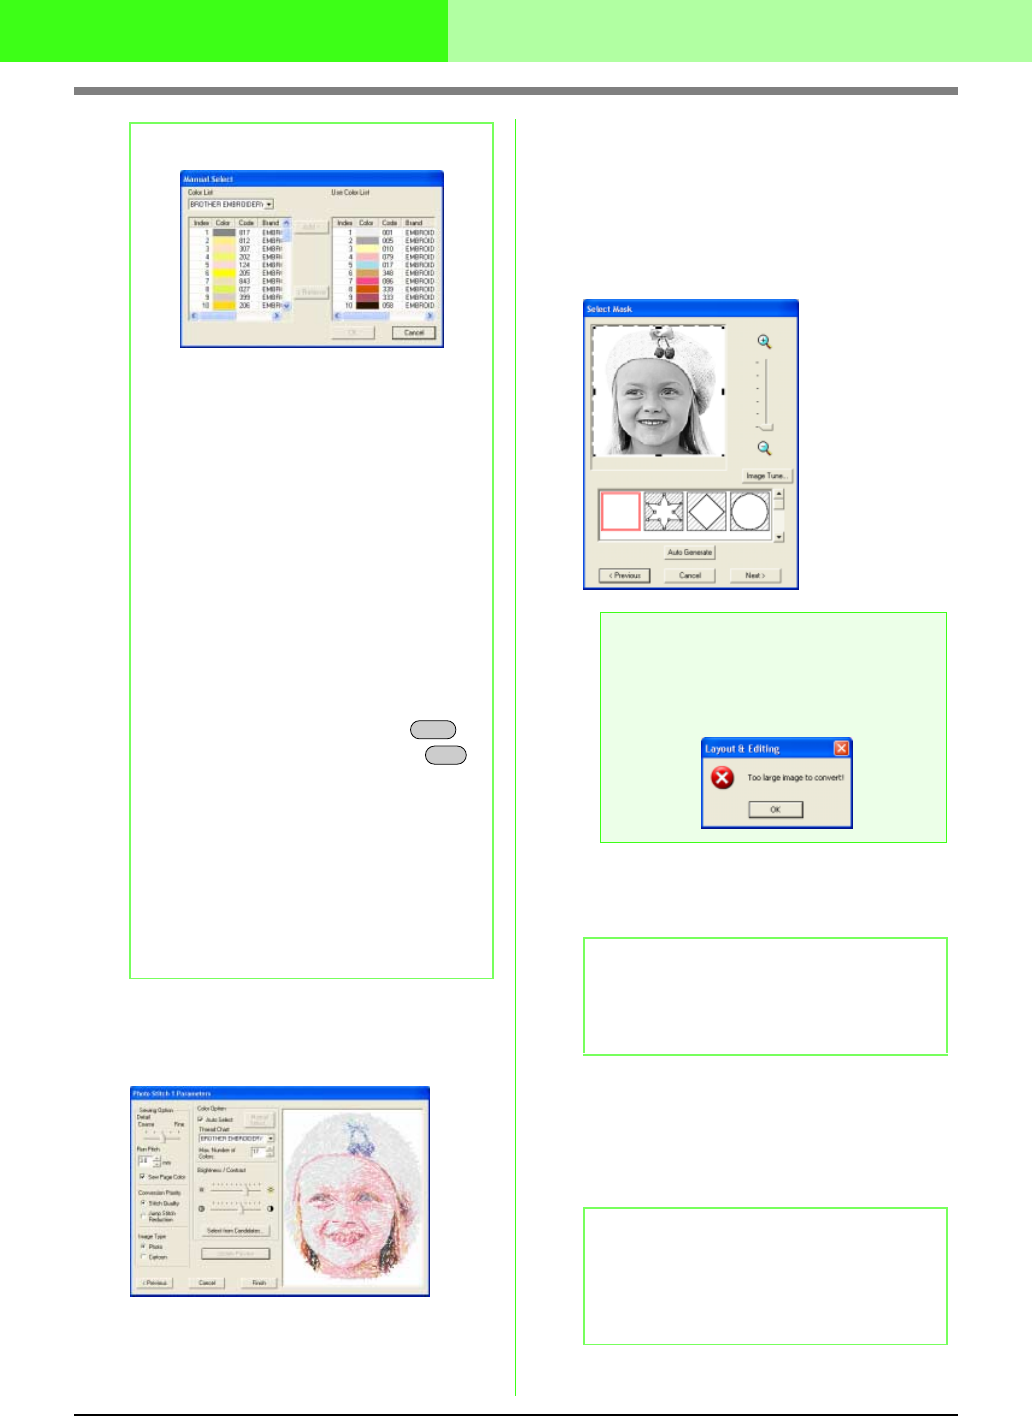
6. In the Photo Stitch 1 Parameters dialog box,
click Update Preview.
→ The previewed image is updated.
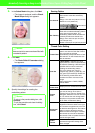
7. Click Finish.
→ An embroidery pattern is created and
displayed in the Design Page.
■
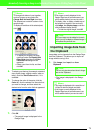
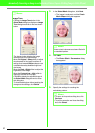
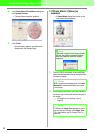
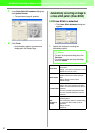
If Photo Stitch 1 (Mono) is selected
→ A Select Mask dialog box similar to the
one shown below appears.
1. From the list at the bottom of the dialog box,
select the desired shape that the image will be
trimmed to (mask).
2. In the image preview box, move the handles of
the mask until it surrounds the desired part of
the image
c
For details on the settings, refer to
page 82.
3. In the Select Mask dialog box, click Next.
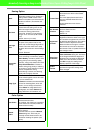
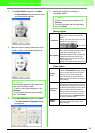
b Memo:
• To move the color selected in the
Color List
to the
Use Color List
, click
Add
. If no color
is selected, or if the
Use Color List
already
contains 50 colors, this button cannot be
clicked.
• To delete the color selected in the
Use
Color List
, click
Remove
. If no color is
selected in the
Use Color List
, this button
cannot be clicked.
• The thread colors in the
Color List
and
Use
Color List
are listed, in order, starting from
the brightest. This order is the sewing order
and cannot be changed.
• The maximum number of colors that can be
added to the
Use Color List
is 50.
• Thread colors displayed in the
Use Color
List
are not displayed in the
Color List
.
• To select several colors, hold the
key (to select adjacent colors) or the
key (to select colors that are not adjacent),
and then select the desired colors.
• To apply the changes to the list and close
the dialog box, click
OK
. The selected
colors are applied to the preview shown in
the
Photo Stitch 1 Parameters
dialog box.
This button cannot be clicked if the
Use
Color List
is empty.
• To close the dialog box without applying the
changes, click
Cancel
.
Shift
Ctrl
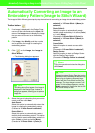
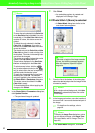
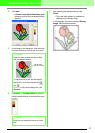
a Note:
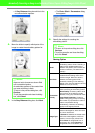
If the width or height of the image exceeds
500 mm, the following message appears.
When this happens, adjust the original
image size.
b Memo:
With a single-colored background, click
Auto
Generate
to automatically detect the outline
of the image.
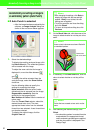
b Memo:
To display the
Image Tune
dialog box, where
you can adjust the image, click
Image Tune
.
(For more details, refer to “Image Tune” on
page 83.)