


78
Automatically Converting an Image to an Embroidery Pattern (Layout & Editing/Image to Stitch Wizard)
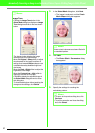
5. To select a part feature (for example, standard
size, slightly larger, slightly smaller, wider or
taller), move the Part Feature slider, if it is
available.
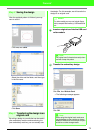
6. To change the color of the parts, click the
Color tab, click the selector for the color that
you want to change, and then select the
desired color from the color list that appeared.
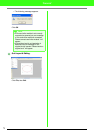
7. Click OK.
→ The portrait image is displayed in the
Design Page.
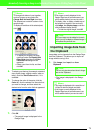
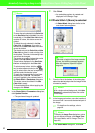
Importing image data from
the Clipboard
Image data can be imported into the Design Page
from the Clipboard. This allows you to import an
image without saving it first.
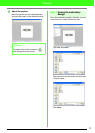
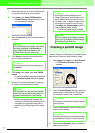
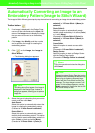
1. Click Image, then Input, then from
Clipboard.
→ The image is displayed in the Design
Page.
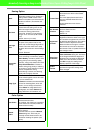
b Memo:
• To change both sides of a part together,
such as the eyes or ears, select the
Change Both Left and Right
check box.
• The selected part variation is shown in the
sample image.
• To display all variations of the selected part,
click .
• To display the images of all parts
combined, select the
Display With
Other Parts
check box in the
Part
Variations List
dialog box that
appeared.
• Select a part from the list, and then
click
OK
.
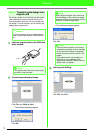
b Memo:
• If the image currently displayed in the
Design Page has not yet been saved, you
will be asked whether you want to save it.
• To display, hide, or display a faded copy of
the image that remains in the work area,
click
Image
, then
Display Image
, and then
click the desired display setting.
• To hide the original image, click
Off
.
a Note:
Only one image can be added to the work
area. If you try to display a different image, it
will replace the previous one.
a Note:
This can only be done when there is image
data on the Clipboard.
b Memo:
• The image is displayed with a resolution of
100 dpi for both the height and width.
• If the image currently displayed in the
Design Page has not yet been saved, you
will be asked whether you want to save it.