


79
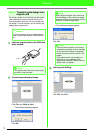
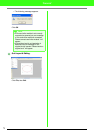
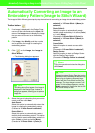
Automatically Converting an Image to an Embroidery Pattern (Layout & Editing/Image to Stitch Wizard)
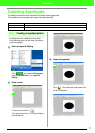
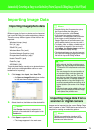
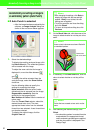
Changing the Image Settings
Changing the display of the
background image
The image that remains in the work area can be
displayed or hidden, or a faded copy of the image
can be displayed.
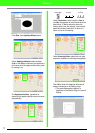
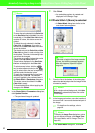
1. Click Image, then Display Image, and then
select the desired setting.
To display the original image, click On (100%).
To display a faded copy of the image, click the
desired density (75%, 50% or 25%).
To hide the original image, click Off.
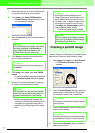
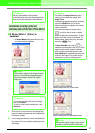
Changing the size and
position of the image
The size and position of the image can be adjusted.
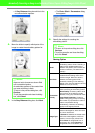
1. Click Image, then Modify.
→ A red line and handles appear around the
image.
Moving an image:
1. Move the pointer over the image.
→ The shape of the pointer changes to .
2. Drag the image to the desired location.
Scaling an image:
1. Move the pointer over one of the handles.
→ The shape of the pointer changes to
, , or , depending
on the handle that the pointer is over.
2. Drag the handle to adjust the image to the
desired size.
Deleting an image:
1. Press the key, or click Edit, then
Delete.
→ The image will be deleted from the Design
Page.
b Memo:
• This function is not available if no image has
been imported into the Design Page.
• Press the shortcut key ( ) to switch
between displaying the image (
On (100%)
)
to displaying it faded at each density (
75%
,
50%
and
25%
) to hiding the image (
Off
).
b Memo:
• The status bar shows the dimensions (width
and height) of the image.
F6
b Memo:
• is for scaling the width.
• is for scaling the height.
• and are for scaling both
dimensions at the same time. (The height-
to-width proportion is maintained.)
• If the key is held down while a handle
is dragged, the image is enlarged or
reduced from the center of the image.
Shift
Delete