


321
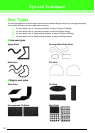
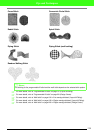
Tips and Techniques
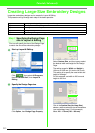
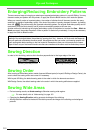
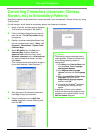
Removing Sections of Stitch Pattern
(by Using the Split Stitch tool)
Click on the Tool Box in Layout & Editing, click a frame around the desired section of the stitch pattern,
and then double-click to remove the framed section.
c
For more details, refer to “Splitting off parts of a stitch pattern” on page 116.
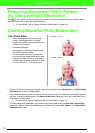
Creating Beautiful Photo Embroidery
■ For Photo Stitch
• Select a photograph that shows a large
image. (A photograph with an intricate
image, for example, one that contains many
objects, is not suitable.)
• Increase the contrast.
• An image with a width and height between
300 and 500 dots is suitable.
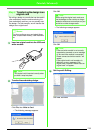
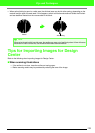
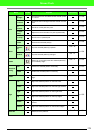
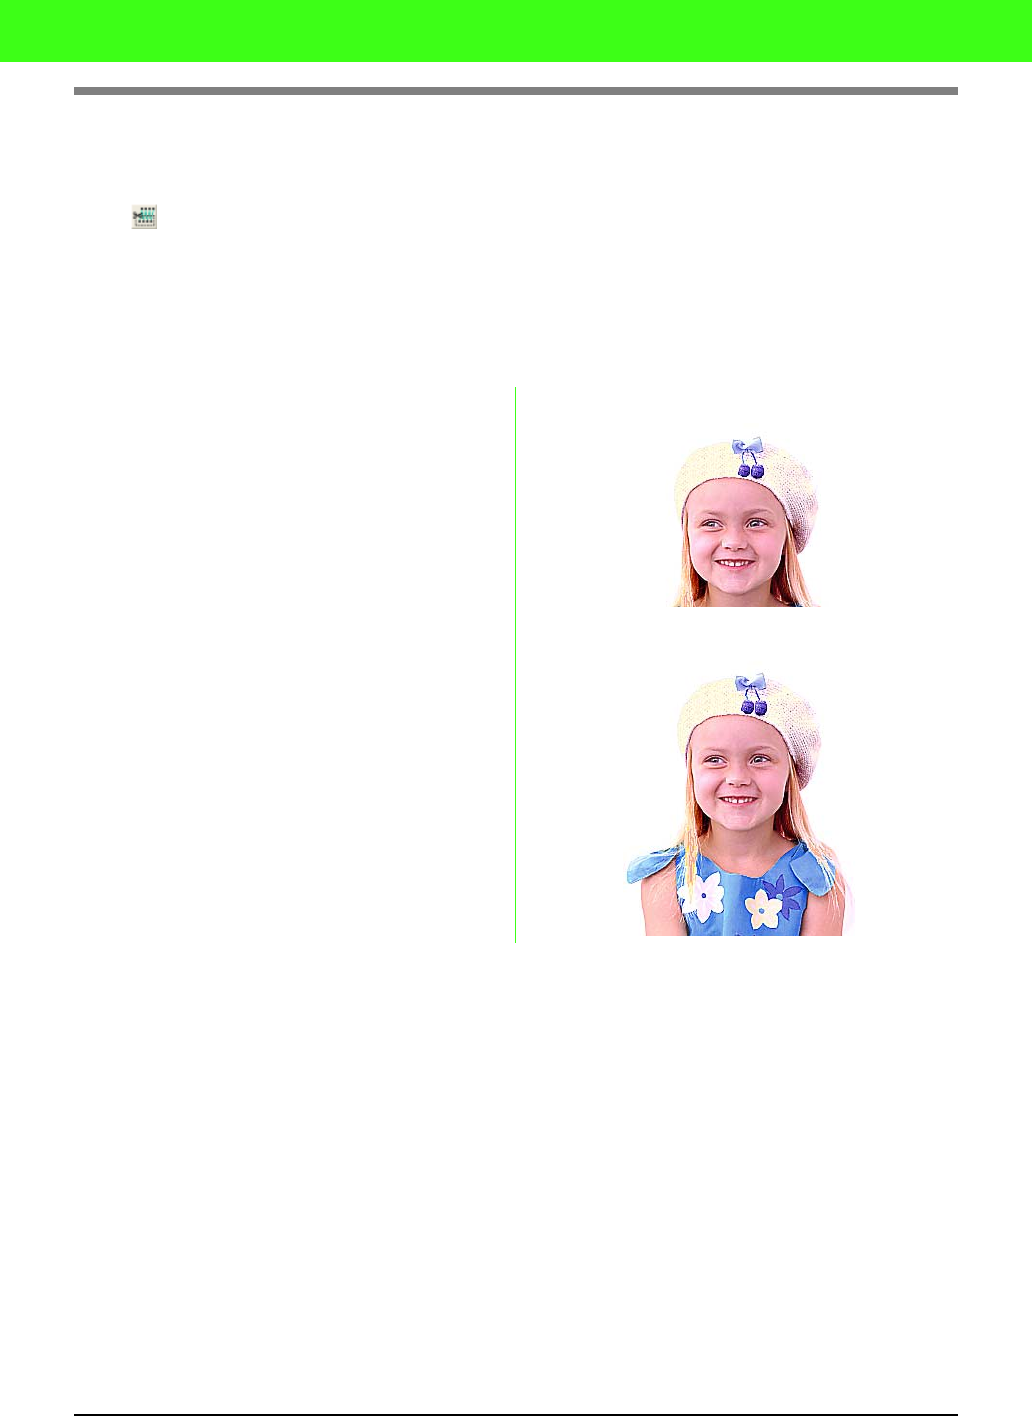
• For best results with human portraits, the
main focus of the image should be the area
between the chest and the top of the head
and the image should be framed in an area
of 130 × 180 mm (5 × 7 inches) or more.
• For best results when using a dark original image, we recommend setting Brightness in the Photo Stitch
Parameters dialog box to a higher setting.
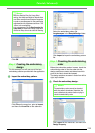
• If the created embroidery pattern contains colors that you do not wish to emphasize (for example, grays in
the face), change the sewing order in the Sewing Order/Color dialog box so that the undesirable color is
sewn before all other colors.
c
For more details, refer to “Changing colors of a stitch pattern” on page 115.
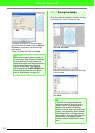
• To create sepia photo embroidery, first create a sepia user thread chart in the Edit User Thread Chart
dialog box, and then select the created sepia user thread chart under Color Option in the Photo Stitch
Parameters dialog box.
at 100 mm
×
100 mm
at 130 mm
×
180 mm