


123
Arranging Embroidery Designs (Layout & Editing)
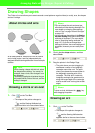
Drawing straight lines and
curves
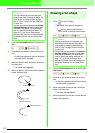
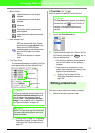
1. Click on the Tool Box.
→
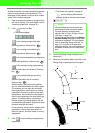
Three buttons appear:
is for drawing straight lines. (Shortcut
key: )
is for drawing curves. (Shortcut key:
)
is for semi-automatically drawing lines.
(Shortcut key: )
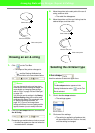
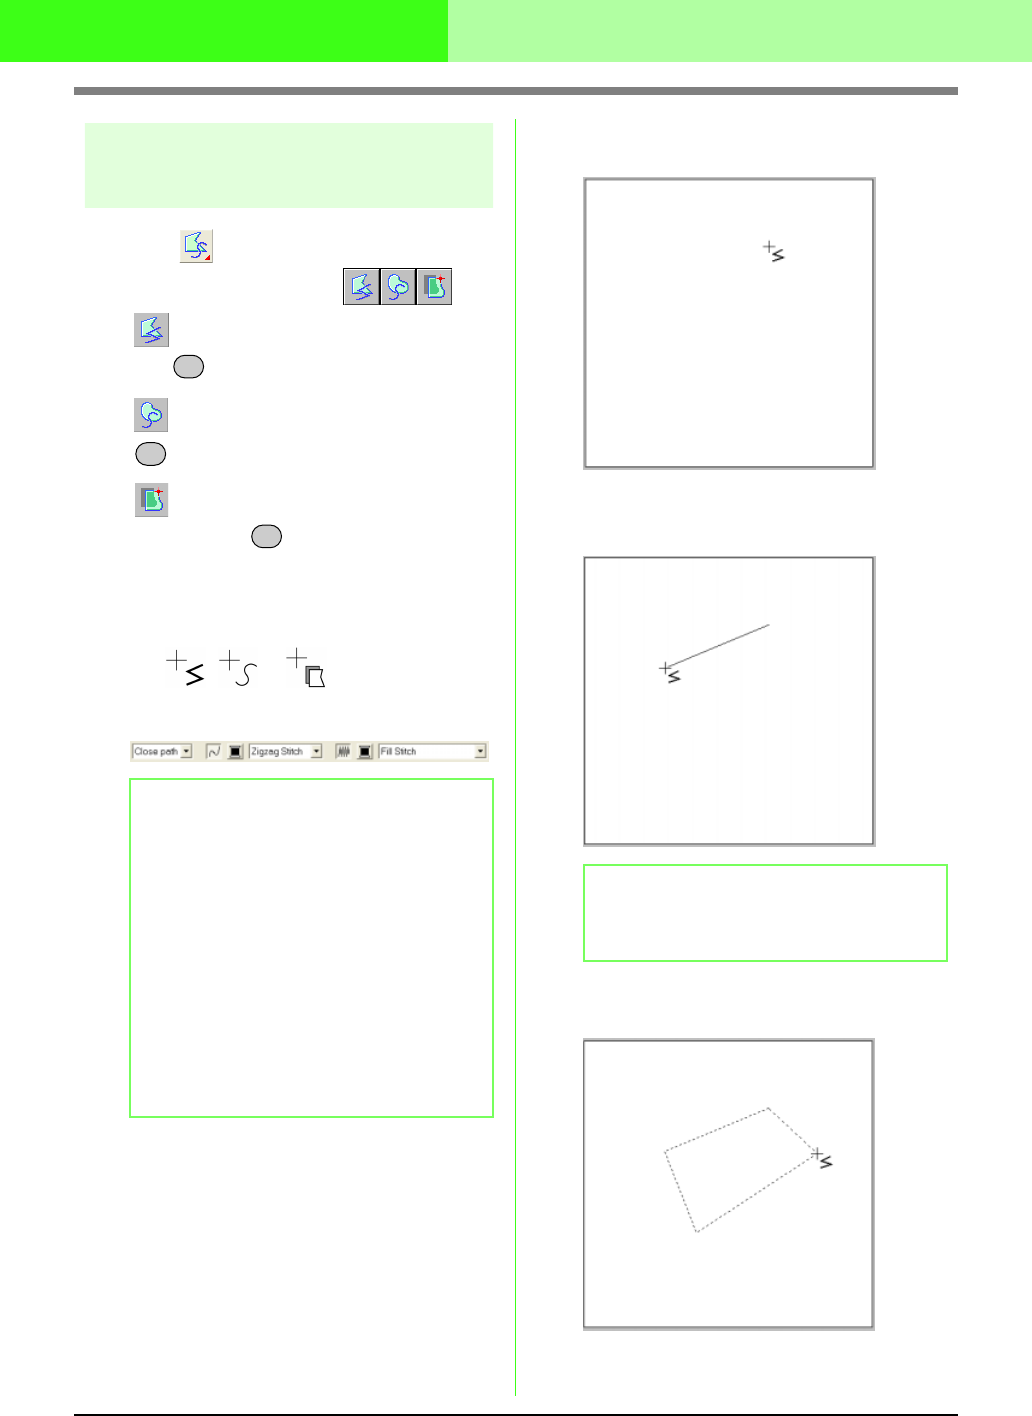
2. Click the button for the type of line that you
want to draw.
→ The shape of the pointer changes to
, or , and the Sewing
Attributes bar appears similar to the one
shown below.
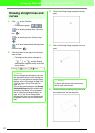
3. Click in the Design Page to specify the start
point.
4. Click in the Design Page to specify the next
point.
5. Continue clicking to specify every point, and
then double-click the last end point.
b Memo:
• You can change the path shape, color and
sew type either before or after creating the
shape. For more details on changing these
settings, refer to “Path shape” on page 124,
“Color” on page 149 and “Sew type” on
page 150.
• You can also use the settings in the
Sewing
Attribute Setting
dialog box to define other
attributes of the shape. (For more details,
refer to “Specifying sewing attributes” on
page 151.) If you do not change these
settings at this time, the current settings will
be applied, however you can modify them
later.
Z
X
C
b Memo:
To remove the last point that was entered,
click the right mouse button.