


141
Arranging Embroidery Designs (Layout & Editing)
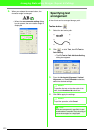
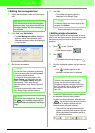
8. Click OK.
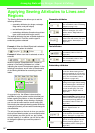
→ The monogram is displayed in the Design
Page with the selected decorative pattern.
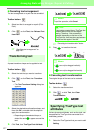
9. Click on the Tool Box, select the
decorative pattern, and then adjust its size
and position.
10. If necessary, change the thread color and sew
type in the Sewing Attributes bar for the
monogram.
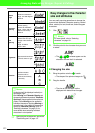
Editing monograms
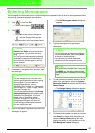
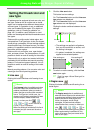
■ Monogram Font
Use this selector to select a font for the monograms.
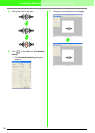
1. Click in the Font selector.
→ A list of monogram fonts appears.
2. Click the desired font.
→ The setting is applied to all monogram
patterns that you will create, until the
setting is changed.
→ If a monogram pattern was selected, the
setting is also applied to the selected
monogram.
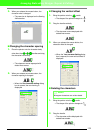
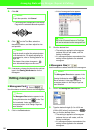
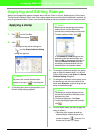
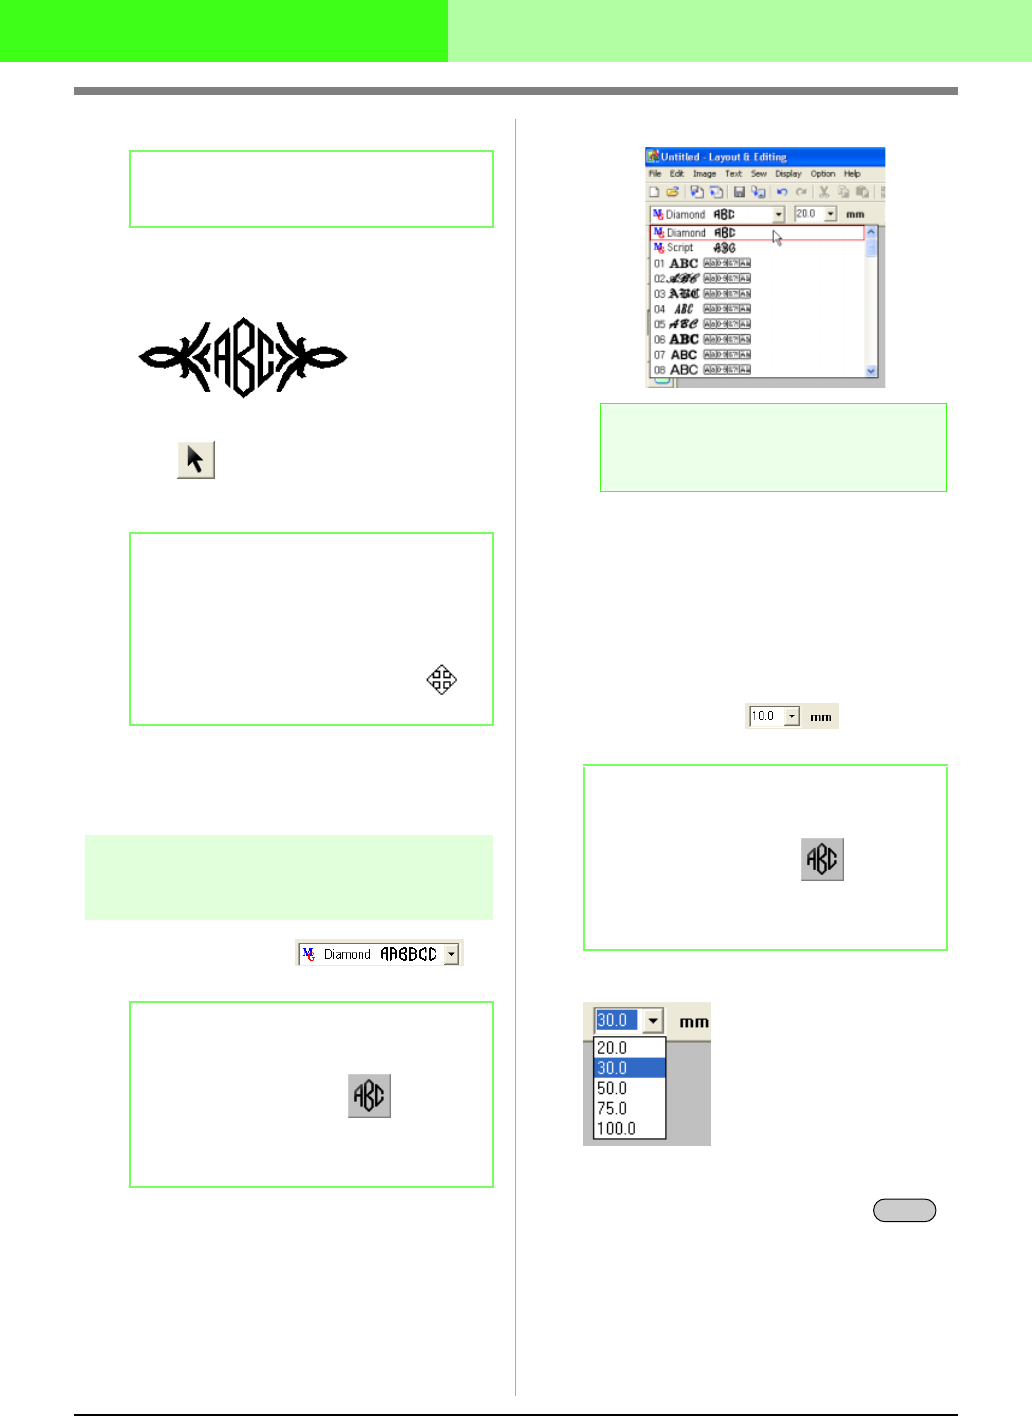
■ Monogram Size
Use this selector to select the size of the monogram.
1. Click in the Monogram Size selector.
2. Type the desired height (5.0 to 100.0 mm
(0.20 to 3.93 inches)) and press the
key, or click the desired value.
→ The setting is applied to all monogram
patterns that you will create, until the
setting is changed.
→ If a monogram pattern was selected, the
setting is also applied to the selected
monogram.
b Memo:
To quit the operation, click
Cancel
.
b Memo:
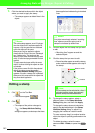
Drag the handle to adjust the selected pattern
to the desired size. For details adjusting the
monogram size, refer to “Scaling patterns” on
page 103.
The shape of the pointer changes to
when the selected object can be moved.
b Memo:
The
Monogram Font
selector appears in the
Sewing Attributes bar when on the Tool
Box is selected. It also appears when a
monogram pattern in the Design Page has
been selected.
!!sew37.bmp!!
a Note:
Any of the 35 normal fonts or a TrueType
font can be selected as the monogram font.
b Memo:
The
Monogram Size
selector appears in the
Sewing Attributes bar when on the Tool
Box is selected. It also appears when a
monogram pattern in the Design Page has
been selected.
Enter