


110
Arranging Embroidery Designs (Layout & Editing)
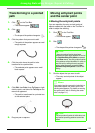
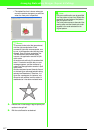
Transforming to a pointed
path
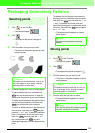
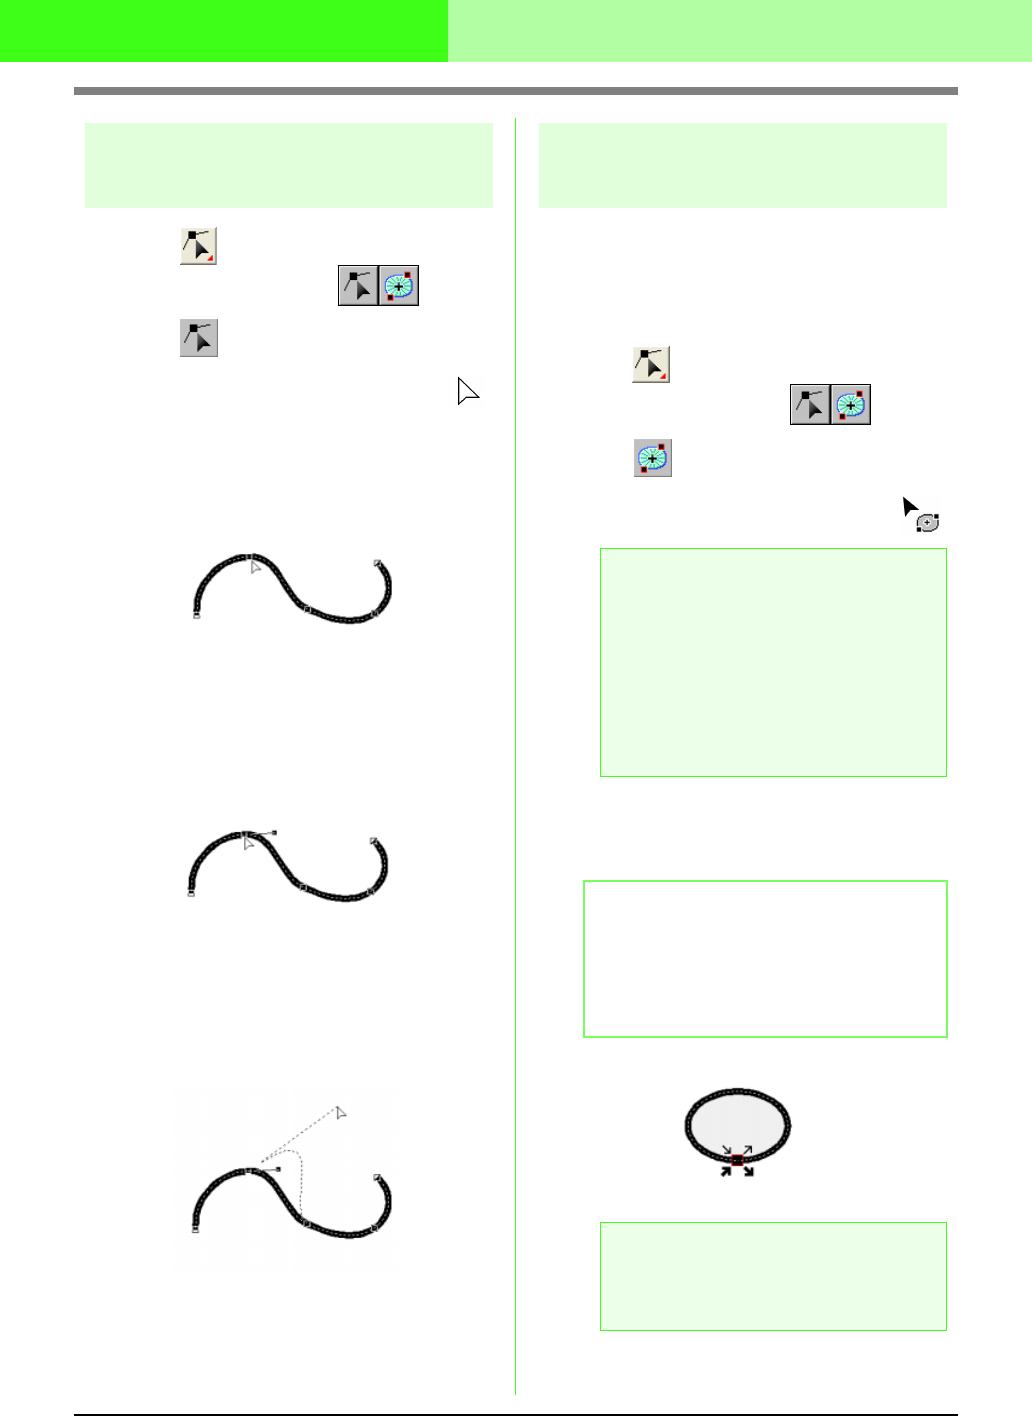
1. Click on the Tool Box.
→ Two buttons appear: .
2. Click .
→ The shape of the pointer changes to .
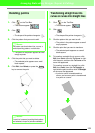
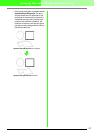
3. Click the pattern that you want to edit.
→ The points in the pattern appear as small
empty squares.
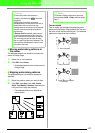
4. Click the point where the path is to be
transformed to a pointed one.
→ The selected point appears as a small
black square.
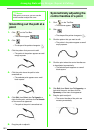
5. Click Edit, then Point, then To Cusp, or right-
click the point, and then click To Cusp on the
menu that appeared.
→ The path is transformed to a pointed one
at the selected point.
6. Drag the path to adjust it.
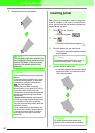
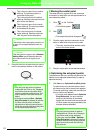
Moving entry/exit points
and the center point
■ Moving the entry/exit points
You can reposition the entry and exit points of
objects created with the tools on the Tool Box in
order to adjust the stitching.
1. Click on the Tool Box.
→ Two buttons appear: .
2. Click .
→ The shape of the pointer changes to .
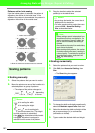
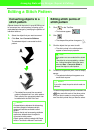
3. Click the object that you want to edit.
→ The entry and exit points of the object
appear.
a Note:
If the entry and exit points have been
optimized (a check mark appears in front of
the
Optimize Entry/Exit points
command
on the
Sew
menu), the entry and exit points
of the patterns cannot be edited. In order to
use this tool for editing the entry and exit
points, select the menu command
Sew
–
Optimize Entry/Exit points
to cancel the
setting.
b Memo:
If the region has the concentric circle stitch or
radial stitch applied, the center point of the
stitching also appears. (For details on moving
the center point, refer to “Moving the center
point” on page 111.)
a Note:
The entry and exit points of stitch data, text,
and manual punching patterns cannot be
edited.