


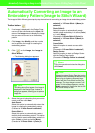
83
Automatically Converting an Image to an Embroidery Pattern (Layout & Editing/Image to Stitch Wizard)
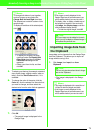
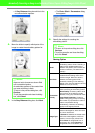
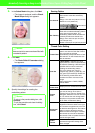
3. In the Select Mask dialog box, click Next.
→ The image is analyzed, and the Check
Mask Shape dialog box appears.
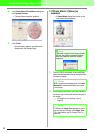
4. Click Next.
→ The Photo Stitch 1 Parameters dialog
box appears.
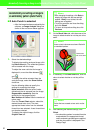
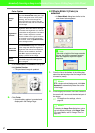
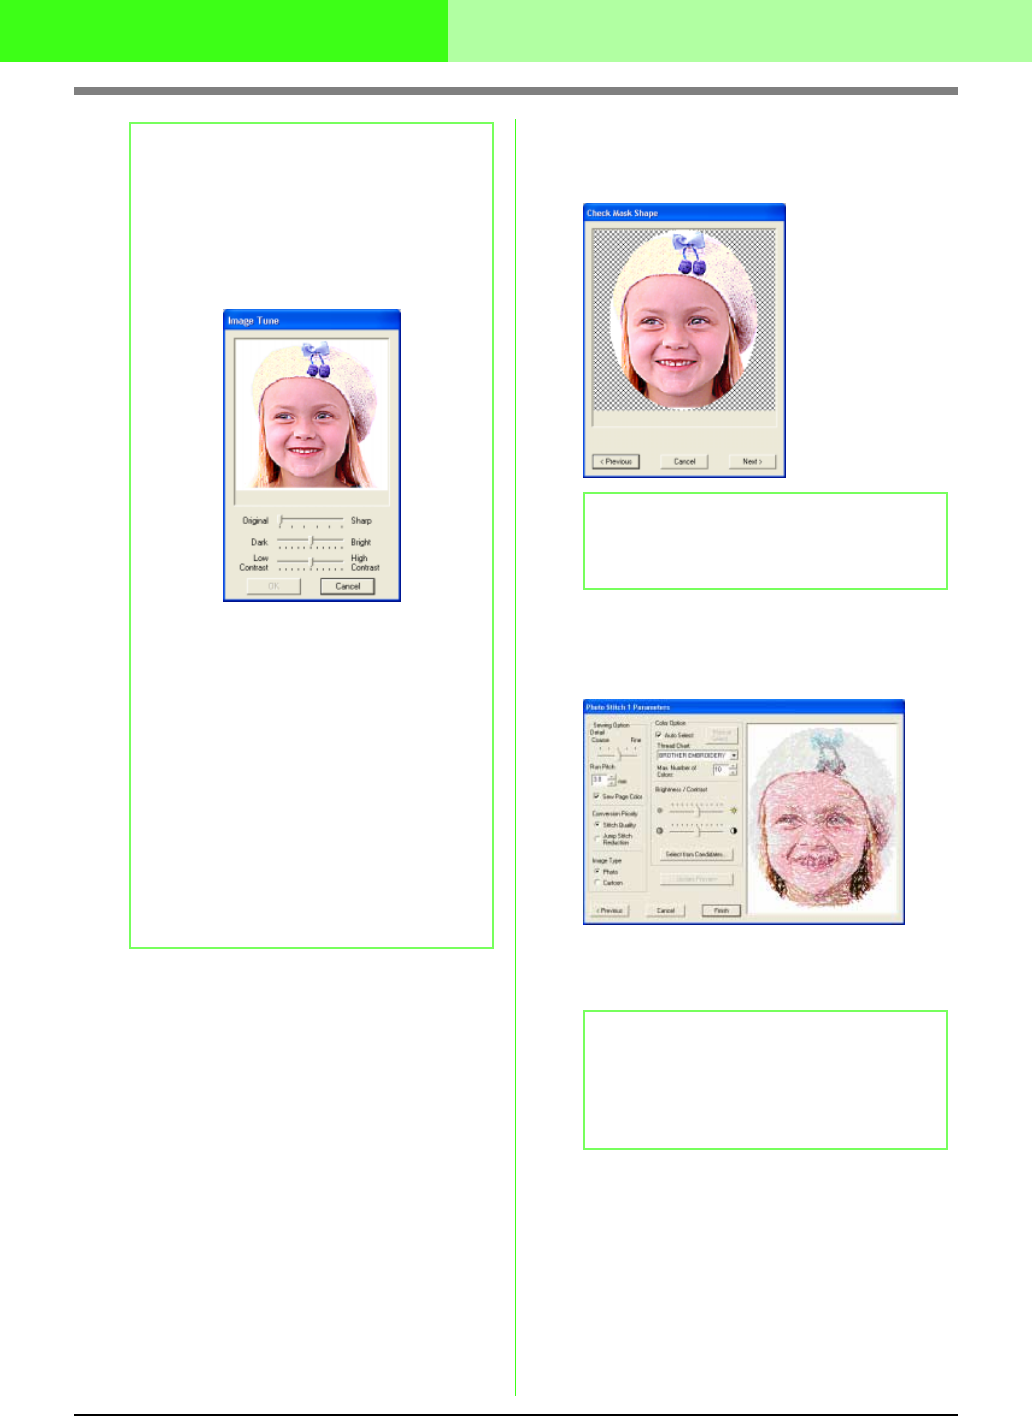
5. Specify the settings for creating the
embroidery pattern.
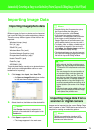
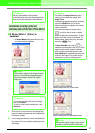
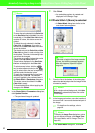
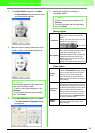
b Memo:
Image Tune
• Clicking the
Image Tune
button in the
Select Mask
dialog box displays an
Image
Tune
dialog box similar to the one shown
below.
• The image window displays the image
resulting from the current settings.
• Move the
Original – Sharp
slider to adjust
the sharpness of the image’s outlines. A
setting more towards
Sharp
makes a more
noticeable boundary between bright and
dark areas.
• Move the
Dark – Bright
slider to adjust the
brightness of the image.
• Move the
Contrast Low – High
slider to
adjust the contrast of the image.
• Click
OK
to display the adjusted image in
the
Select Mask
dialog box and to close
this dialog box.
• To close the dialog box without applying the
changes to the settings, click
Cancel
.
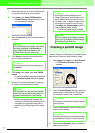
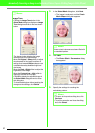
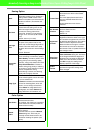
b Memo:
Areas not set to be sewn are shown filled with
a crosshatch pattern.
b Memo:
• To return to the previous dialog box, click
Previous
.
• To quit the operation and close the dialog
box, click
Cancel
.