


94
Explanation of functions (parameters)
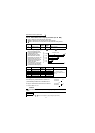
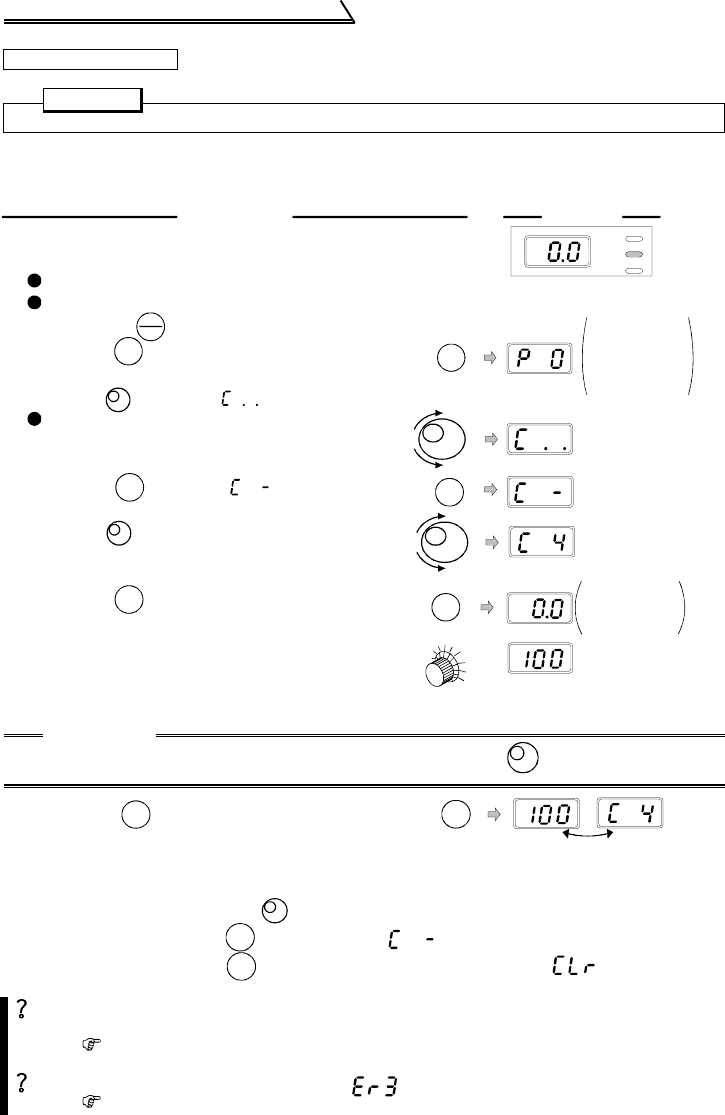
(2) Adjusting a deviation of the highest frequency from the Pr. 38 (Pr. 39) setting.
(2)-1 Making adjustment with a voltage applied directly across
terminals 2-5 (with a current flowing across terminals 4-5)
Changing example Changing the calibration parameter C4 "frequency setting
voltage gain" value
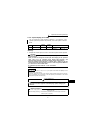
POINT
The calibration parameter C4 is an extended function parameter. Pr. 30 must be set to "1".
CAUTION
After performing operation in step 7, do not touch the until completion of
calibration.
The frequency meter (indicator) connected to across terminals FM-SD does
not indicate just 50Hz ... Why?
The calibration parameter C1 "FM terminal calibration" value must be set.
(For the setting method, refer to the instruction manual (basic).)
When write is performed, an error ( ) is displayed.
The gain and bias frequency settings are too close.
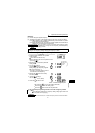
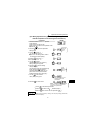
Confirm the RUN indication and operation
mode indication.
The inverter must be at a stop.
The inverter must be in the PU operation mode.
(Press the )
1.
4.
5.
SET
2.
MODE
MODE
The parameter
number read
previously
appears.
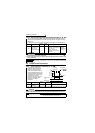
6.
Press the to show the analog
voltage value (%).
SET
SET
7.
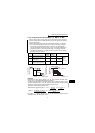
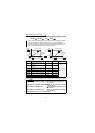
Apply a 5V voltage.
(Turn the external potentiometer
connected to across terminals 2-5 to
the maximum (any position).)
1
2
3
4
5
6
7
8
9
10
Analog voltage
value (%) across
terminals 2-5
*
Press the to choose the parameter
setting mode.
RUN
PU
EXT
*The value is nearly 100 (%) in the
maximum position of the potentiometer.
3.
Turn the to show " ".
Pr. 30 must be set to "1".
(For the Pr. 30 setting method, refer to
the instruction manual (basic).)
PU
EXT
Turn the until the calibration
parameter C4 "frequency setting
voltage gain" appears.
SET
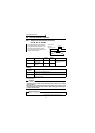
Press the to show " ".
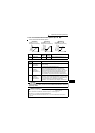
DisplayOperation
When adjusting Pr. 38
Flicker ... Parameter setting complete!!
*The value is nearly 100 (%) in the
maximum position of the potentiometer.
8.
SET
(Adjustment complete)
*
SET
Press the to set the value.
• By turning the , you can read another parameter.
SET
• Press the to return to the indication (step 4).
SET
• Press the twice to show the next parameter ( ).