


15. ELECTRIC MECHANISM
161
KE-430F, BE-438F
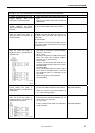
Error status #19 The thread trimmer does not operate.
Probable causes Check/ repair/ adjust Parts to be replaced
1. Incorrect memory switch setting
Set memory switch No. 164 to OFF.
* If it is set to ON, thread trimming will not be
carried out.
2. Incorrect mechanism adjustment
Adjust the thread trimmer mechanism while
referring to "11-14. Adjusting the thread trimmer
cam position".
* If it seems that the thread trimming mechanism
is not operating properly, carry out steps 3 to 6
below.
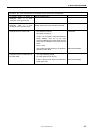
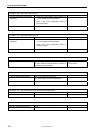
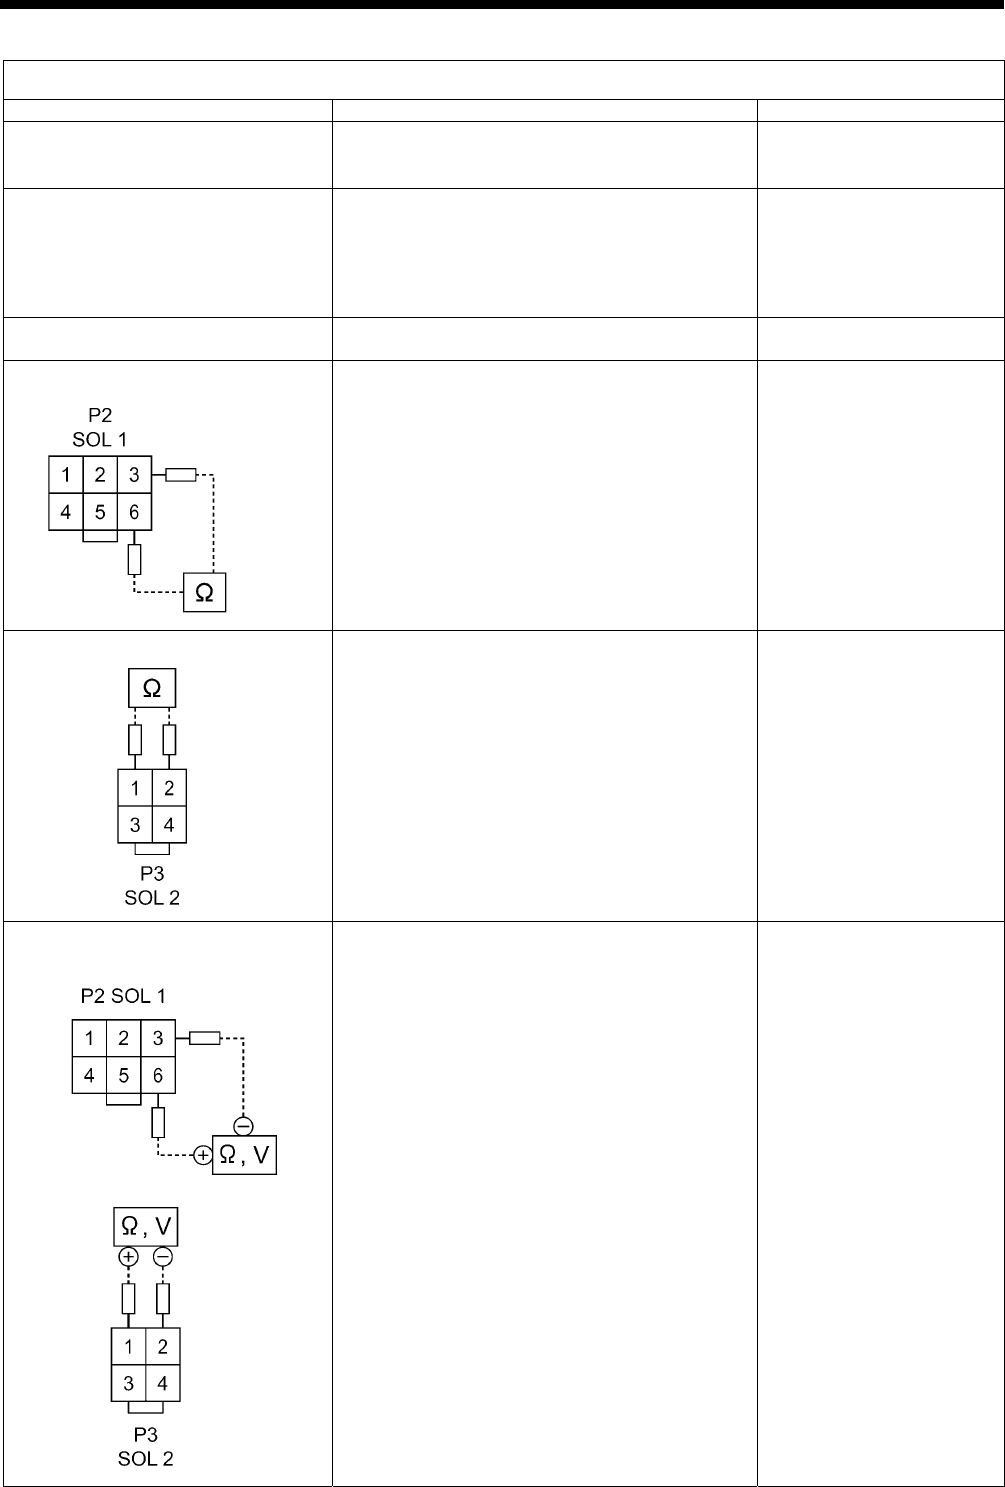
3. Poor connector connection Check that main PCB connector P2 (SOL1) and
P3 (SOL2) is connected.
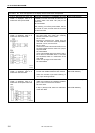
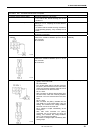
4. Malfunction of thread trimmer
solenoid
Disconnect main PCB connector P2 (SOL1) and
measure the resistance between pins 3-6 of the
cord connector.
OK if 6-8 ohms.
Thread trimmer solenoid
assembly
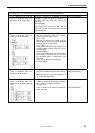
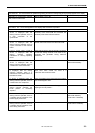
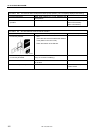
5. Malfunction of tension solenoid
Disconnect main PCB connector P3 (SOL2) and
measure the resistance between pins 1-2 of the
cord connector.
OK if 6-8 ohms.
Tension solenoid
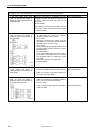
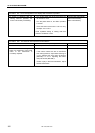
6. Malfunction of main PCB.
a. Turn on the power switch and check LD2
(green) on the main PCB.
OK if illuminated.
b. Turn off the power switch, and with connector
P2 (SOL1) disconnected from the main PCB,
check the continuity between terminals 3 and
6 of connector P2 on the main PCB.
OK if ∞ ohms.
c. With connector P3 (SOL2) disconnected from
the main PCB, check the continuity between
terminals 1 and 2 of connector P3 on the main
PCB.
OK if ∞ ohms.
d. With connector P2 (SOL1) inserted into the
main PCB, turn on the power switch, carry out
sewing and measure the voltage between
terminals 3 and 6 of connector P2.
OK if voltage is output momentarily at the
sewing end.
e. With main PCB connector P3 (SOL2)
connected, turn on the power and carry out
sewing, and measure the voltage between
pins 1-2 of connector P3 (SOL2).
OK if there is voltage output momentarily after
sewing stops.
Main PCB assembly
2728B
2726B
2727B