


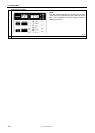
11. ADJUSTMENT
122
KE-430F, BE-438F
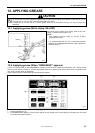
7
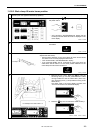
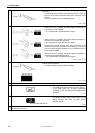
Depress the foot switch to the 2nd step to provisionally confirm the
offset value.
・ Thread nipper motor home position detection will be carried out
based on the currently-displayed offset value. Check the home
position.
・
“JoG” will disappear from the TENSION display.
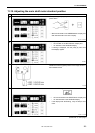
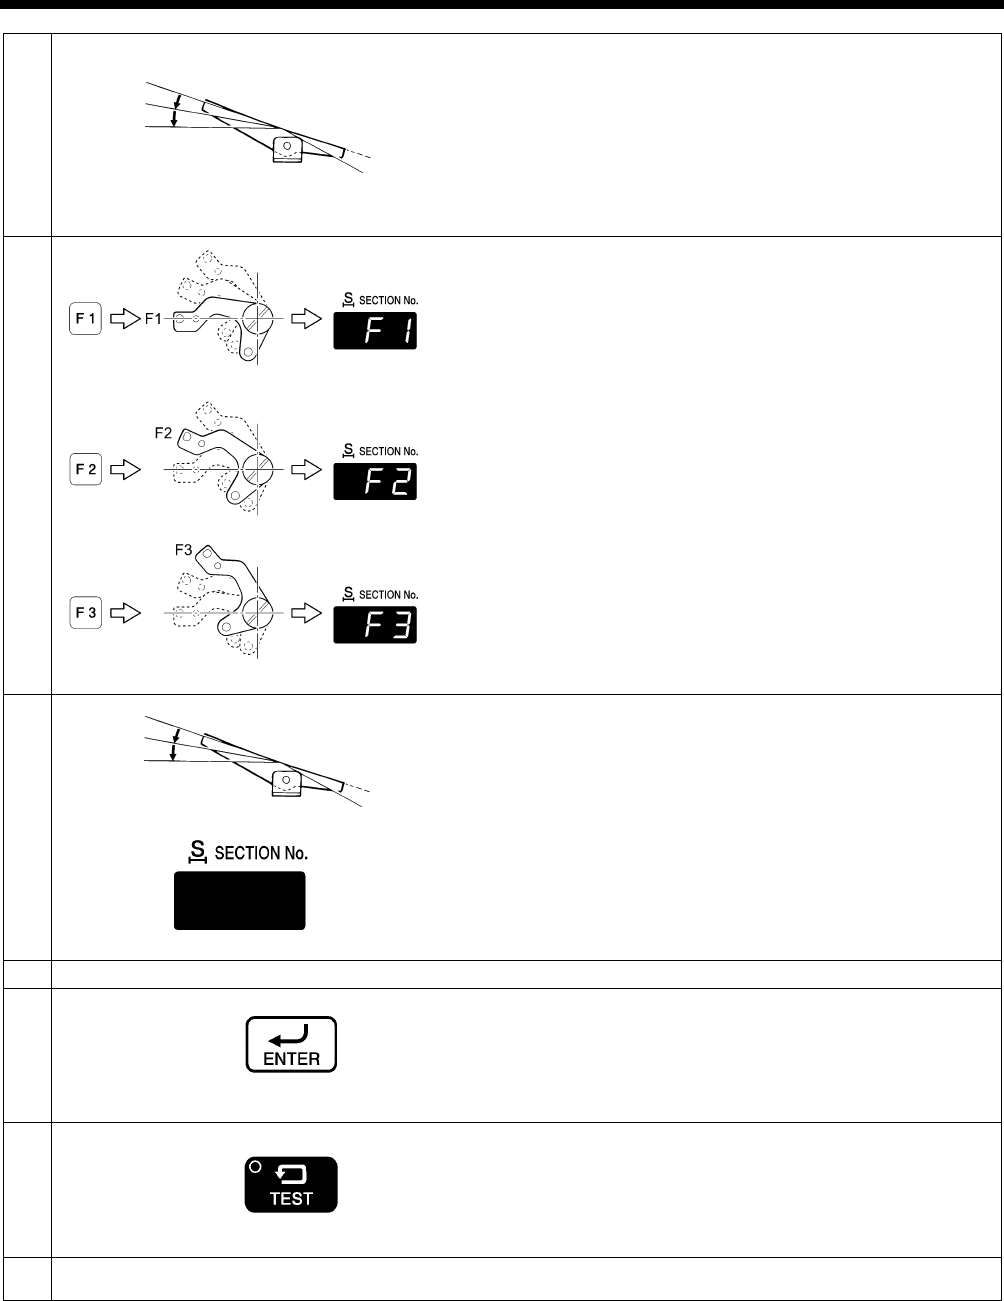
8
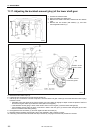
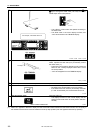
Press the F1, F2 and F3 keys and check the respective positions.
・ When the F1 key is pressed, the thread nipper D assembly (1)
will move to the home position.
* “F1” will illuminate in the SECTION No. display.
・ When the F2 key is pressed, the thread nipper D assembly (1)
will move to the thread nipping position.
* “F2” will illuminate in the SECTION No. display.
Check that the thread is being firmly held at this time. If the
thread is not being held, adjust the home position (F1) so that the
hole in the thread nipper D assembly (1) is not inside the hole (2)
in the needle hole plate.
・ When the F3 key is pressed, the thread nipper D assembly (1)
will move to the thread release position.
* “F3” will illuminate in the SECTION No. display.
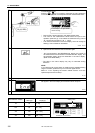
9
Depress the foot switch to the 2nd step to return the thread nipper
motor to the home position.
・
The SECTION No. display will stop illuminating.
10
Repeat steps 6 to 9 to set the home position.
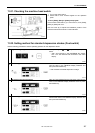
11
Press the ENTER key to confirm the offset value.
・ The offset value will illuminate in the menu display.
* If the offset value has not been provisionally
confirmed (if “JoG” is illuminated), the invalid buzzer
will sound.
12
End adjustment mode.
TEST indicator switches off
Press the TEST key.
・ The display will return to the normal display and the
sewing machine will switch to home position
detection standby.
13
Turn off the power switch, install the shuttle race base, shuttle hook and bobbin case assembly, and then close the
shuttle race base cover.
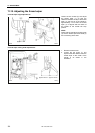
2nd step
4441Q 2806B
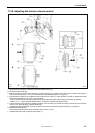
2807B 2808B 2809B
2nd step
4441Q 2810B
2414B
2404B