


Configuring the conference system
34
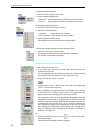
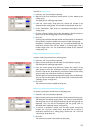
̈ Click the drop down list and select the provisional microphone number
of the chairman unit. You can configure as many chairman units as you
want.
The console icon with the corresponding number turns pink. When you
start the conference, this conference console is configured as the
chairman unit.
You can change this configuration at any time during the conference
(see “Configuring the chairman unit during a conference” on page 73).
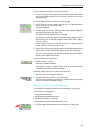
Note:
Make sure that only conference consoles which feature a priority
key ¸ (SDC 8200 C, SDC 8200 CC or SDC 8200 CV) are configured as
a chairman unit!
Defining groups
The software for the SDC 8200 conference system allows you to combine
certain conference consoles in groups. There are two types of groups:
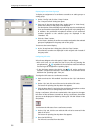
y Audio groups allow you to preselect different audio settings for different
participant groups. You can, for example, set the volume of the built-in
loudspeakers of all conference consoles assigned to a certain group
higher or lower than the volume of the built-in loudspeakers of the other
conference consoles.
y Voting groups allow you to restrict the participation in votes to certain
participant groups.
Notes!
You can define a maximum of 20 groups. One group can comprise a
minimum of one and a maximum of all conference consoles. Delegate
units, VIP units and chairman units can be arbitrarily mixed in one
group.
Each conference console can only be assigned to a single audio group
and a single voting group at a time, i.e. one conference console cannot
be assigned simultaneously to several audio groups or voting groups.
To define an audio group:
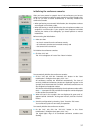
̈ Press the “Ctrl” key and keep it pressed.
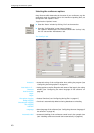
̈ Right-click the first conference console which is to be added to the
audio group.
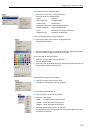
The dialog box for editing groups opens.
̈ From the “Audio Group” drop down list, choose the number to be
assigned to the audio group. This number must be higher than “01“!
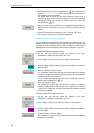
̈ In the “Description” field, enter an unambiguous description of the
audio group.
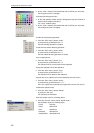
̈ Click the “Change” button next to the “Description” field and choose a
group color for the audio group from the color palette.
̈ Click “OK”.
An audio group with the selected number and description is created
and the conference console is added to the newly created audio group.
In addition, a standard audio group “01” is created automatically. All
conference console which are not added to an audio group with a
number higher than “01” are automatically added to the standard
audio group “01”.