


68 C1554M-A (4/05)
6. Script tag: If you do not want to use the script tag provided by the system, type a unique tag of your choice. Script tags are at most 50
characters long. They can include any letter, digit or the underscore character, but cannot begin with a digit. They cannot contain spaces or
special characters. Tags are not case sensitive. The script tag is used by administrators to refer to the preset in scripts.
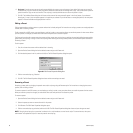
7. Click OK. The Add New Preset dialog box will close and the name of the new preset will appear in the list of presets. If you selected
Unassigned_i in step 3, the new preset appears in the position you selected. If you did not select an unassigned position, the new preset
appears in the next available unassigned position in the list.
Editing a Preset
Editing a preset refers to saving a preset to a preset number that is already assigned. For instructions on saving a preset to an unassigned preset
number, refer to Creating a Preset.
To edit a preset for an ASCII camera, you must belong to, and log in under, a user group that allows you to edit the presets for that camera. When
you edit a preset, the changes you make affect other users with permission to access the preset.
The Save option used to edit a preset saves the camera position, preset name, and script tag, replacing the previously defined camera position,
preset name, and script tag. To assign a name and script tag while retaining the existing camera position, use the Rename option described in
Renaming a Preset.
To edit a preset:
1. Pan, tilt and zoom the camera until the desired view is showing.
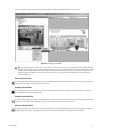
2. Open the Device Control dialog box for the desired camera and go to the Presets tab.
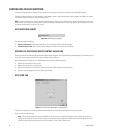
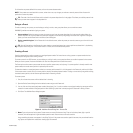
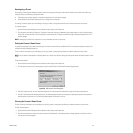
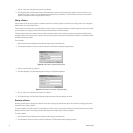
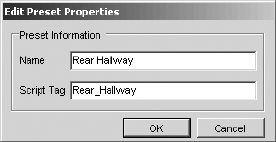
3. Click the desired preset in the list, and then click Save. The Edit Preset Properties dialog box opens.
Figure 68. Edit Preset Properties Dialog Box
4. Edit the name and script tag, if desired.
5. Click OK. The Edit Preset Properties dialog box closes and the new settings are saved.
Renaming a Preset
Renaming a preset refers to changing the preset’s name and/or script tag using the Rename option. For instructions on changing the camera
position, refer to Editing a Preset.
To rename a preset for an ASCII camera, you must belong to, and log in under, a user group that allows you to edit the presets for that camera.
When you rename a preset, the changes you make affect other users with permission to access the preset.
To rename a preset:
1. Open the Device Control dialog box for the desired camera and go to the Presets tab.
2. Select the preset you want to rename from the list of presets.
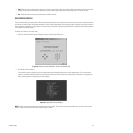
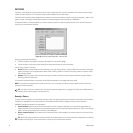
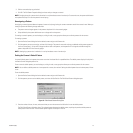
3. Click Rename. The Edit Preset Properties dialog box opens.
4. Edit the name and script tag as desired, and then click OK. The Edit Preset Properties dialog box closes and your changes are saved.
NOTE: Changing the script tag for a preset that is referred to in a script introduces an error into the script. To correct the error, the system
administrator must update the script so it uses the preset’s new script tag.