100 C1554M-A (4/05)
VIEWING MAPS
To load a map into a custom window:
• You must belong to, and be logged in under, a user group that permits you to view maps in custom windows. Refer to User Groups for more
information.
• The workspace must have Maps selected as permitted content. If you have permission to work with workspaces, you can edit the work-
space and set the types of permitted content. Refer to Workspaces for more information.
To load a map into a custom window:
1. Change the window mode to Map. Refer to Custom Window Pop-up Menu for instructions.
The tool bar for maps will appear in the window’s control bar. The tool bar has the same tools as the Main window’s map viewport tool bar.
The tools work the same way, except they act on the map in the custom window rather than the map in the Main window’s map viewport.
For information on using the zoom buttons, the Previous View button and predefined views drop-down list, refer to Maps - Adjusting the
Map Display.
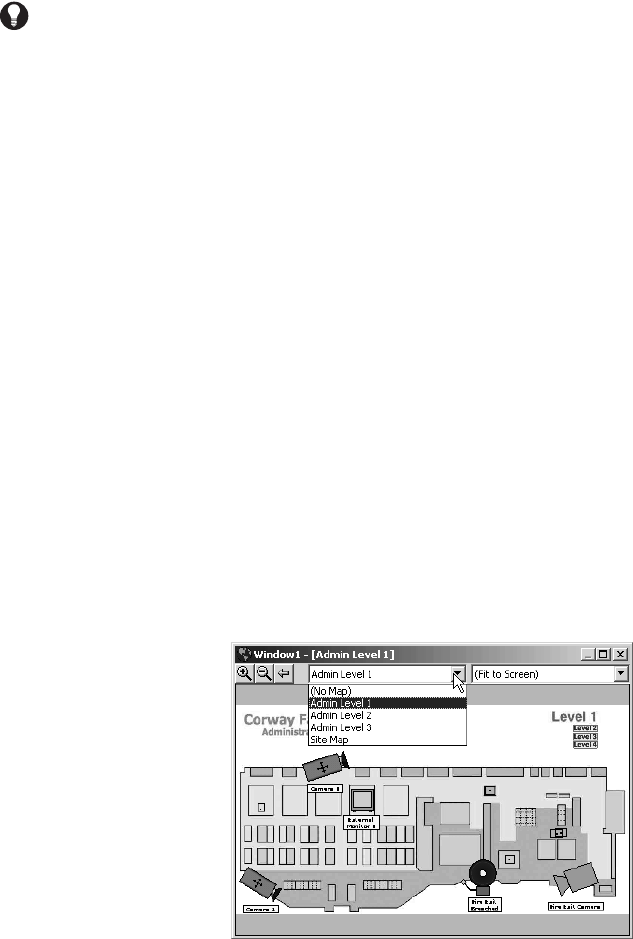
2. Click the arrow to the right of the maps drop-down list and select a map from the list. The map appears in the display area.
Figure 106. Loading a Map into a Custom Window
NOTE: A hotlink or label that loads a map into a specific window always loads the map into the same window, no matter where the script is run
from. For example, suppose a hotlink on Map 1 loads Map 2 into the Main window map viewport. If Map 1 is loaded into the Main window map
viewport and the hotlink is clicked, Map 2 loads in the Main window map viewport. If Map 1 is loaded into a custom window and the hotlink is
clicked, Map 2 still loads in the Main window map viewport, not the custom window.
VIEWING AN INTERNET BROWSER
To view an Internet browser in a custom window:
• You must belong to, and be logged in under, a user group that permits you to view Web pages in custom windows. Refer to User Groups for
more information.
• The workspace must have Internet Browser selected as permitted content. If you have permission to work with workspaces, you can edit
the workspace and set the types of permitted content. Refer to Workspaces for more information.
TIP: Use Synchronized cursor mode to track a moving object, such as a person or vehicle, in a single custom window. Suppose the object
moves across the range of Camera 1 to within the range of Camera 2. Track the object as follows:
1. Set the cursor mode to Synchronized.
2. Switch Camera 1 to the window.
3. Start the video playing at the desired time.
4. When the object leaves the range of Camera 1, switch Camera 2 to the window. The video from Camera 2 automatically cues to the
Event Picker time, which is synchronized with the playback time, picking up where the Camera 1 video left off.
