


6-2 Operation MN1928
6.1.4 Preliminary c hecks
Before you apply power for the first time, it is very important to verify the following:
H Disconnect the load from the motor until instructed to apply a load.
H Inspect all power connections for accuracy, workmanship and tightness.
H Verify that all wiring conforms to applicable codes.
H Verify that the NextMove ES is properly earthed/grounded.
H Check all signal wiring for accuracy.
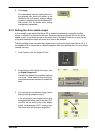
6.1.5 Power on checks
1. T urn on the 5V and ±12V supplies.
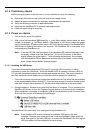
2. After a brief test sequence (
followed by ), the Status display should show the node
number, for example
, the factory default. If the display is not lit then re-check the power
supply connections. A green surface mount LED (D16) near the center of the NextMove ES
should also be flashing once every two seconds. The NextMove ES is now ready to be
configured using WorkBench v5.
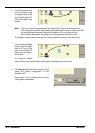
Note: If the red LED (D4) near the center of the NextMove ES remains illuminated, then
the supply voltage is too low. See section 7.2.2 for LED locations. If the status
display shows one of the digits 0 - 7 with a flashing decimal point, this indicates
that the NextMove ES has detected a fault and cannot be started. In this unlikely
event, please contact Baldor technical support.
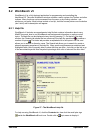
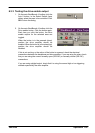
6.1.5.1 Ins talling the USB driver
If you have connected the NextMove ES to the PC using the USB connection, it will be
necessary to install the USB driver . When the NextMove ES is powered, Windows (2000 or
XP only) will automatically detect the controller and request the driver. The driver consists of
two files, baldorusb.inf and baldorusb.sys. Both files must be present for installation.
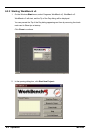
1. Follow the on-screen instructions to select and install the driver. The driver files are available
on the supplied Baldor Motion Toolkit CD. If you are using a copy of the driver located on the
hard disk, a floppy disk or another CD, the two driver files should be in the same folder .
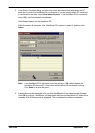
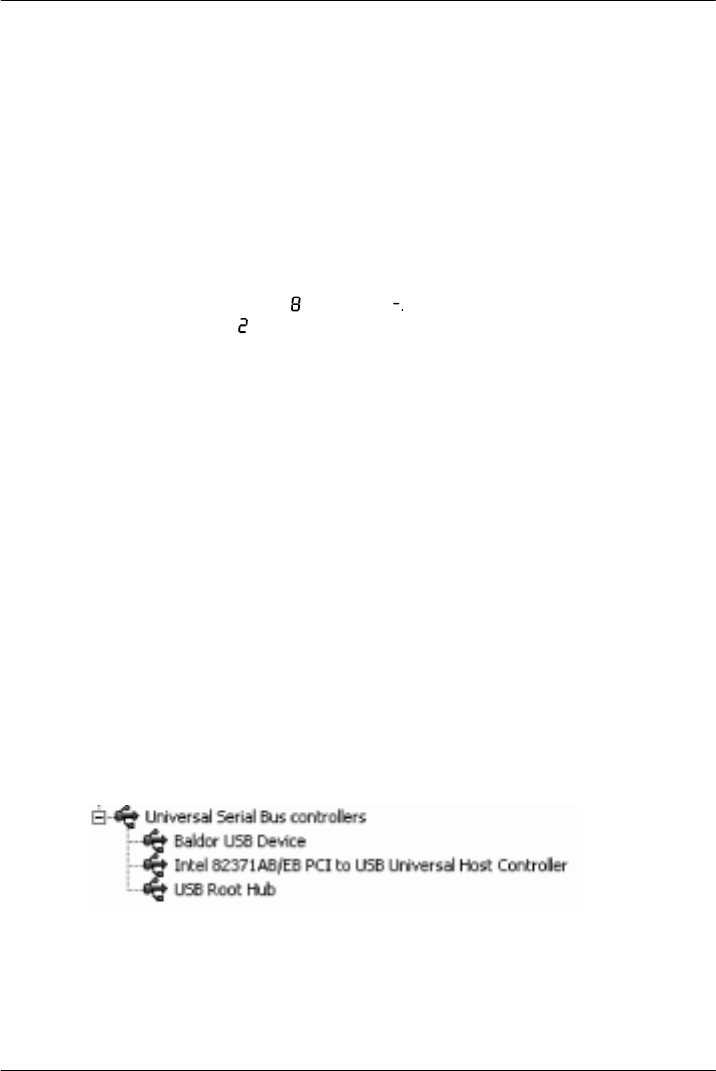
2. During installation, Windows may report that the driver is ’unsigned’. This is normal for the
NextMove ES dr iver, so click the Continue Anyway button to continue with the installation.
When installation is complete, a new Baldor USB device will be listed in the Universal Serial
Bus controllers section of Windows Device Manager.
The NextMove ES is now ready to be configured using WorkBench v5.
Note: If the NextMove ES is later connected to a different USB port on the host
computer, Windows may report that it has found new hardware. Either install the
driver files again for the new USB port, or connect the NextMove ES to the original
USB port where it will be recognized in the usual way.