


Heat & Glo • RED60 • 2159-900 Rev. R • 9/12 73
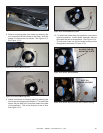
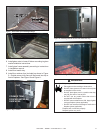
F. PorcelainInstructions
A Porcelain Kit is available for use with the RED60 mod-
els. Install Porcelain according to these instructions
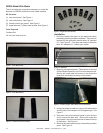
RED60ModelWithoutMedia
This kit contains the components necessary to install
the porcelain on RED60 models that do not have media
installed.
CAUTION! Risk of Cuts or Abrasions. Wear protective
gloves and safety glasses during installation. Sheet metal
edges are sharp.
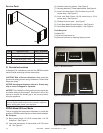
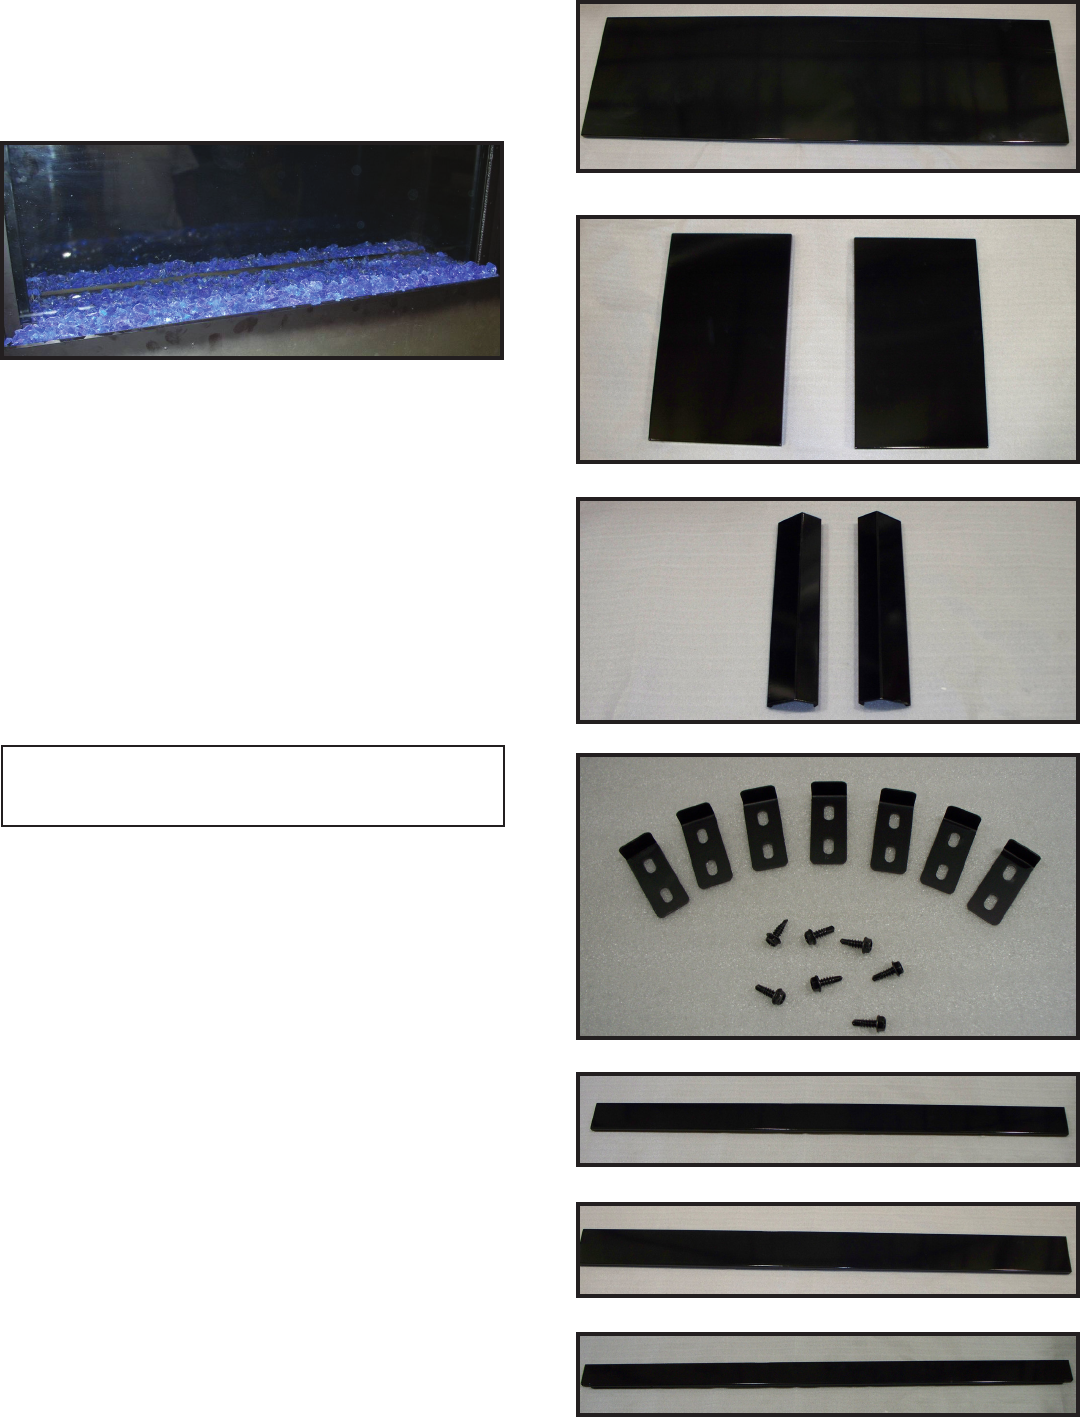
Figure2.InnerSidePanels.
Figure3.OutsideCornerTrimPieces.
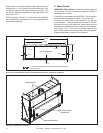
Note: Optional Porcelain or Granite Kits used with lighted and
non-lighted media models must be placed in appliance before
placing glass media in the appliance.
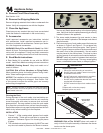
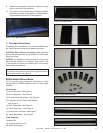
KitContents:
(1) Inner back panel. See Figure 1.
(2) Inner side panels. See Figure 2.
(2) Outside corner trim pieces. See Figure 3.
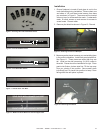
(7) Angle tabs and (7) Sheet metal screws.
See Figure 4.
(1) Rear inside base. See Figure 5.
(1) Front Inside base. See Figure 6.
(1) Outside front trim base. See Figure 7.
(4) Inside Base Mesh. See Figure 8.
ToolsRequired
Cordless Drill
1/4 inch hex head driver tip
Flat Blade Screwdriver
Figure4.AngleTabswithScrews.
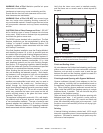
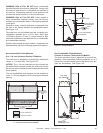
NOTICE: The installation of the porcelain kit may require
the air shutter setting to be changed. See Section 14.K
of this manual to ensure the shutter gap is set correctly
before ring the appliance.
Figure5.RearInsideBasePiece.
Figure6.FrontInsideBasePiece.
Figure7.OutsideFrontTrimBasePiece.
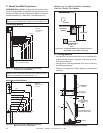
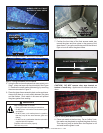
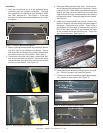
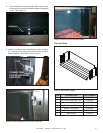
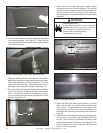
9. Replace side panels and secure in place by using
clips on the side of the appliance.
10. The “Innity” look of the media provides a perception
that there is no glass on the appliance, while maintain-
ing the sealed combustion of the appliance.
Figure9.RockMediaInstalled.
Figure1.InnerBackPanel.